That sleek, aggressive carbon fiber look on a $200,000 supercar? You can get it on your hood for under $100 — and install it yourself in an afternoon.
A quality carbon fiber hood wrap gives you the same visual punch as a real carbon fiber panel at a fraction of the cost. It also shields your paint from UV fade, minor scratches, and road debris.
Here’s what most quick tutorials skip: some wraps look factory-perfect for three years. Others start peeling by summer. The difference comes down to a few critical decisions made before you ever unroll the film.
This guide covers all of them:
-
Material selection — what to buy and what to avoid
-
Prep work — the steps most people rush through
-
Installation technique — how to get clean, bubble-free results
-
Common mistakes — fixes that catch even experienced wrappers off guard
For a complete overview of all carbon fiber wrap types, benefits, and applications, start with our Ultimate Carbon Fiber Wrap Guide 2026.
Carbon Fiber Hood Wrap vs. Real Carbon Fiber Hood: Is the Price Gap Worth It?

The honest answer depends on what you’re trying to solve.
A real carbon fiber hood costs $500 to $3,000+ for the part alone — and that’s before installation. A carbon fiber vinyl wrap runs $30 to $150. That gap isn’t just about money. These are two different products built for two different purposes.
Here’s the side-by-side breakdown:
|
Carbon Fiber Wrap |
Real Carbon Fiber Hood |
|
|---|---|---|
|
Total Entry Cost |
$30–$650 |
$800–$3,800+ |
|
Durability |
3–7 years |
10+ years |
|
Weight Reduction |
None |
20–50% lighter than OEM steel |
|
Visual Realism |
70–80% (looks best in direct sun) |
100% (holds up in any light) |
|
Resale Value Impact |
+5–10% |
+15–30% on performance cars |
The wrap wins on three counts: cost, reversibility, and paint protection on a car you drive every day. It comes off clean. It won’t void your factory paint warranty. For a sedan you plan to drive for the next four years, it gets the job done.
Real carbon fiber makes sense in specific situations:
– Track builds where hood weight has a direct impact on performance
– High-end cars where resale authenticity matters to buyers
– Long-term ownership past five years, where you want zero fade and zero upkeep
One number worth noting: DIY wrap failure rates run 20–30% when installers use low-quality or non-UV-resistant film. The cost savings disappear fast once you’re re-doing the job in year two.
The practical rule: Own the car for under five years? Wrap makes sense. Resale-focused, track-oriented, or in it for the long haul? The real thing pays for itself.
If you’re curious about the real differences between forged carbon fiber and traditional 3D/5D patterns, check out our detailed breakdown in Forged Carbon Fiber Wrap Explained.
Choosing the Right Carbon Fiber Vinyl Film: Material Types & Brand Breakdown
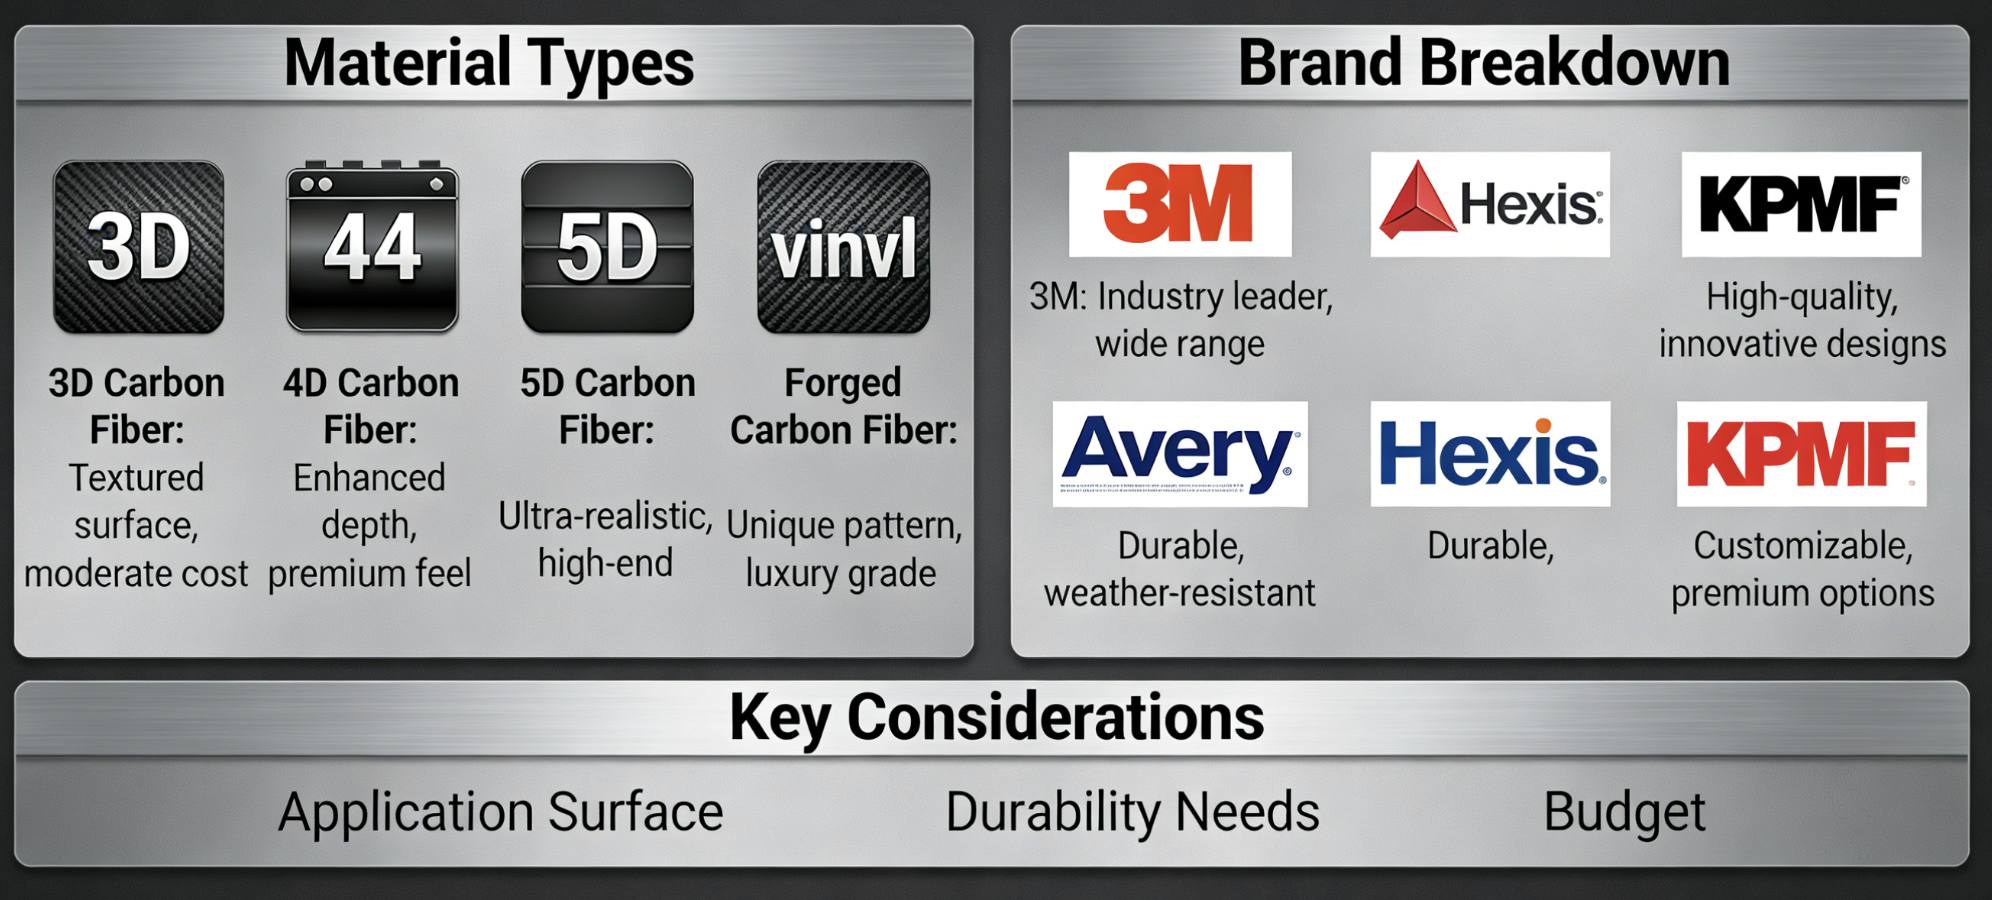
Not all carbon fiber vinyl is the same product. The $6/ft² roll and the $25/ft² roll look almost the same in the product photo. On your hood in year three? They don’t.
The market breaks down into three distinct material types. Each one is built for a different use case.
The Three Material Types
Standard PVC Vinyl (think VViViD, 3M 1080) is the entry point. Thickness runs 0.15–0.2mm. Cost lands at $5–15/ft². It’s forgiving — air-release channels let bubbles work out with heat. DIY difficulty: 1 out of 5. The tradeoff is longevity. Exterior durability tops out at 3–5 years, and gloss depth is limited.
Repositionable Vinyl (Luxe-style) sits in the middle tier at $10–20/ft². The semi-gloss swirl finish looks more realistic than standard PVC. The slide-and-reposition adhesive gives you extra room for error on curved surfaces. Seal the edges right and durability stretches to 4–6 years.
TPU PPF Carbon Film (ALUKO, Tinybot) is a different category on its own. At 8–12 mil thick, it carries a self-healing topcoat and lasts 7–10 years on exterior applications. Cost: $15–30/ft². DIY difficulty jumps to 4 out of 5. The added thickness is unforgiving around compound curves — sloppy technique shows fast.
Texture Grades: 2D vs. 3D vs. 5D
The texture dimension affects both price and visual realism:
-
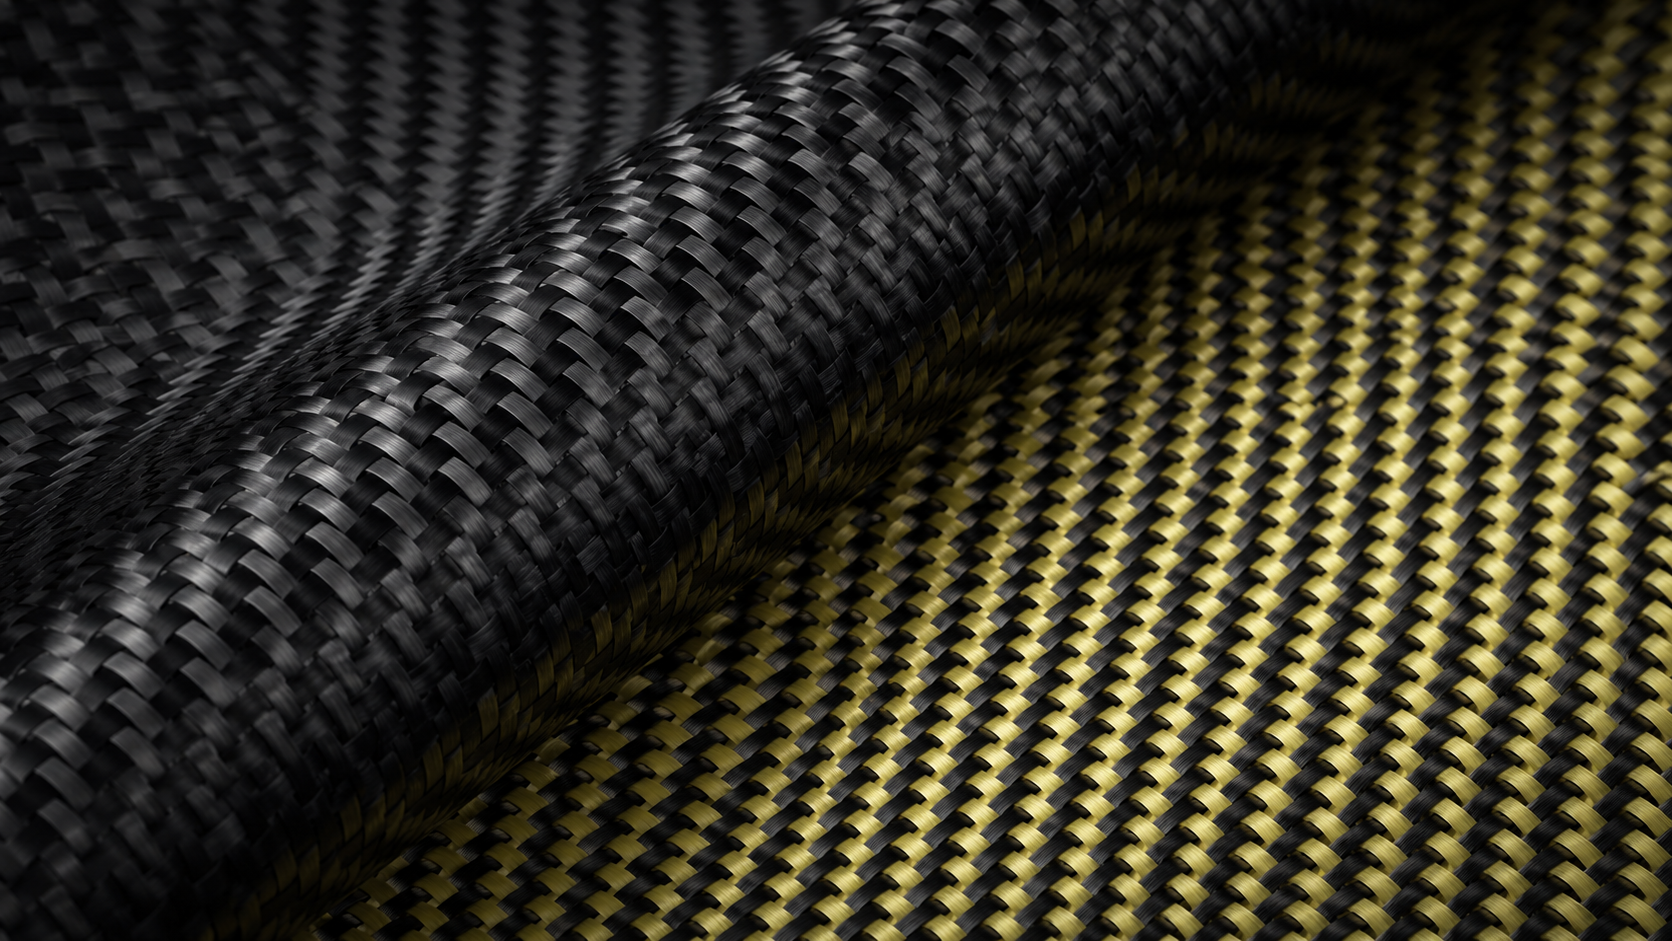
2D — flat printed weave, no embossing; $4–8/ft²; looks like a photograph of carbon fiber
-
3D — cross-hatch emboss creates tactile depth; flexible enough for hood curves; $6–12/ft²
-
5D — same 3D pattern plus a gloss coat; light-reflective and far more realistic; $12–20/ft²; harder to work around tight radii
Each step up the ladder adds 20–30% to cost. The 4D and 6D variants you’ll see in listings are swirl-pattern or gloss variations on the same base structure — not a true separate tier.
Brand Picks by Budget
|
Budget |
Top Pick |
Cost/ft² |
Durability |
DIY Level |
|---|---|---|---|---|
|
Entry |
VViViD 3D Matte Black |
$6 |
3–5 yrs |
Easy |
|
Advanced |
STEK DYNOcarbon Gloss |
$15 |
5–6 yrs |
Moderate |
|
Pro |
ALUKO TPU Carbon PPF |
$25 |
7–10 yrs |
Hard |
First wrap, daily driver, tight budget? VViViD handles heat well and leaves little room for installation error. Step up to STEK and you get a semi-gloss swirl finish backed by a 5-year warranty — seal the edges and it holds. Longevity and self-healing scratch resistance your top priorities? ALUKO’s TPU film is worth the price jump. Factor professional installation into your budget — the material rewards skilled hands.
How Much Film to Buy
A standard sedan hood runs 25–30 ft². Buy a 6×8 ft sheet (48 ft² total). That gets you the 2–4 inch overlap per edge you need for trimming, curves, and repositioning. The working formula: hood surface area + 20% = total order quantity. For a 28 ft² hood, order 34 ft². Heat stretching recovers 10–15% of coverage, but don’t count on it to cover a short order.
Tools You Need (And What You Can Skip)

Most wrap jobs fail in the driveway, not on the hood. Wrong tools. Wrong order. Wrong assumptions about what’s necessary.
Here’s the honest list:
The non-negotiables:
– Heat gun — 1500W minimum. A hair dryer won’t cut it. You need steady, directional heat to stretch film around compound curves and lock down edges tight
– Felt-edge squeegee — hard plastic scratches the film surface; felt doesn’t
– Isopropyl alcohol (70–90%) — your cleaning solution. Nothing else
– Lint-free microfiber cloths — at least four; you’ll burn through them
– Precision knife or vinyl cutter — for trimming edges to that 10–20mm wrap-around
Worth adding:
– Repositioning magnets — hold the film in place while you align before committing. Most people skip these. They save you a second set of hands and a lot of frustration
– Infrared thermometer — removes the guesswork on surface temperature. Apply below 80°F. Seal edges at 190°F. Know your numbers
Skip these:
– Soap-and-water wet application methods — those work for window tint, not vinyl wrap
– Cheap squeegee sets with hard plastic edges
– Gloves thicker than nitrile — you lose tactile feedback on curved surfaces
Total tool cost runs $40–$80 starting from zero. The heat gun is the one place not to cut corners.
Surface Preparation: The Step Most DIYers Rush (And Regret)

Here’s where most DIY wrap jobs fall apart — not during the install, but in the twenty minutes before it.
Dirty paint is the enemy. Not visible dirt — invisible contamination. Fingerprints, road film, silicone residue from your last wax job. Your hood looks clean. It isn’t. Put film over any of that and the adhesive never bonds. You won’t notice for weeks. Then a corner lifts, and you’re back to square one.
The sequence matters as much as the cleaning itself:
-
Wash first — rinse loose debris, then wash with automotive soap. Don’t skip this even if the hood looks clean
-
Degrease second — isopropyl alcohol (70–90%) on a lint-free cloth, panel by panel. This is the step most people skip. Don’t
-
Work top to bottom — always. Start at the top and move down. Clean a lower panel first, then wipe above it — you’ve just recontaminated everything you finished
-
Dry the surface — film over moisture traps bubbles fast. Give it ten minutes minimum in open air
One number to lock in: surface temperature must stay under 80°F before you lay down any film. Hot metal makes the adhesive grab too fast. Repositioning becomes close to impossible. Apply in the early morning, in the shade.
Do the five-second fingernail test before you start. Drag your nail across the cleaned surface. Any drag or tackiness means contamination is still there. Clean again.
The prep stage costs you thirty minutes. Skipping it costs you the entire job.
Step-by-Step Carbon Fiber Hood Wrap Installation

The prep work is done. The surface is clean, cool, and ready. Now the actual work begins.
Before you unroll anything, make one decision: dry method or wet method.
-
Dry method — no slip solution, direct adhesive contact. Clean contact, zero room for error. Go this route if you’ve wrapped before.
-
Wet method — mist the hood and backing with prep spray first. The film slides. You can reposition. This is the right call for a first install.
Either way, the sequence below is the same.
Step 1: Center the Film First
Lay the vinyl across the hood without committing. Find the center seam or badge hole and align the film’s midpoint to it. Leave 2 inches of overhang on every edge — you’ll need that material for folding later.
Tack one corner down to hold position. Then peel the backing from the center outward in small sections — never all at once. Using the wet method? The film stays slideable until you squeegee it down.
Step 2: Work Outward, Not Side to Side
Start at the center and drive air toward the edges. Use your wrap glove or felt squeegee in firm, overlapping strokes — outward only. Quality 3D carbon vinyl has air-release channels built in. They do the hard work for you, but only if you’re moving in the right direction.
Pull the film taut across convex curves as you go. Keep light tension. The film stretches 10–15% before it starts to deform — don’t push past that point.
Step 3: Handle Corners and Edges Last
Trim your overhang to ½ inch (12.7mm) before folding. Not more. That’s the right amount to tuck under the hood lip without bunching.
Use a heat gun at 6–8 inches distance, 45° angle, in 10–15 second bursts. The film softens and gets flexible. Fold it under, press with your squeegee at steady pressure, and work section by section. For tight corners, make a small relief cut — a single straight snip into the corner — then fold each tab in one at a time. Trying to wrap a sharp corner in one continuous tuck is how wrinkles happen.
For openings or bolt holes: pierce the center with your knife tip first. Add heat. Then work the film inward from the cut.
Step 4: Lock It Down with Post-Heat
This step is non-negotiable. Post-heating fires up the adhesive bond and collapses any remaining micro-bubbles.
Run the heat gun across the entire surface — 30–60 seconds per panel section. Edges need extra attention. Heat until you see the film pull inward slightly, then press right away. Use short bursts on textured areas. More than 1–2 seconds of heat in one spot will flatten the 3D weave pattern — and that damage is permanent.
Do a final pass with your wrap glove to press everything flat while the adhesive is still warm.
Peel any holding tape. Check every edge for flush contact. A corner has lifted? Reheat and press it down. Don’t let it sit overnight.
Bubble, Wrinkle & Lifting Edge: Fix Every Common Installation Problem

Three problems kill more wrap jobs than anything else: bubbles, wrinkles, and lifting edges. All three are fixable — catch them early and know what you’re looking at.
Bubbles: Two Types, Two Fixes
Not all bubbles come from the same place. Misdiagnosing them makes things worse.
Installation bubbles cluster around curves and creases. The cause: not enough pressure, not enough heat, or moving too fast. The fix: run a low-heat gun over the area, then use firm squeegee strokes to push air outward toward the nearest edge.
Adhesion bubbles show up in scattered spots on flat sections. These come from contamination — wax residue, road film, anything left on the surface during prep. Lift the affected section, clean with IPA, add a thin layer of adhesive promoter, then repress.
For small isolated bubbles under 1cm, a pin or needle tool works well:
– Pierce at the bubble’s edge — not the center
– Press the air out
– Heat-seal right away
Don’t over-pierce. A cluster of pinhole marks weakens the film and leads to tearing.
Wrinkle vs. Texture Deformation — They’re Not the Same
A wrinkle has a sharp fold. You can feel the peak with your finger. Over 2mm high, clustered in one spot — that’s excess tension from installation. Catch it within 48 hours and you can fix it. Heat the area to around 80°C, stretch it flat, then repress with firm, even pressure.
Texture stretch deformation looks different. It spreads out as diffuse, even distortion with no sharp peaks. That’s the result of over-heating or over-pulling. Cover less than 10% of the panel? Low heat plus a roller pass will recover it in most cases.
|
Issue |
DIY Repair OK |
Replace the Section |
|---|---|---|
|
Size |
Under 3cm, isolated |
Over 5cm or spreading |
|
Age |
Under 48 hours |
Over one week |
|
Peak depth |
Under 2mm |
Over 3mm |
Lifting Edges: Find the Root Cause First
Edge lifting from cold-temperature installs (under 15°C) means the adhesive never got hot enough to activate. Reheat the edge to 60–80°C. Add adhesive promoter, press for 30–60 seconds, then hold it under pressure while it cools down.
See visible residue or dirt under the lifting edge? That’s a cleaning problem. Decontaminate with IPA or a clay bar, dry the surface, then reapply.
Repeated lifting after repair on the same section points to a material compatibility issue. Replace that section and seal the new edge with edge sealer. For lifts under 5cm, edge sealer alone has an 80% success rate.
The 48-Hour Window
After installation, the adhesive needs time to cure. For the first 24–48 hours:
– No pressure
– No water
– No chemical contact
– Keep ambient temperature between 10°C and 40°C
Re-roll every area to confirm full coverage. A corner showing minor lift under 1cm? Tape it secure and check again at the 48-hour mark. Proper rolling plus a dry cure period brings first-time adhesion success to around 95%.
How Long Does Carbon Fiber Hood Wrap Last? Maintenance & Lifespan Guide

Five to seven years. That’s the real number for a quality carbon fiber vinyl wrap with a proper install and regular care. Go with premium cast vinyl on a garage-kept car, and you can stretch that to 8–10 years. Skip the upkeep — wrong product, bad install, zero maintenance — and corners start peeling by year two.
Three things control the outcome: material quality, installation precision, and how you treat it afterward.
How long yours lasts depends on how you use the car:
-
Fleet/daily driver: 3–5 years
-
Personal vehicle, outdoor parking: 6–7 years
-
Garage-kept or low-mileage: 7–8 years
Hot, sunny, or polluted climates cut that range by 30–40%. UV radiation breaks down uncoated polymer film 25–35% faster. Cast vinyl stands up to long-term UV exposure far better than calendared film. That’s a material science fact, not a sales pitch.
Maintenance Rules
-
Hand wash only — mild soap, water, done
-
No automatic car washes — the brushes scratch and wear down the film surface
-
No wax, solvents, or harsh chemicals — they break down the adhesive layer
-
Park in shade where you can. A car cover is a cheap way to add years to your wrap
Check your wrap every 1–2 years in high-heat or high-UV climates. The hood and roof take the most direct sun. Those areas tend to show wear first, before the rest of the wrap does.
Signs It’s Time to Replace
Watch for fading, peeling edges, bubbling, surface cracks, or a dull finish that stays dull no matter how you clean it. Any one of these means the wrap has run its course. See more than one at the same time? Don’t wait. A hardened old wrap presses against your paint and causes damage — which defeats the whole reason you wrapped the car to begin with.
Carbon Fiber Hood Wrap Product Recommendations by Budget & Use Case
Three tiers. That’s the whole market. Pick the right one for your situation and you won’t overspend — or end up with film that fails in year two.
|
Budget |
Best Pick |
Cost/ft² |
Durability |
Best For |
|---|---|---|---|---|
|
$30–$60 |
VViViD / 3M Standard |
$5–$6 |
3–5 yrs |
First-timers, flat hoods |
|
$60–$100 |
Luxe Textured Kits |
$6–$8 |
5–7 yrs |
Hobbyists, visual depth |
|
$80–$150 |
Tinybot PPF Carbon |
$8–$15 |
7–10 yrs |
Daily drivers, protection |
Pure aesthetic upgrade? Entry-level VViViD or 3M gets the job done at $30–$60 total. You get a clean weave pattern and a solid three-to-five year run. Install is straightforward too.
Want actual paint protection alongside the look? Step into the $60–$150 range. Luxe kits and Tinybot’s PPF carbon run 4–6 mil thick. That’s enough to absorb rock chips and UV without issue. Hood and roof together run $250–$500 in materials.
Track use or southern heat? Tinybot PPF holds to 200°F. The precision-cut panels cut bubble risk by a large margin once ambient temps push past 90°F.
On total costs: DIY material for a standard sedan hood lands at $150–$300. Go with professional installation and plan for $350–$700.
Conclusion
You don’t need a $2,000 carbon fiber hood to turn heads in a parking lot. All it takes is the right film, the right prep, and an afternoon of patience.
That’s the whole story. A quality carbon fiber vinyl wrap protects your paint from UV, scratches, and road debris. You also get that aggressive, track-ready look at a fraction of the cost. The installation isn’t magic — it’s a process. Clean the surface thoroughly. Work the squeegee from center to edge. Use heat as a tool, not a fix. Do those things right, and the result will last longer than you expect.
Contact HyperX Carbon – Your Trusted Chinese Carbon Fiber Partner
Ready to source high-performance carbon fiber materials or custom forged carbon fiber parts from China?
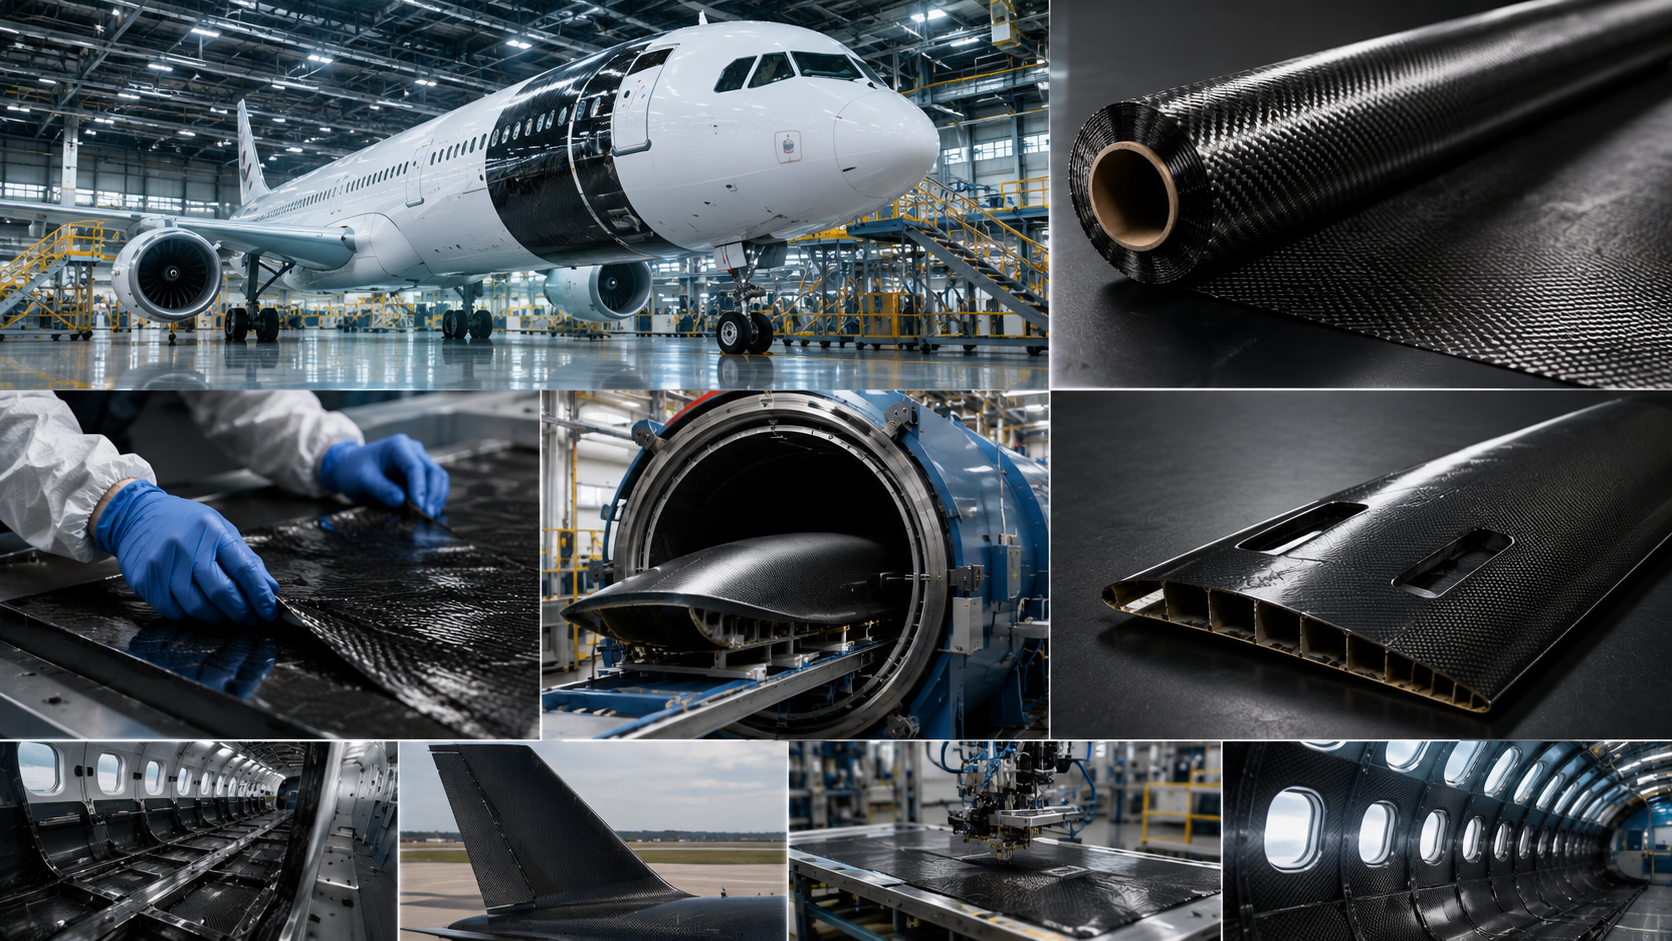
HyperX Carbon is a leading manufacturer with 20+ years of expertise, specializing in aerospace-grade forged carbon fiber, prepreg, tubes, sheets, and lightweight automotive/drone/medical components. We offer:
-
Stable supply chain with premium raw materials (Toray, Mitsubishi, Hengshen)
-
AS9100D certified production for aerospace & UAV applications
-
Rapid prototyping (5-8 weeks) and monthly capacity exceeding 180,000 parts
-
Competitive pricing with 15-18% cost savings on forged carbon solutions
-
Full customization: from T700/T1100G to ultra-high modulus grades
Whether you’re an eVTOL developer, automotive OEM, drone manufacturer, or medical device engineer, HyperX delivers consistent quality, batch-to-batch reliability, and reliable delivery.
Get in touch today for a free consultation, custom quote, or material sample.
📧 Email: [email protected]
🌐 Website: https://www.hyperxcarbon.com/
📞 Phone/WhatsApp: +86 15623270276 (English support available)
Let’s build your next lightweight innovation together – contact HyperX Carbon now and stay ahead in the low-altitude and advanced composites market.