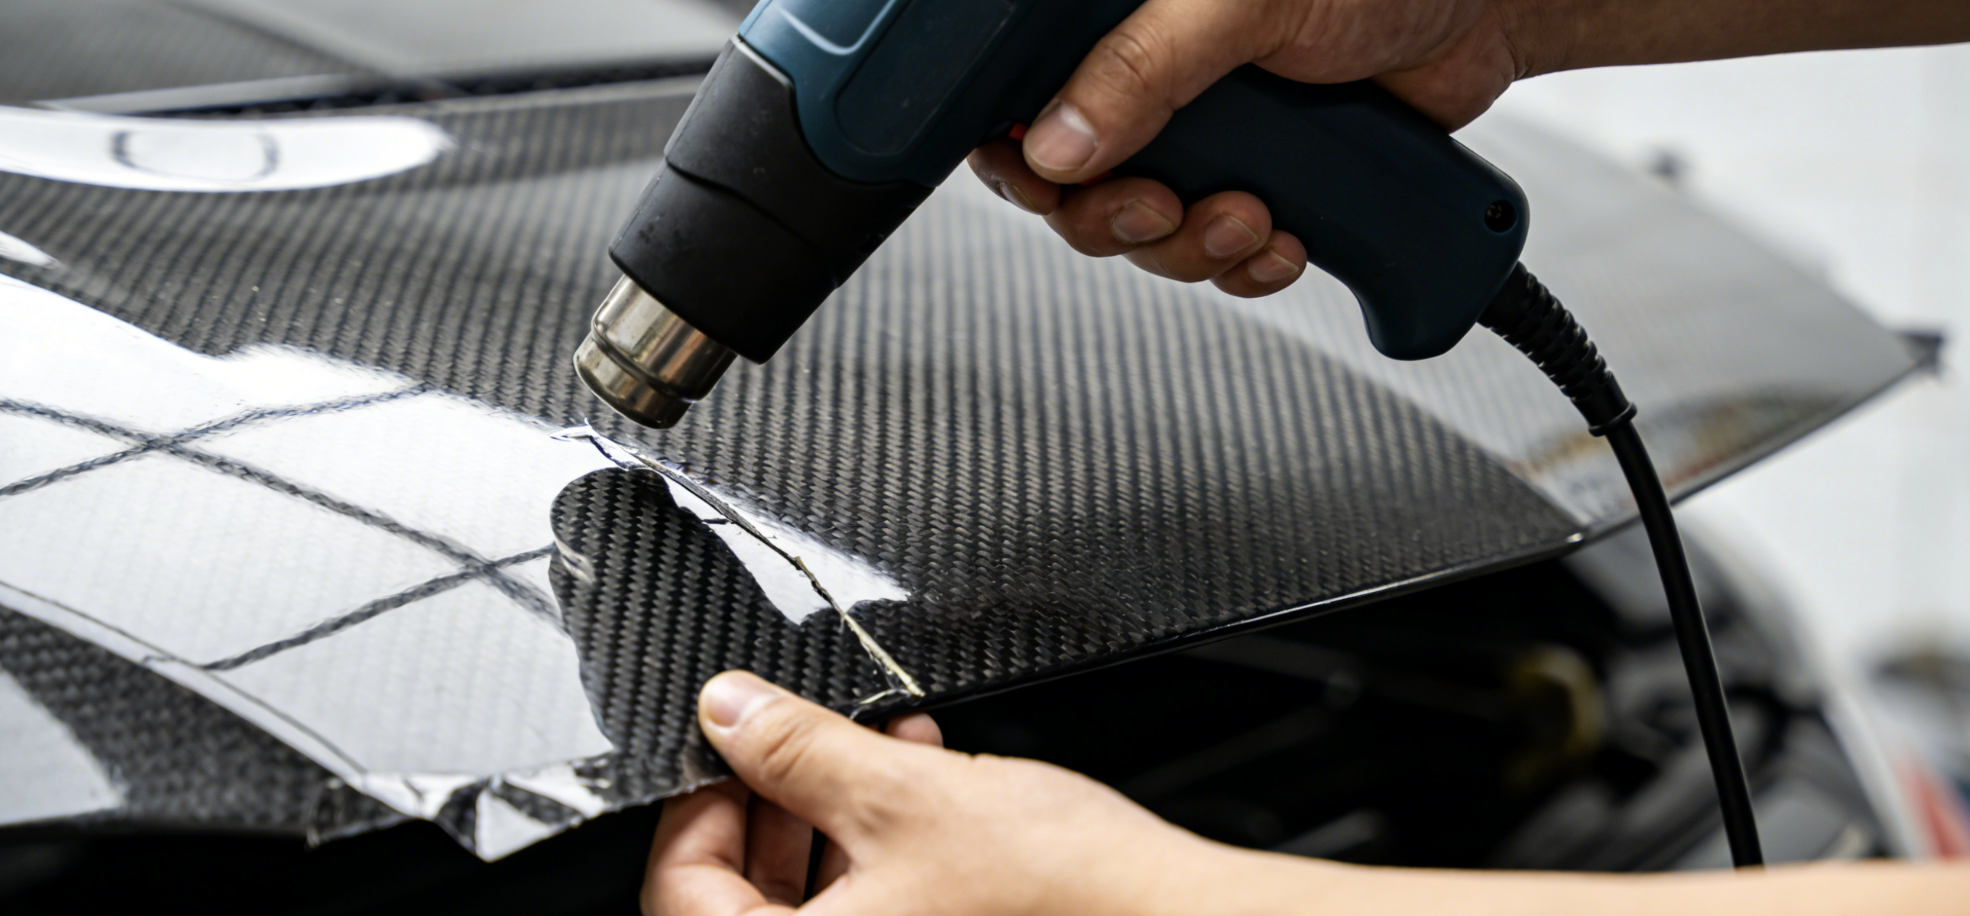
That satisfying peel should be clean and effortless. But carbon fiber wrap has a way of turning a simple removal into a nerve-wracking game of please don’t scratch my paint.
Your wrap might be lifting at the edges. It could be fading after years in the sun. Or maybe you’re just ready for a fresh look. Either way, removal matters just as much as installation.
Get it wrong, and you’re left with adhesive ghosts, micro-scratches, or worse — a clear coat that never bounces back. Get it right, and your paint comes out looking the same as it did going in.
This guide covers every step of safe carbon fiber wrap removal:
-
The right tools to have on hand
-
The exact heat gun technique that works
-
How to tackle stubborn adhesive residue
-
The critical mistakes even experienced DIYers make
What Makes Carbon Fiber Wrap Harder to Remove Than Regular Vinyl
The short answer: physics and time — and both are working against you.
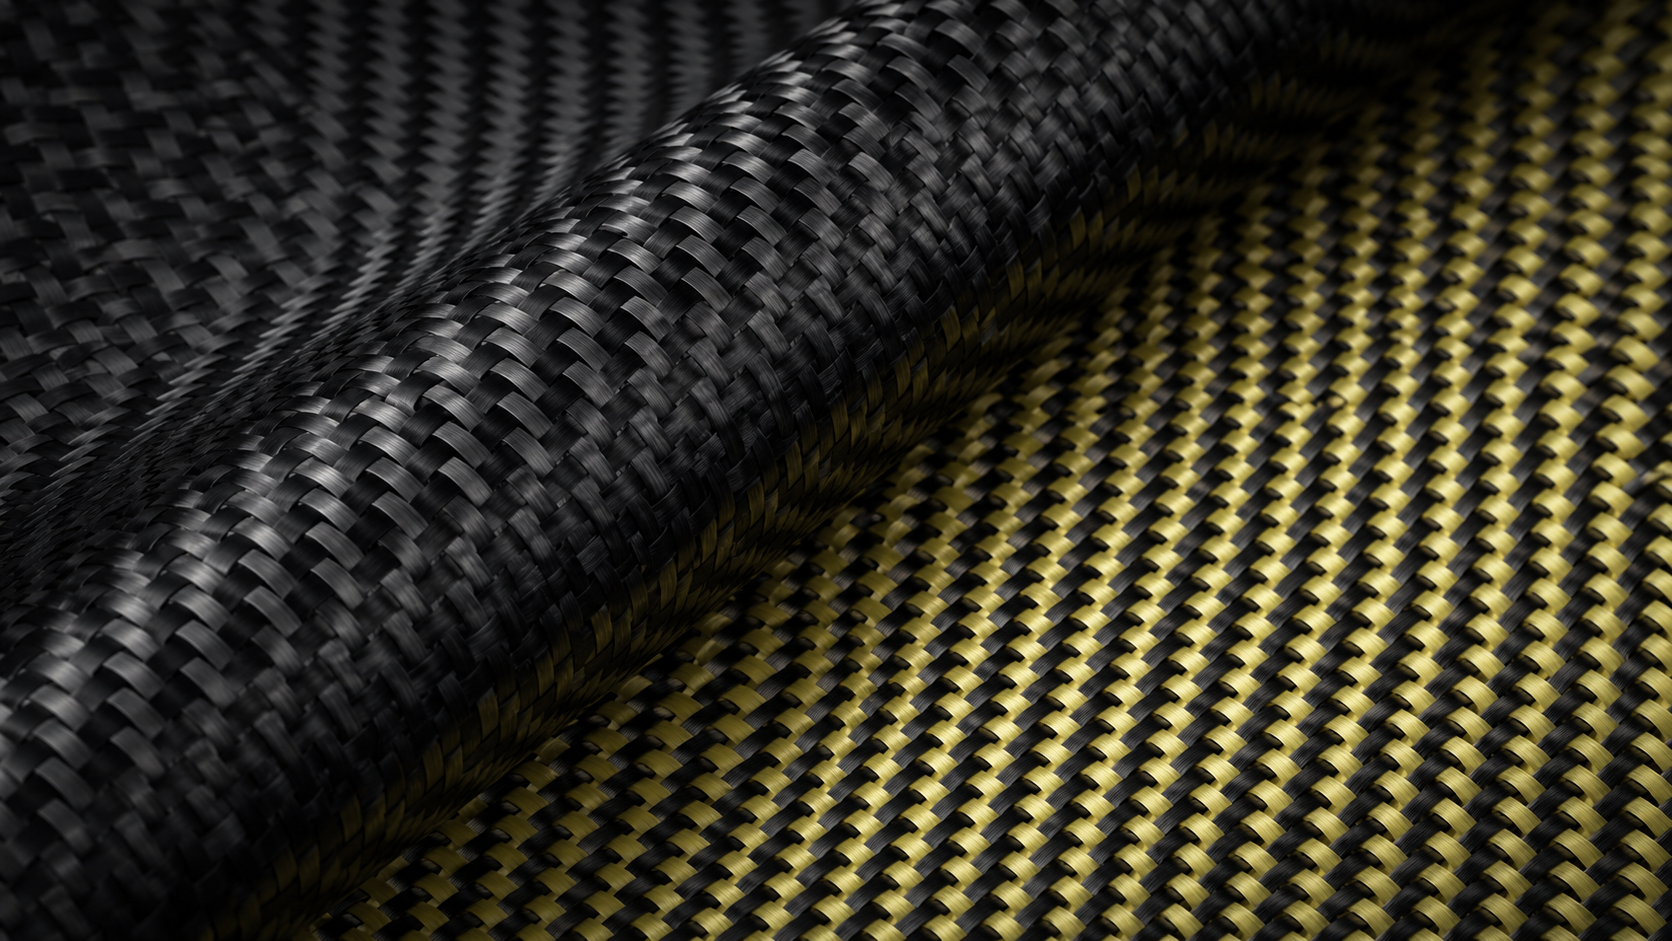
Regular vinyl is flat. Carbon fiber wrap has a 3D textured weave layer built into its surface. That texture blocks heat from spreading evenly. Smooth vinyl softens its adhesive in 1–1.5 minutes per square foot. Carbon fiber needs 2–3 minutes per square foot — sometimes more. Across a full hood or roof panel, that gap adds up fast.
Then there’s the adhesive. Brand matters here:
-
3M starts with strong initial tack. After 2–4 years of UV exposure, it develops bubbles or wrinkles — plus heavy residue buildup
-
VViViD uses a medium repositionable adhesive. After 3+ years, it hardens and goes brittle, causing uneven peeling
-
Avery bonds hard over time. UV damage leaves 40–60% more residue compared to fresh film
Age makes everything worse. A wrap under one year old comes off clean — 80–90% residue-free, around 5–10 minutes per section. That same wrap at 3+ years? You’re looking at 30–60 minutes per section. The pressure-sensitive adhesive oxidizes and breaks down from UV exposure. Shear strength goes up 25–40%. The film stops peeling. It flakes and tears instead.
Here’s a real example. A 3M matte carbon fiber vinyl on a Porsche 997 door at four years old needed full substrate prep before any re-wrap was possible. Interior trim in the same condition took two full removal rounds with Goo Gone and dedicated trim tools before the surface came clean.
Regular vinyl forgives beginner mistakes. Carbon fiber wrap doesn’t.
Tools You’ll Need for Safe Carbon Fiber Wrap Removal (Complete Checklist)
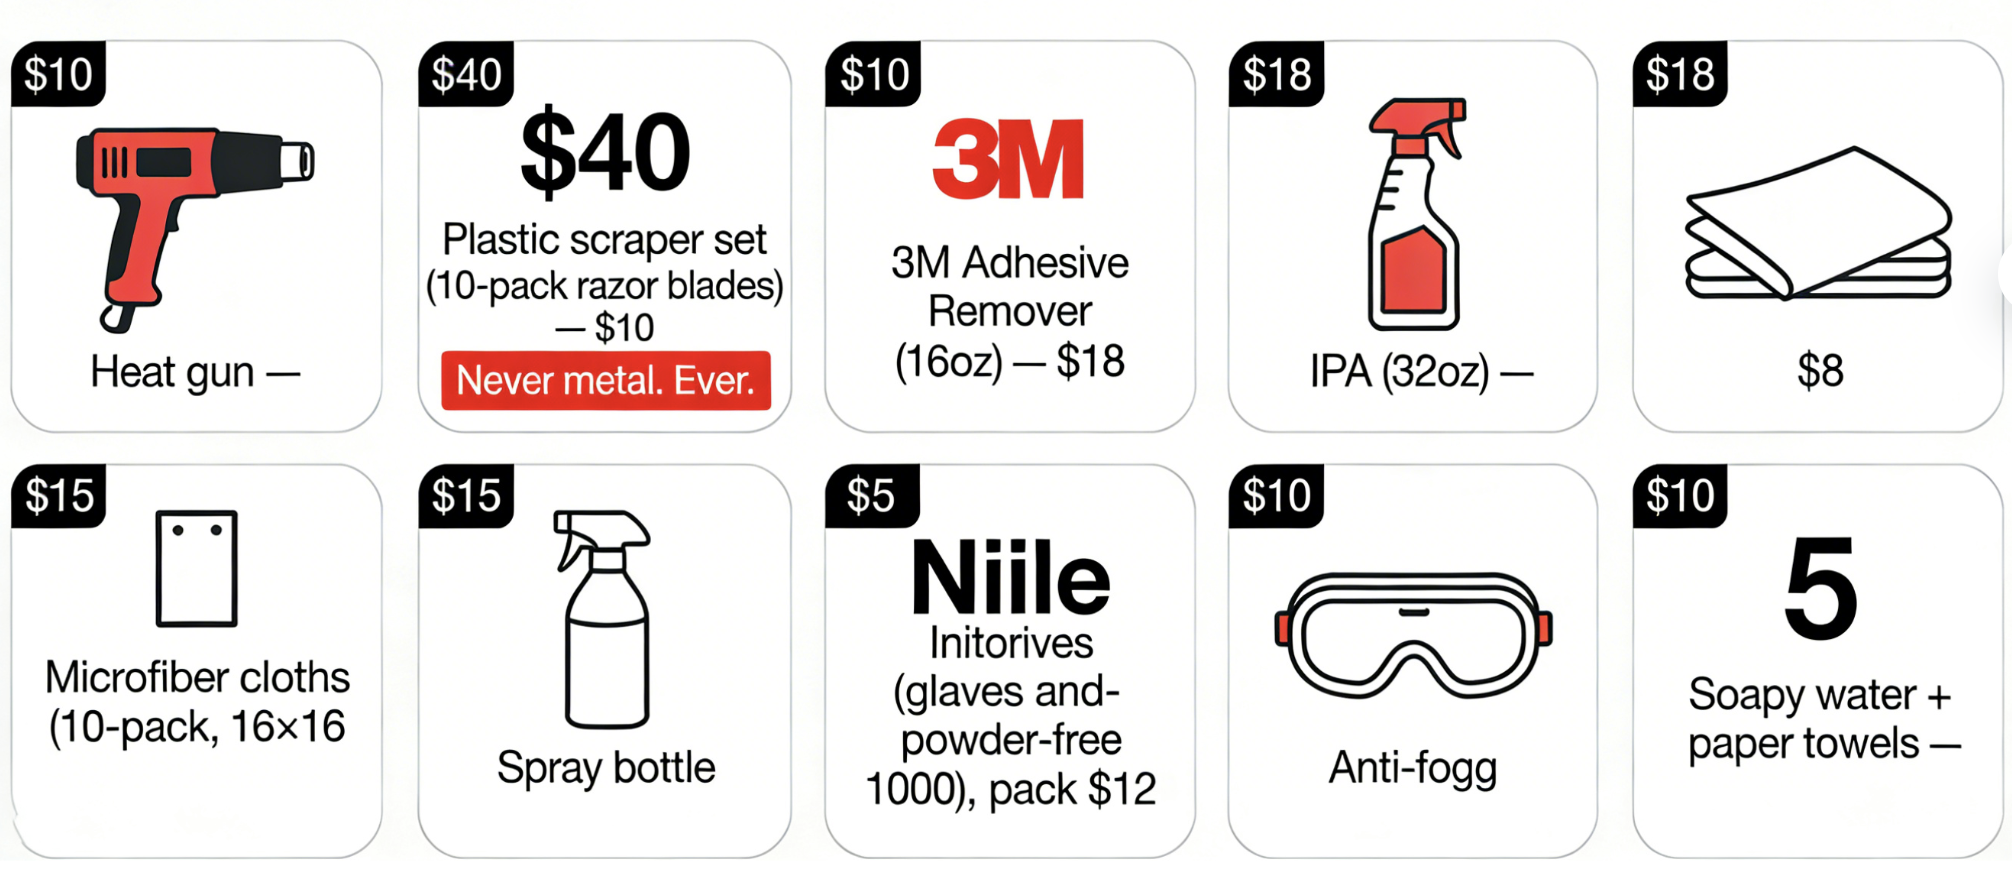
The right tools are the difference between a clean peel and a paint repair bill. Here’s what you need — no improvising.
Heat Source: Heat Gun
A heat gun ($30–80) set to 125°F/50°C is your primary tool. Hold it 6–8 inches from the surface in a circular motion. Carbon fiber’s 3D texture blocks heat from reaching the adhesive at a consistent depth. You need adjustable temperature control in the 100–500°F range to handle that. A hairdryer can’t get there. It tops out at ~140°F — fine for thin edges, useless for a full panel.
A steamer ($40–70) works well as a backup. Moisture and heat together push through carbon fiber’s textured weave better than dry heat alone. Worth keeping on hand.
Adhesive Removers (Ranked by Priority)
|
Product |
Clear Coat Safety |
Price (16oz) |
|---|---|---|
|
3M Adhesive Remover |
High |
$15–20 |
|
IPA (diluted 1:1 with water) |
High |
$5–10 |
|
Goo Gone Automotive |
Medium — spot test first |
$10–15 |
Apply the remover, let it sit 2–5 minutes, then wipe clean. Don’t rush it.
Complete Kit Checklist (~$100–130 Total)
-
Heat gun — $40
-
Plastic scraper set (10-pack razor blades) — $10. Never metal. Ever.
-
3M Adhesive Remover (16oz) — $18
-
IPA (32oz) — $8
-
Microfiber cloths (10-pack, 16×16″) — $15
-
Spray bottle — $5
-
Nitrile gloves (powder-free, 100-pack) — $12
-
Anti-fog goggles — $10
-
Soapy water + paper towels — $5
Peel at a 15° angle, straight and steady. Reheat the moment the film cools or stiffens. Use plastic scrapers — metal touches clear coat and leaves marks that won’t buff out.
Before You Start: Preparation Steps That Prevent 90% of Paint Damage
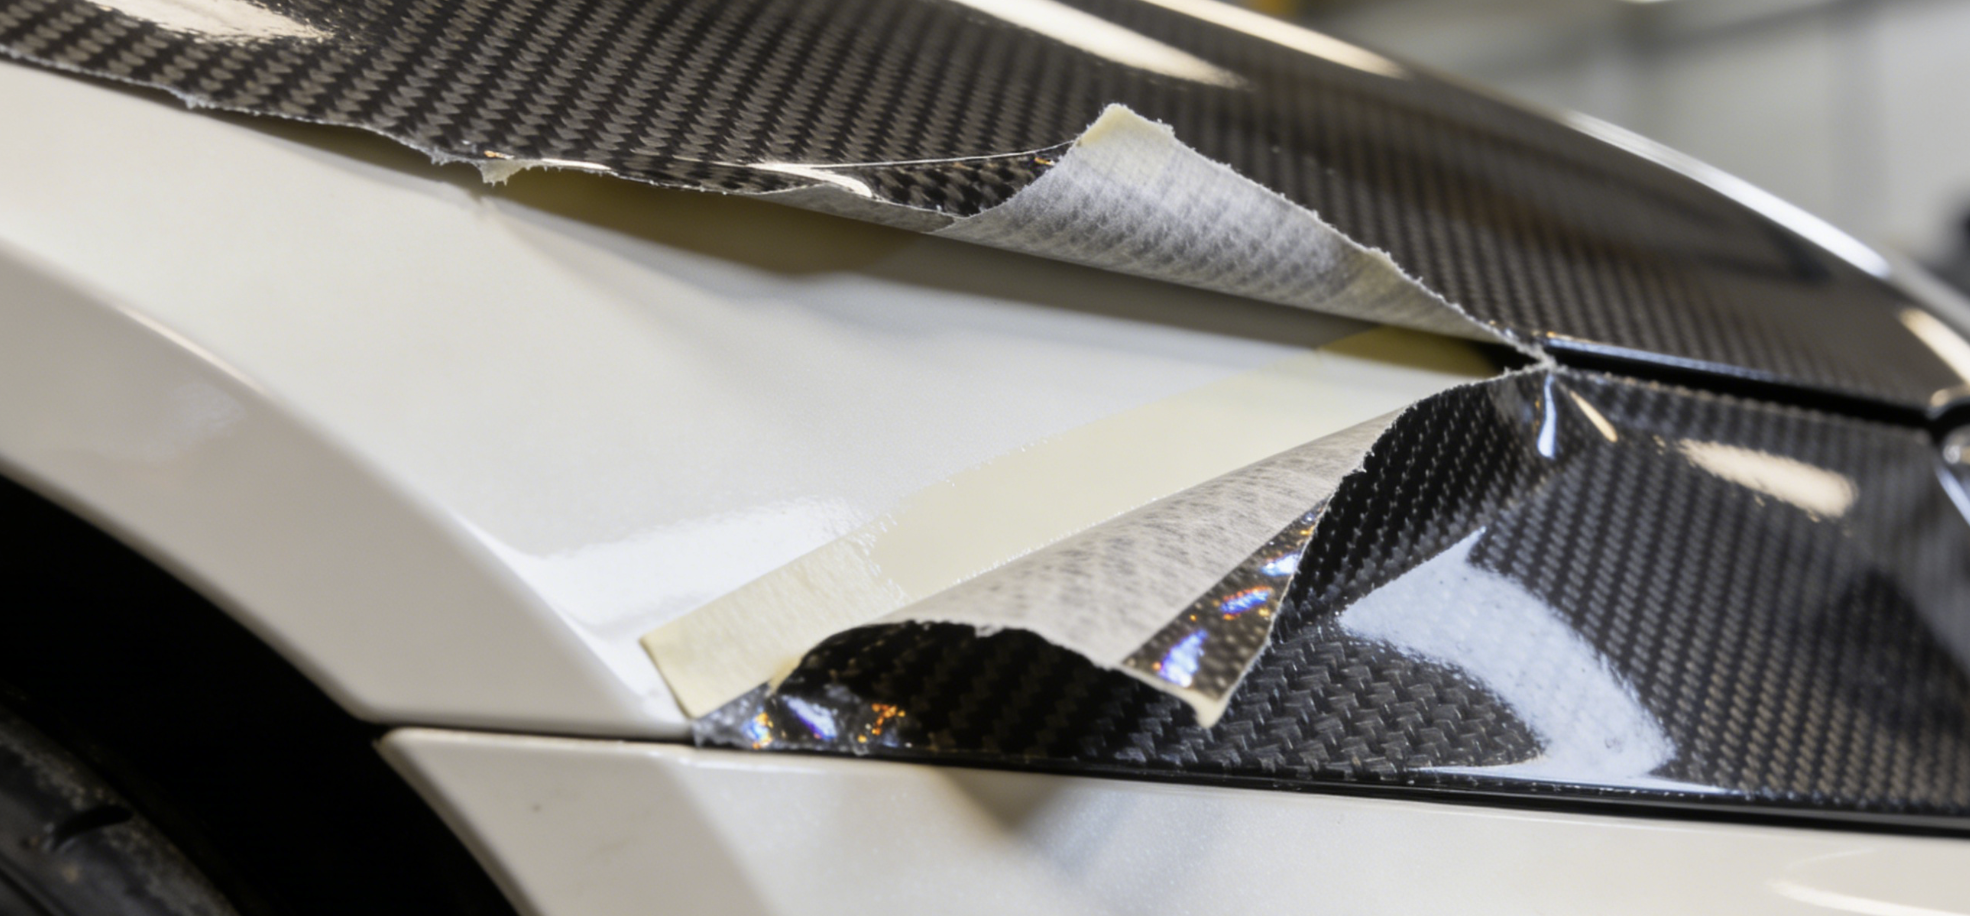
Most paint damage doesn’t happen during removal. It happens before you even pick up the heat gun.
Prep is where the job is won or lost. Do it right, and the actual removal becomes almost mechanical. Skip it, and you’re gambling with your clear coat.
Set up your environment first. Work in a shaded space between 60–80°F (15–27°C) with humidity around 40–60%. Direct sunlight heats the adhesive at different rates across the surface — that’s how you get tearing instead of peeling.
Run a test patch before committing to a full panel. Find a hidden spot — the lower door edge is a solid choice. Heat a 6×6 inch square for 30–60 seconds, then peel at a 45° angle with a plastic scraper. Clean lift with no residue? You’re good. Adhesive still clinging, or worse, paint lifting with it? Stop. That wrap needs more time and a slower approach.
Inspect your paint under an LED light. Look for:
– Scratches deeper than 0.1mm
– Oxidation — that dull, chalky surface texture
– Signs of previous repainting — orange peel texture or mismatched clear coat thickness
Repainted panels need extra caution. Mask vulnerable edges with 3M 2080 tape plus foam padding before you start.
Clean the surface before removal. Wash with pH-neutral soap. Clay bar any embedded contaminants. Then wipe down with 70% IPA diluted 1:1 with water. Let it air dry for at least 20–30 minutes. Oils sitting on the surface will break clean adhesive release — don’t rush this step.
Last thing: gloves and goggles on before anything else touches the car.
Step 1 — Find the Right Starting Edge Without Scratching
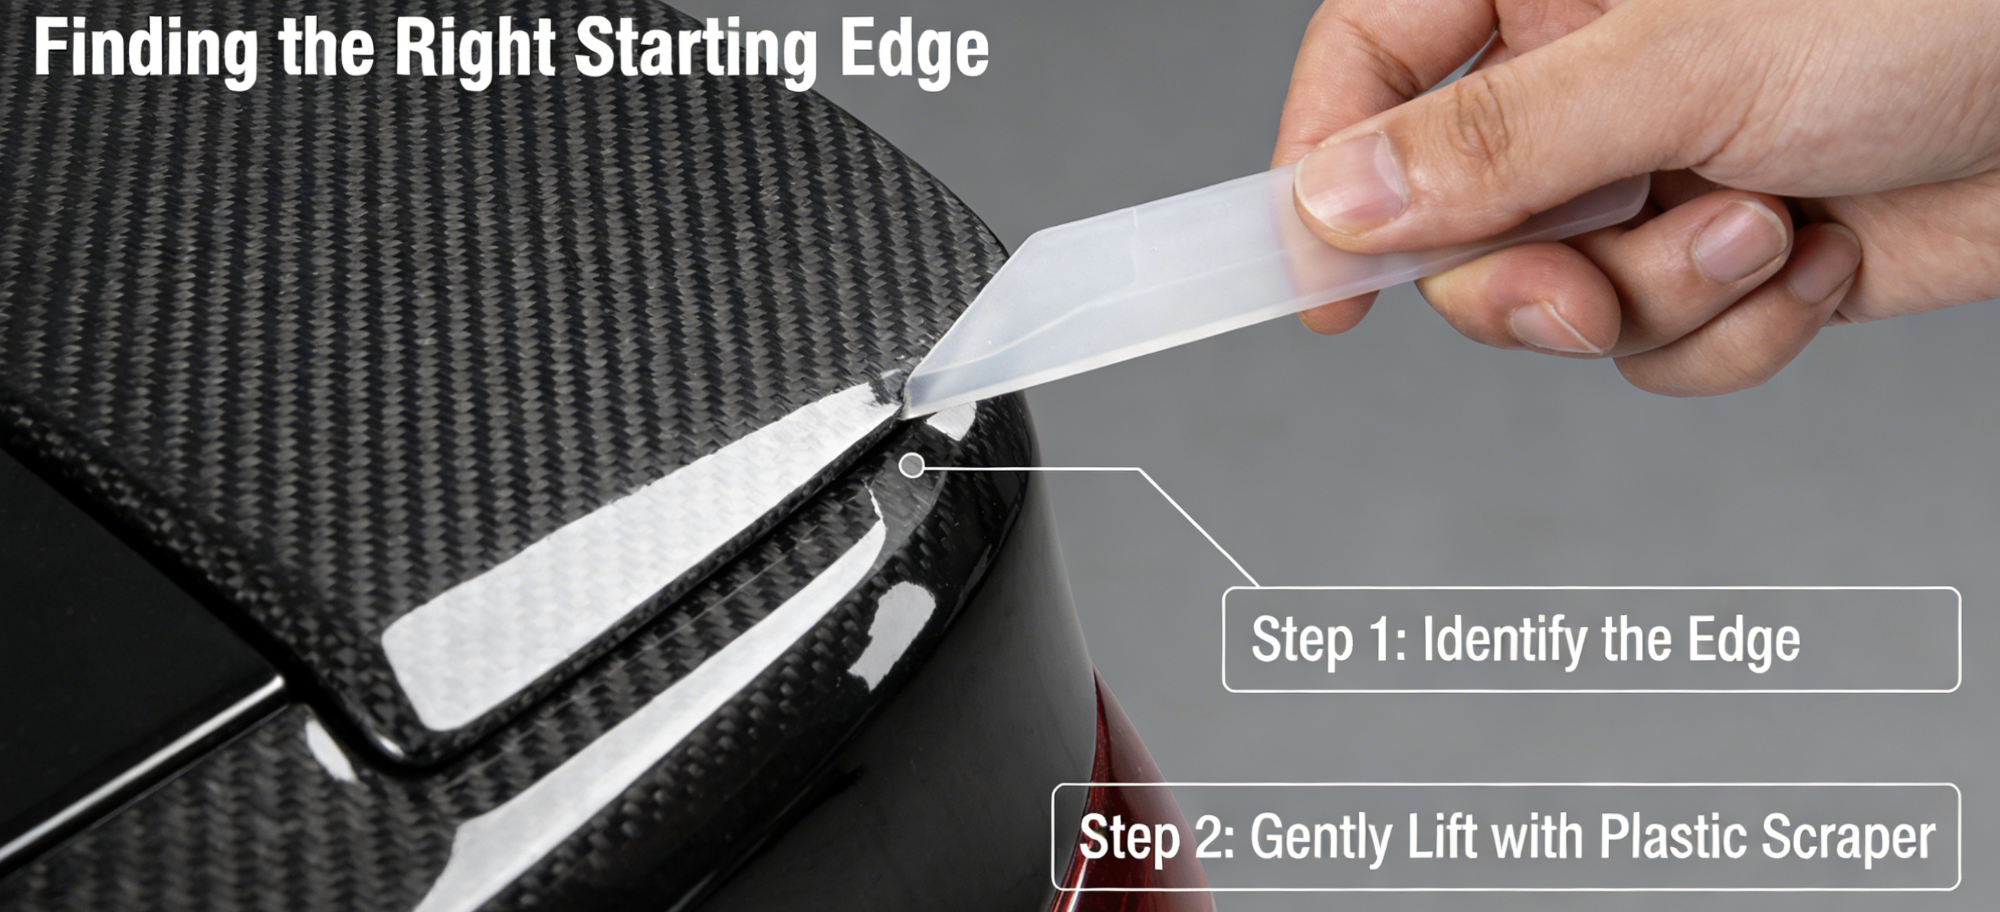
The edge you choose first determines everything that follows.
Pick the wrong spot and you’re forcing a plastic scraper against flat paint with no natural gap. Pick the right one and the wrap opens up for you. Every panel on your car has a built-in starting point — you just need to know where to look.
Here’s where to start on each panel:
-
Hood — Work from the rear edge where it meets the windshield. There’s a natural 0.5–1mm gap under the wiper seal. Slide your plastic scraper in there first.
-
Roof — The front edge along the windshield’s upper frame gives you 1–2mm of clearance. Avoid the side edges — that’s where lifting puts the most stress on paint.
-
Door panels — Start at the bottom where the door meets the frame. That 0.8mm gap lets you peel upward with the grain of the adhesive, not against it.
-
Bumpers — The underside where it connects to the chassis opens up 2–3mm. Side grille gaps work too. Bumpers flex a bit — that flex works in your favor.
No visible edge? Create one.
Heat the border strip for 5–10 seconds on low. Target 40–50°C — warm enough to soften the adhesive, not hot enough to damage it. Then take a 5–10mm wide plastic scraper (0.2–0.5mm thick, rounded corners). Press it into the seam at a 45° angle. Go no more than 1–2mm deep. Rock it up and down. Don’t drag it.
No gap at all? Spray 70% IPA along the edge and wait 30 seconds. The alcohol seeps under the film and starts breaking the adhesive bond. Your scraper hasn’t even touched it yet.
Keep pressure under 5N — about the force of pressing a pen to paper. Rounded scraper corners plus controlled pressure drops your paint scratch risk below 1%.
One more thing before you peel: figure out how your wrap was installed.
Run your fingernail along the surface near any edge. A single-piece wrap has even thickness (~1.5mm) and no seam lines. Start at one corner and work clockwise around the panel. A sectioned wrap shows faint seam lines (0.1–0.3mm wide) with uneven thickness between pieces. With those, start at the seam edges. Work each section on its own. Treating a sectioned wrap like a single piece leads to mid-panel tears.
|
Wrap Type |
What to Look For |
Where to Start |
|---|---|---|
|
Single-piece |
No seams, even thickness |
One corner, full edge |
|
Sectioned |
Visible seam lines, uneven depth |
Seam edges first |
The right edge selection brings your scratch risk down to near zero. The wrong starting point pushes that to 10–20% — and those aren’t scratches you can buff out.
Step 2 — Heat Application Technique for Carbon Fiber Wrap (Temperature & Distance)
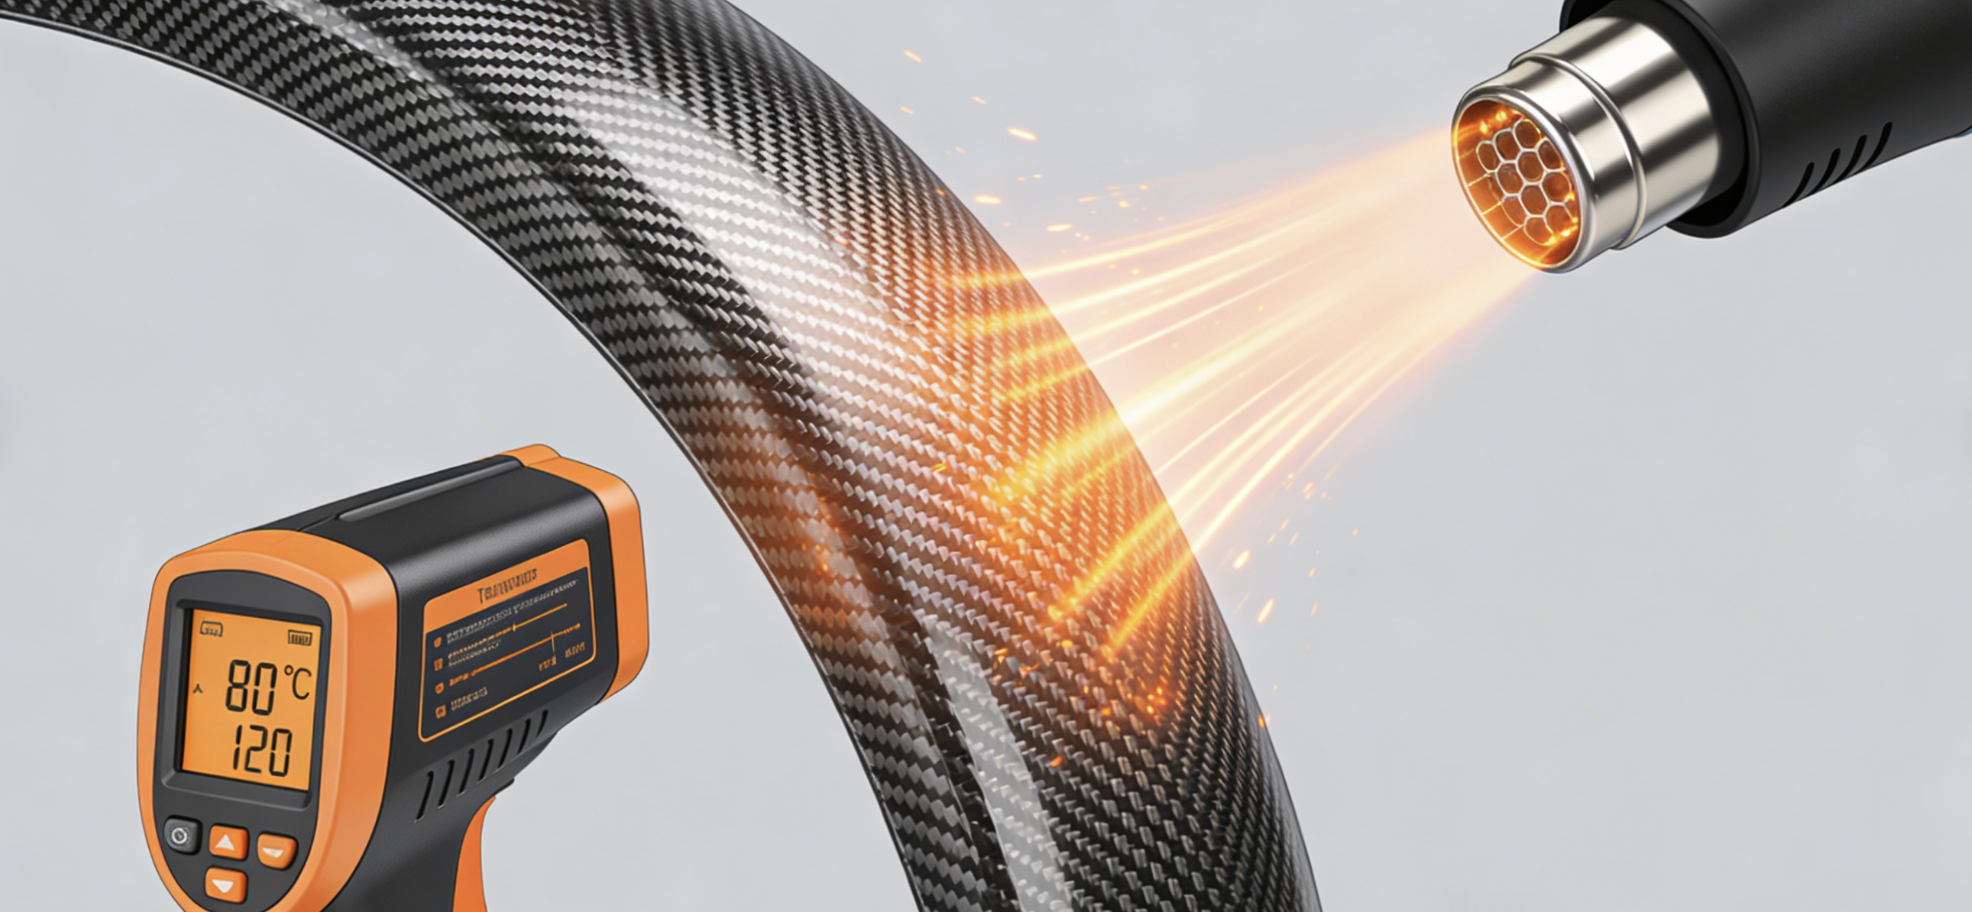
Temperature is the one variable that decides everything. Get it right and the wrap peels clean. Too cold and the adhesive locks down like epoxy. Too hot and you burn through the clear coat. The safe working window is tighter than most people think.
The Three Temperature Zones You Need to Know
Carbon fiber wrap removal goes through three heat phases. Each phase does a specific job:
-
Working range: 40–60°C (104–140°F) — This is where the adhesive softens. The film turns pliable and starts letting go of the surface. You’ll feel the resistance drop. This is your main peeling zone.
-
Stubborn section range: 60–80°C (140–176°F) — Older wraps with hardened adhesive need more heat. Push into this range carefully. Keep it to 10–15 seconds per area, then move on.
-
Never exceed: 90°C (194°F) — Above this point, matte textures can gloss over and the weave pattern underneath can distort. Clear coat starts taking damage too.
How to Apply the Heat
Hold your heat gun 6–8 inches from the surface. Keep it moving at all times — slow, overlapping circular passes work best. A gun held still will create hotspots within seconds. Hotspots cause uneven adhesive release. Uneven release causes tearing.
Spend 20–30 seconds per 6×6 inch section before you start peeling. Film still pushing back after that? Reheat the area. Do not force it.
One tool you cannot skip: an infrared thermometer. Point it at the panel surface before you pull. Guessing costs you paint. A basic IR thermometer runs under $20 and takes all the uncertainty out of the process.
The Mistake That Ruins Carbon Fiber Wrap Removal
Spot-heating one point instead of warming the whole section. Carbon fiber’s 3D weave traps heat in place — it does not spread the way flat vinyl does. The adhesive softens in one small patch while staying hard everywhere else. Pull in that state and the film tears across the rigid sections. That leaves jagged residue stuck to your paint.
Use broad, moving heat. Get the temperature consistent across the full section. Then peel.
Step 3 — The Correct Peeling Angle and Tension Method
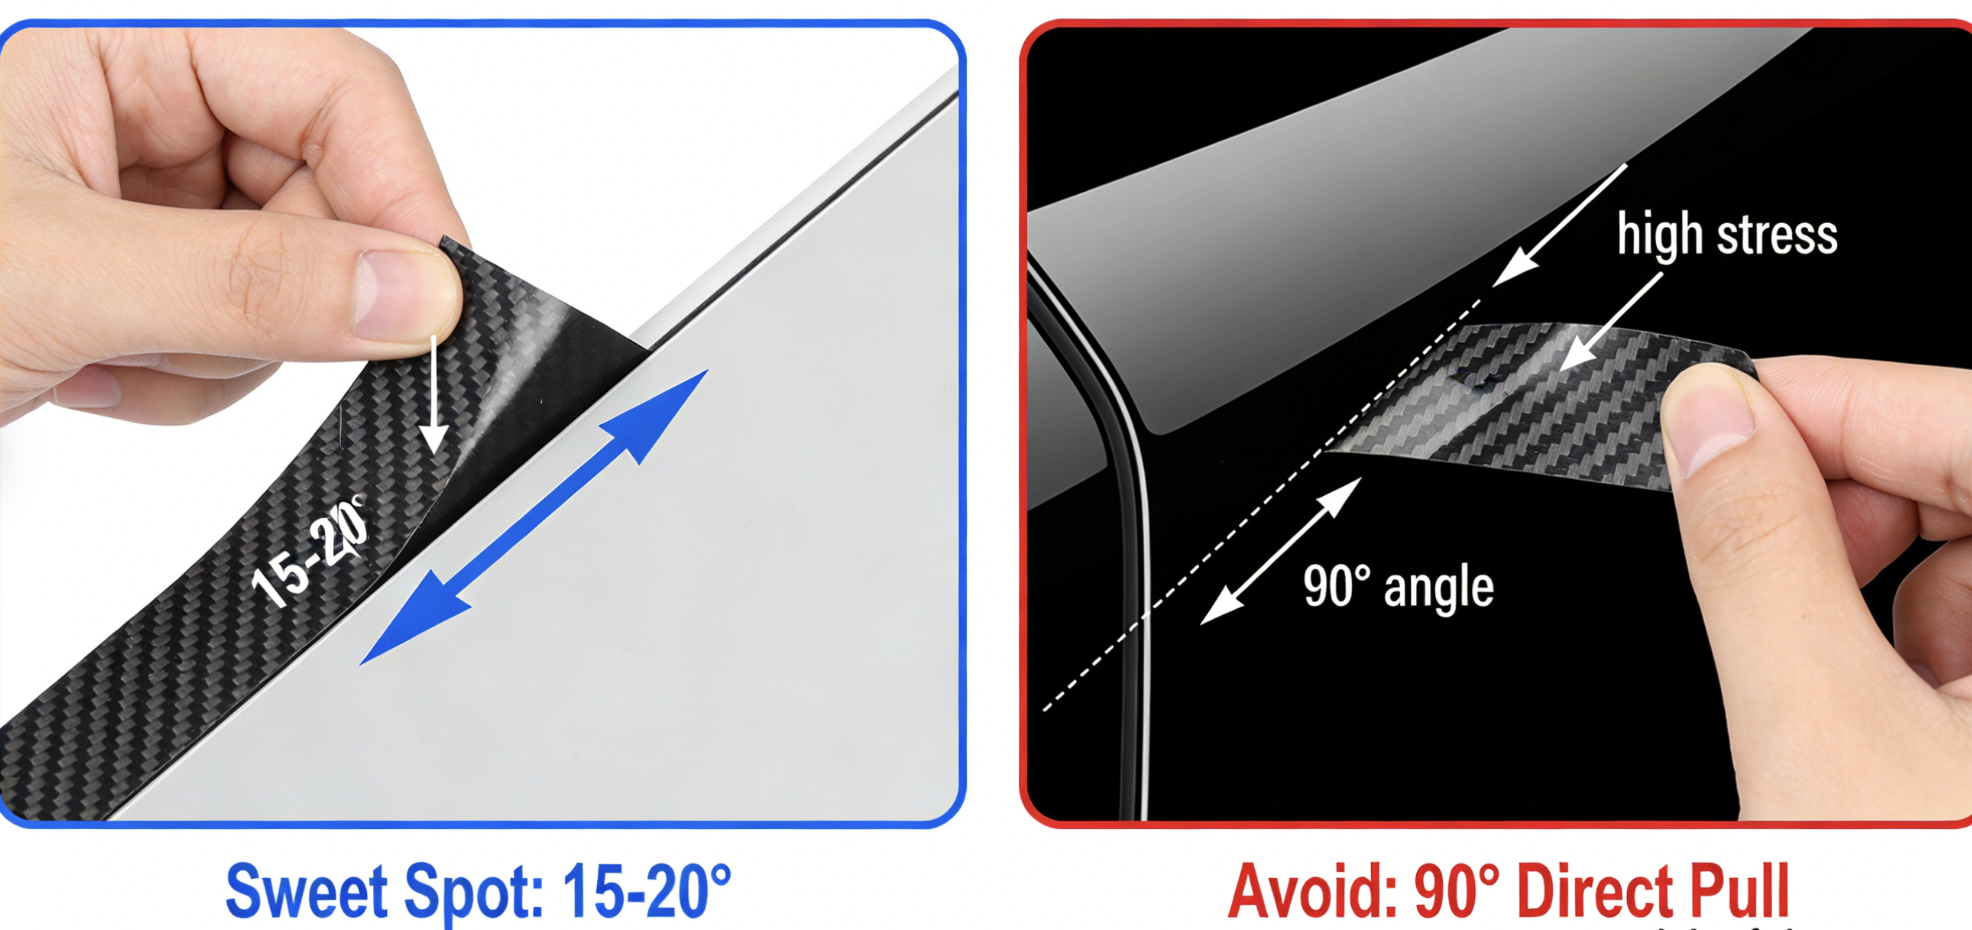
Angle is everything. Pull at the wrong angle and you’re not removing wrap. You’re testing how much stress your clear coat can take before it fails.
The sweet spot for carbon fiber vinyl wrap removal is 15–20 degrees. Keep it low and flat against the panel. That angle runs the peel force parallel to the adhesive layer. It doesn’t pull straight into the paint. The film separates with a clean break. The bond lets go with no fight.
Here’s what each angle does:
-
15–20° — Maximum adhesive shear. The film slides off rather than rips up. This is your default for every panel.
-
45° — Higher perpendicular force. Good for getting under a stubborn starting edge, but not for sustained peeling. Drop back to a low angle once you’re moving.
-
90° — Direct pull into the paint surface. Highest stress on the clear coat. Don’t peel at this angle. Not even for a second.
Control Your Tension — Consistent and Slow Wins
Speed kills this process. Pull too fast and the adhesive can’t release on its own terms. It either tears the film or takes the clear coat with it.
Keep your pull slow and deliberate. Think steady pressure, not momentum. The film should move, not snap.
Two things that break tension control fast:
-
Letting the film cool mid-peel. Feel resistance building? Stop pulling. Reheat the next 4–6 inches before you go further.
-
Gripping too wide. Use two fingers close together. A wide grip spreads tension unevenly across the film width. That’s how diagonal tears start.
One rule worth memorizing: if it resists, heat it — never force it.
Step 4 — Removing Adhesive Residue Without Harming Clear Coat
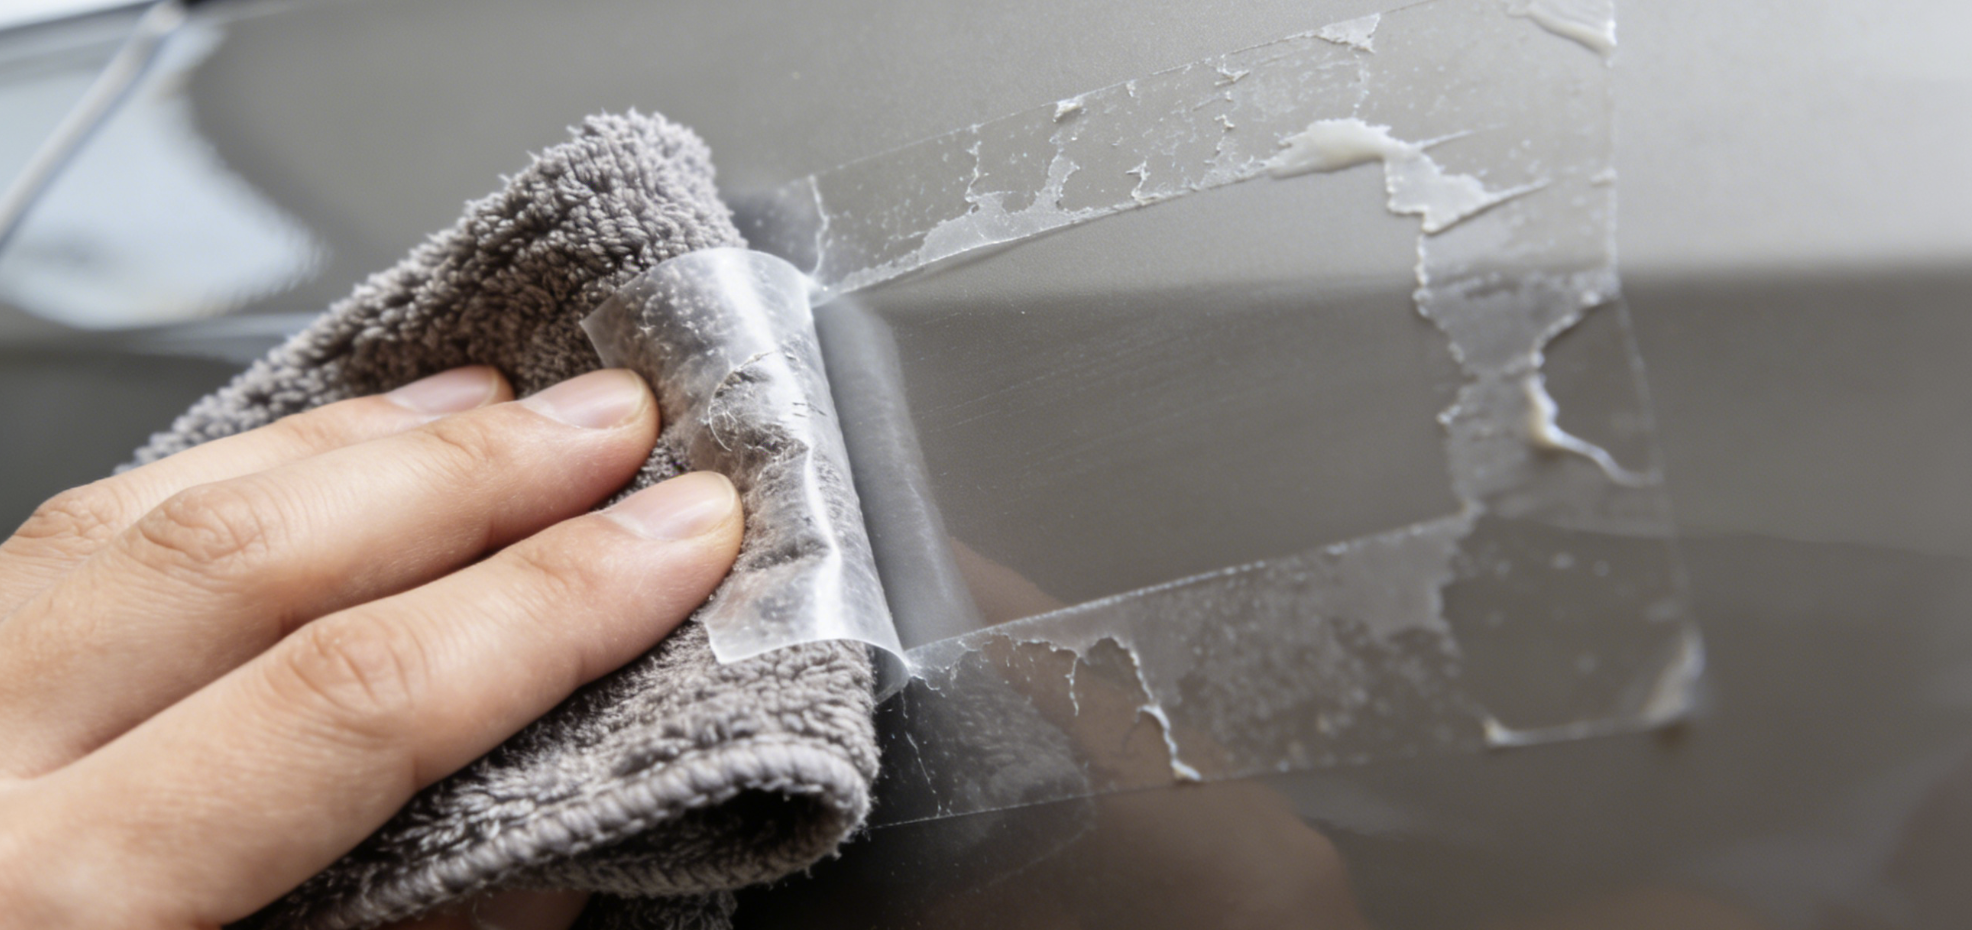
The wrap is off. Now you’re staring at the ghost it left behind.
Nobody talks about adhesive residue until they’re standing in the driveway with a ruined clear coat. The good news: it’s fixable. The bad news: one wrong move causes more damage than the entire removal process put together.
Identify What You’re Dealing With First
Not all residue is the same. The method that clears one type will fail — or cause damage — on another.
-
Thin transparent film — Pre-soak with mineral spirits, let it sit 2–5 minutes, then wipe clean with microfiber
-
Thick yellow buildup — Spot-treat with a product like Rapid Remover, soak 2–5 minutes, then use a plastic scraper with zero downward pressure
-
White oxidized spots — Start with a soapy pre-soak (Super Soaper works well), follow with a mild solvent on microfiber, wipe in straight lines
The IPA 50:50 Method (Your Default Starting Point)
Mix 50% isopropyl alcohol with 50% distilled water. Put it on a microfiber towel — never spray straight onto the panel. Let it sit 2–3 minutes (longer in cold weather, shorter in heat). Wipe in straight lines with light pressure. Rinse the area and wash with soap after.
A few things worth knowing:
-
10% IPA won’t do much — concentration matters
-
Products like Detailer’s Cleanse work faster but can dull the finish if you leave them too long
-
Keep pressure under 5 psi — this is a wipe, not a scrub
Chemical Methods Not Cutting It?
Stubborn residue that survives a full dwell cycle needs the 3M Eraser Wheel. Keep RPM below 1,500 — heat builds fast above that. Anything over 140°F puts your clear coat at risk. Work in 10–15 second bursts. Keep the wheel moving the whole time, and use IPA or water as a lubricant throughout. After each pass, wipe the area and check for haze before moving on.
Spot Test Before Going Full Panel
Pick a hidden spot — lower door edge or wheel well lip. Put your chosen remover on at full dwell time (up to 5 minutes). Wipe, rinse, then check under direct light for haze, dulling, or color shift. Wait 24 hours. No change? You’re good to go across the rest of the panel.
|
Method |
Dwell Time |
Clear Coat Risk |
Speed |
|---|---|---|---|
|
IPA 50:50 |
1–5 min |
Low |
Moderate |
|
Mineral Spirits |
2–5 min |
Low |
Fast |
|
Rapid Remover |
2–5 min |
Low |
60 sec+ |
|
Detailer’s Cleanse |
1–3 min |
Moderate |
High |
One final step once the surface is clean: put wax or ceramic coating back on. Removal chemicals strip whatever protection was already there. Don’t skip it.
Step 5 — Final Paint Inspection and Post-Removal Restoration
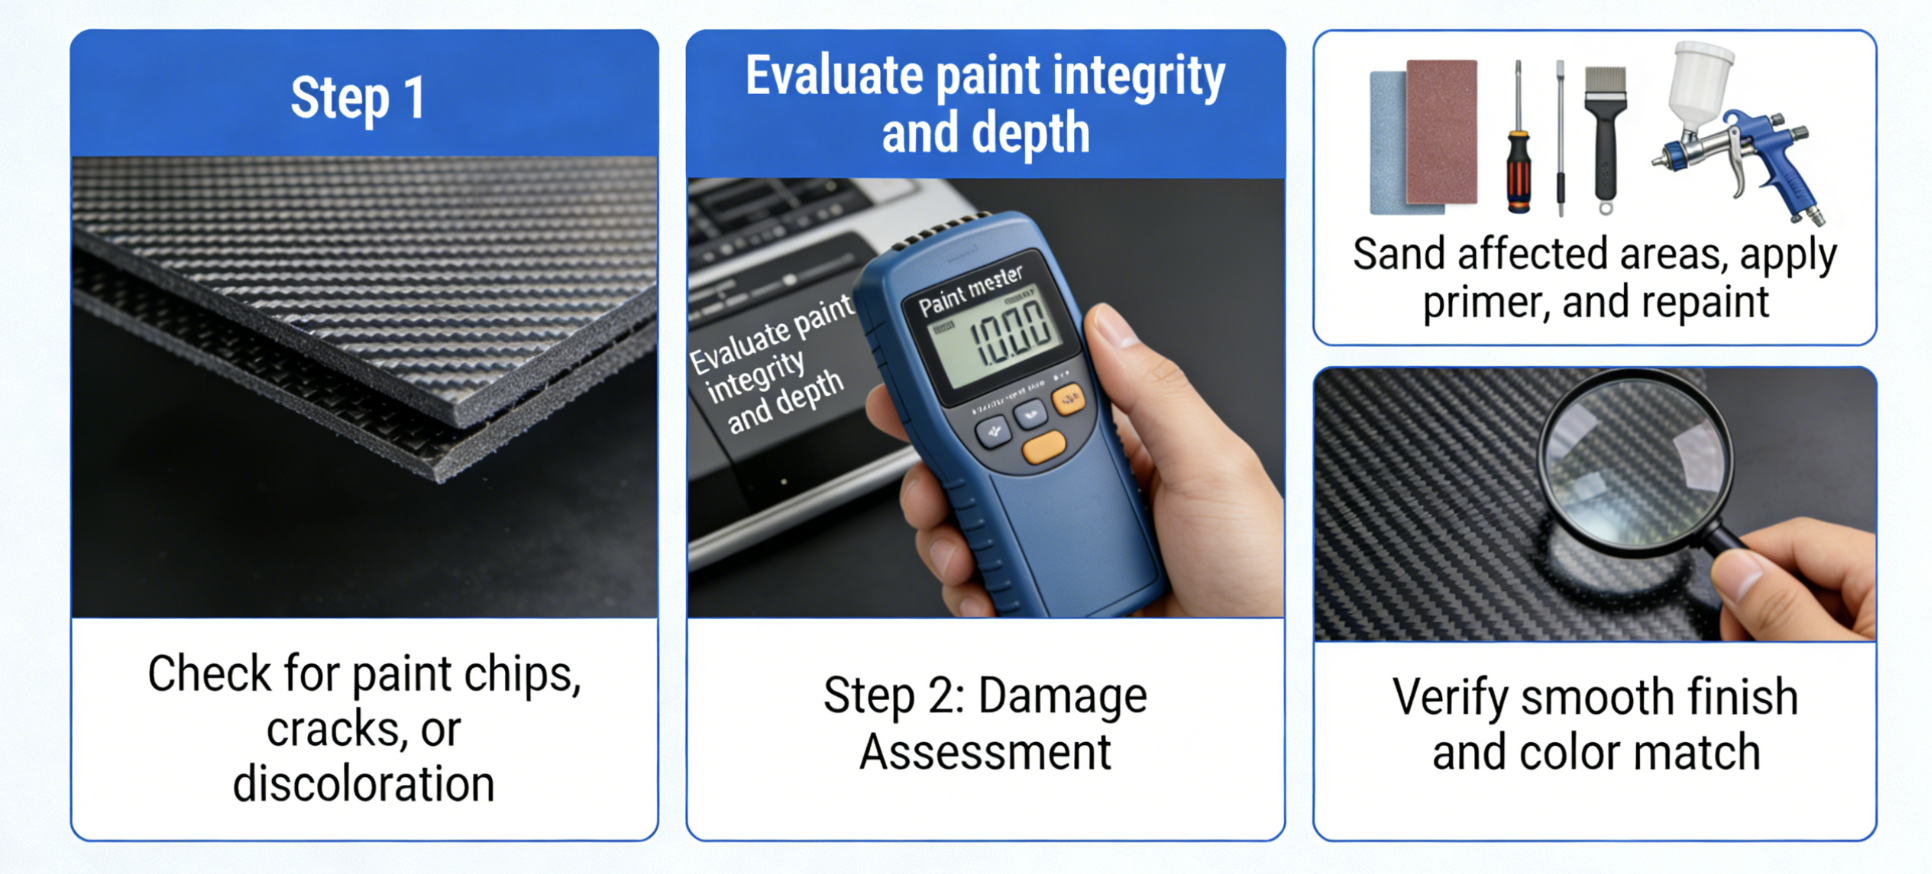
The wrap is gone. What’s left on that panel tells the whole story of how the job went.
Run your hand across the surface under direct light — a 1,000-lux LED works best — before you reach for any product. What you find drives every decision from here.
Match the Damage to the Fix
Not every panel needs the same treatment. Use this grading system to make the call:
|
What You See |
Surface Area |
Fix |
|---|---|---|
|
Light haze or water spots |
<5% |
Clay bar + polish |
|
Adhesive prints (1–3mm spots) |
Isolated |
IPA wipe + clay |
|
Fine scratches (<0.1mm deep) |
<5% |
Microfiber polish |
|
Color difference (filmed vs. bare) |
Any |
Compound polish (ΔE <2.0 threshold) |
Clay Bar: Use It or Skip It?
One test settles it. Drag a dry fingertip across the paint at a slow, steady pace. Feel drag or grit? Clay bar. See haze covering more than 10% of the panel? Clay bar.
Here’s the sequence:
1. Wash with pH-neutral soap
2. Spray clay lube (ONR at 1:64 dilution)
3. Glide the clay in straight lines, 50% overlap per pass
4. Rinse, dry, re-inspect under light
Bilt Hamber Clay Ultra handles light contamination. Meguiar’s Clay cuts through moderate buildup. Match the clay grade to the job. Mild clay on a heavily contaminated panel won’t pull enough off. Heavy clay on a clean panel strips clearcoat it doesn’t need to touch. Pick the right grade, not the most aggressive one.
Polish, Wax, or Ceramic — Pick Based on What’s There
|
Damage Level |
Surface Coverage |
Product |
Protection Duration |
|---|---|---|---|
|
Minor haze / fine scratches |
<5% |
Rupes Uno polish + wax |
3–6 months |
|
Moderate (adhesive residue / color shift) |
5–20% |
Menzerna 400 compound + ceramic |
2–5 years |
|
Severe oxidation |
>20% |
Heavy cut compound + ceramic (2µm+ SiO2) |
2–5 years |
Polish removes 1–2µm of clearcoat per pass. That’s why you skip it on panels that don’t need it — every pass costs you clearcoat depth you can’t get back. Ceramic coating protects for 2–5 years against UV and oxidation. Wax covers you for 3–6 months. Base your choice on what the paint shows, not on routine.
The 14-Day Rule Nobody Mentions
Bare clearcoat doesn’t wait around. Exposed paint etches at 0.1µm per month. Haze above 5% can show up within 30 days of wrap removal (per ASTM D4213).
Here’s the rule: put down two layers of synthetic wax — Collinite 845 is the go-to pick — within 48 hours of removal. From there, re-wrap or lock in permanent protection within 7–14 days. The clock starts the moment the wrap comes off. Don’t let that window close.
Critical Mistakes That Guarantee Paint Damage (Avoid These)
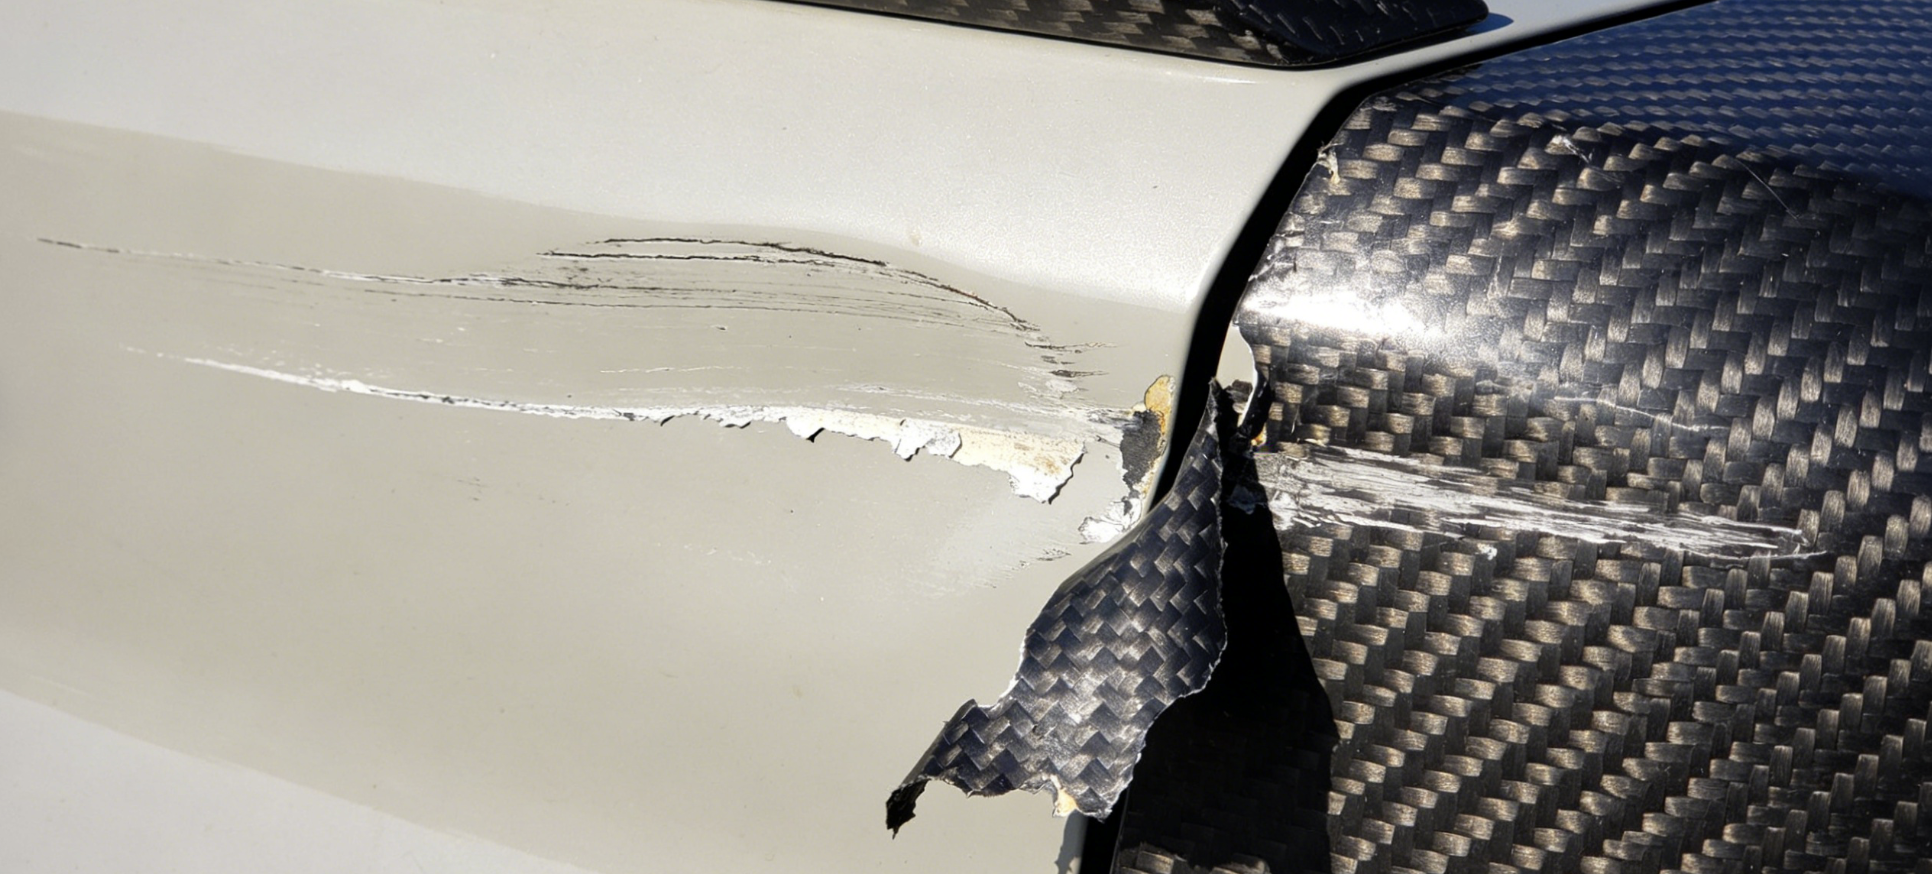
Most carbon fiber wrap removal jobs go wrong in the same five ways. None of them are complicated. All of them are avoidable.
Using a metal scraper at any point. This one is non-negotiable. Metal touches clear coat and leaves marks that no amount of polishing fixes. Use plastic scrapers — full stop.
Skipping the heat or under-heating the panel. Cold wrap doesn’t peel. It chunks, snaps, and tears — leaving jagged adhesive pieces stuck to your paint. Carbon fiber’s 3D weave needs 2–3 minutes per square foot of steady heat before the adhesive lets go. Rush that step, and you get residue. Every time.
Pulling at a steep angle. Anything above 45 degrees pushes force straight into the paint surface. Keep your pull angle at 15–20 degrees — low, flat, parallel to the panel. That’s the one angle that creates a clean shear without putting stress on the clear coat.
Using chemical removers without spot-testing first. Full-strength solvents on an untested panel can dull or lift the clear coat in minutes. Test on a hidden edge first. Let the remover sit before you wipe — don’t skip that wait.
Leaving bare paint unprotected after removal. Exposed clear coat starts etching at 0.1µm per month. You have a 48-hour window to get protection on. Miss that window, and the damage is already moving before you spot it.
Skip DIY and Call a Professional (Honest Assessment)
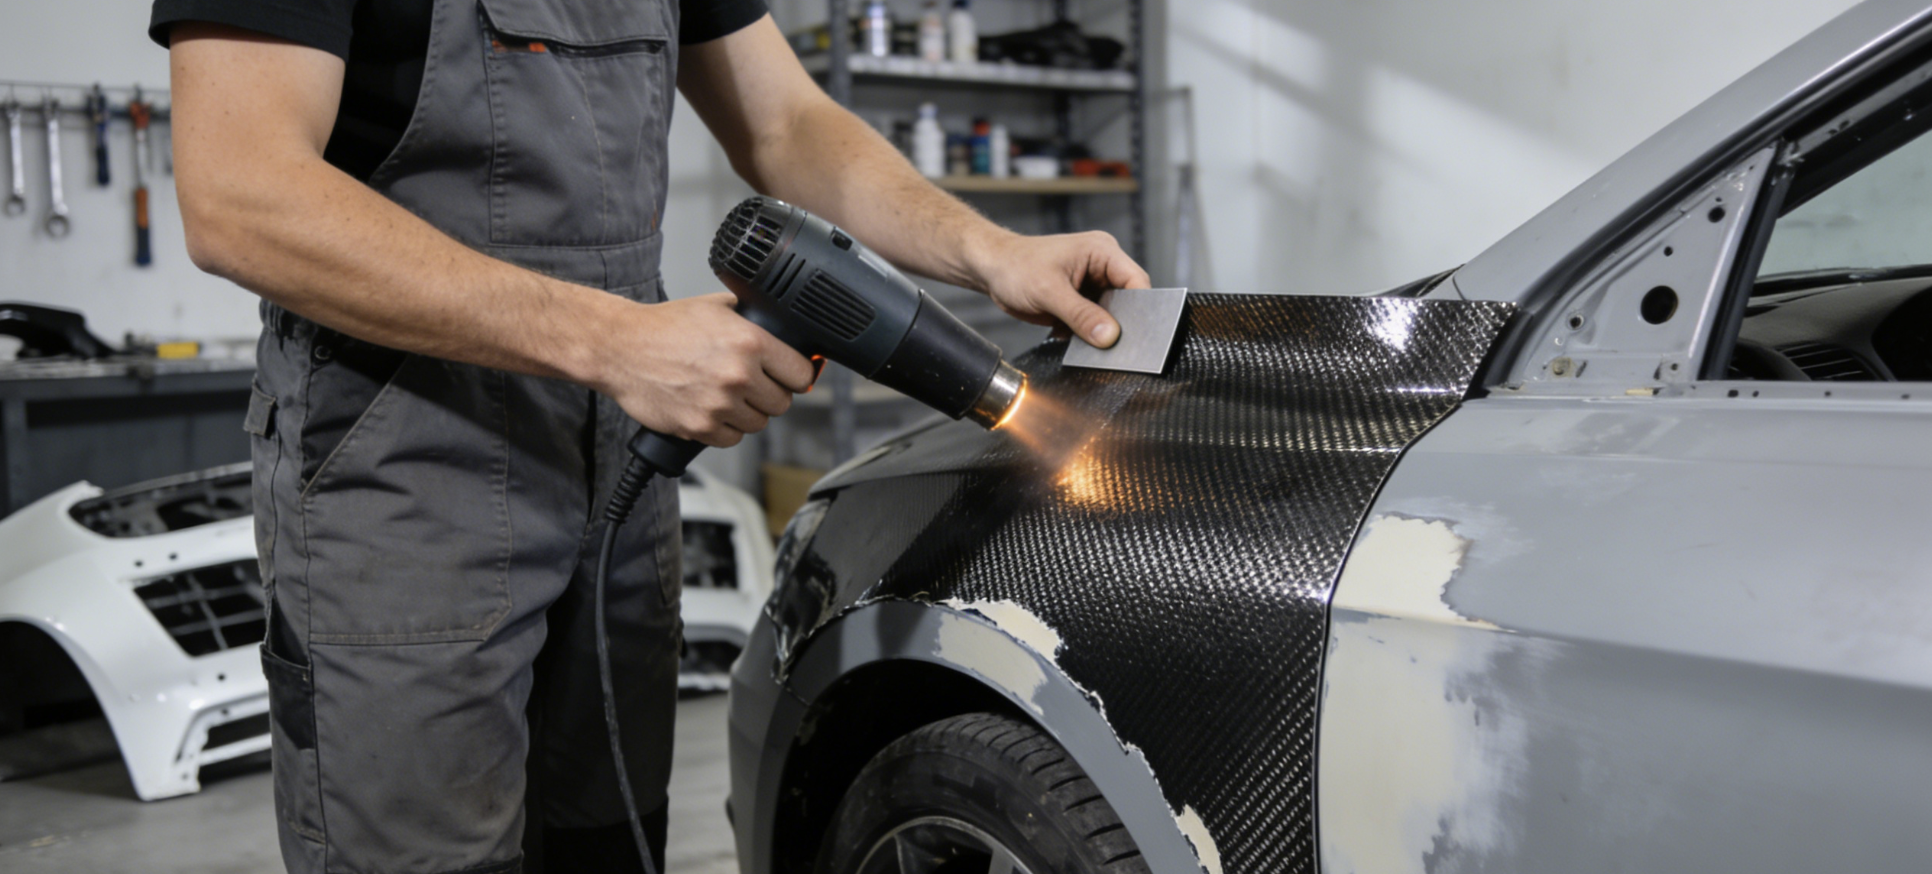
Most of this guide assumes you’re a reasonable DIY candidate. Not everyone is.
Four situations make calling a professional the correct choice — not just the cautious one:
-
Wrap older than 5 years. Adhesive breaks down and pushes tear risk to 70–90%. Clean sheets won’t happen. You’ll pull off chunks.
-
Pre-existing paint damage. DIY removal makes things worse in 80% of cases. The repair bill after that? It clears $2,000 more often than not.
-
Color-change film over previous bodywork. Mismatched failure shows up in 60% of DIY attempts. It also voids any existing warranty in most cases.
-
Vehicle worth more than $50,000. Pro error rates sit around 0.5%. DIY damage risk runs 40% higher. Saving a few hundred dollars isn’t worth those odds.
What Professional Removal Costs
|
Panel |
Pro Cost |
|---|---|
|
Door |
$200–400 |
|
Hood |
$300–500 |
|
Roof |
$400–600 |
|
Full vehicle |
$1,500–3,000 |
Hourly rates run $50–150. A quote under $100/hour with no materials line item is a red flag. Reputable shops build in 20–30% material waste — that cost shows up somewhere. Over $200/hour in a major metro? That falls within the normal range.
DIY looks cheaper on the surface. Once you add tool rentals, wasted materials, and damage correction, 30% of DIY projects end up costing more than a pro job would have. Your situation checks one of those four boxes? The $300 pro cost for a door panel becomes the smarter spend.
FAQ: Carbon Fiber Wrap Removal (Voice Search & Featured Snippet Targeting)
These are the questions people type at midnight, standing in a garage, wrap half-peeled and panic setting in.
How long does carbon fiber wrap removal take?
Anywhere from 10 minutes to 2 hours. A single door on a fresh wrap? Closer to 10–20 minutes. A full hood on a four-year-old wrap baked through two summers? Budget closer to 90 minutes. Carbon fiber’s layered weave fights heat in a way flat vinyl doesn’t. The material resists. You can’t rush it.
Why is carbon fiber harder to remove than regular vinyl?
The 3D texture built into carbon fiber film stops heat from reaching the adhesive at the same rate across the surface. Standard vinyl softens fast. Carbon fiber makes you work for it — more heat cycles, slower pulls, more patience per square foot.
What temperature should my heat gun be set to?
Stay between 40–60°C (104–140°F) for standard peeling. Stubborn older sections can handle up to 80°C (176°F) for short bursts. Never exceed 90°C — that’s where clear coat damage and texture distortion start.
Can I use a hairdryer instead of a heat gun?
For thin edge sections, yes. For a full panel, no. A hairdryer maxes out around 140°F. That’s not enough steady heat to loosen carbon fiber adhesive across a full panel. You’ll stall out mid-peel.
Will removal damage my paint?
Not with the right technique. The risks are real — adhesive ghosting, micro-scratches, clear coat stress. But each one is a process failure, not something that just happens. Use proper heat, hold a 15–20° pull angle, and stick to plastic scrapers only. Your paint stays intact.
Should I stop DIYing and call a professional?
Yes, in these situations:
-
Your wrap is older than five years
-
There’s existing paint damage underneath
-
The vehicle is worth more than $50,000
At that point, DIY stops making sense. Professional removal runs $200–600 per panel. That’s far less than fixing paint damage after a bad peel job.
Conclusion
You made it through every step. Here’s what most guides skip: removing carbon fiber wrap isn’t about brute force. It’s about patience and temperature control. Get the heat right. Peel at the right angle. That adhesive residue comes off cleaner than you’d think.
Your paint survived the wrap. Now make sure it survives the removal.
Two rules to keep close:
-
Slow beats fast. Every time.
-
A plastic tool will never damage your paint the way a metal blade will.
Stick to those two rules. You’ll walk away with factory paint that looks untouched.
Contact HyperX Carbon – Your Trusted Chinese Carbon Fiber Partner
Ready to source high-performance carbon fiber materials or custom forged carbon fiber parts from China?
HyperX Carbon is a leading manufacturer with 20+ years of expertise, specializing in aerospace-grade forged carbon fiber, prepreg, tubes, sheets, and lightweight automotive/drone/medical components. We offer:
-
Stable supply chain with premium raw materials (Toray, Mitsubishi, Hengshen)
-
AS9100D certified production for aerospace & UAV applications
-
Rapid prototyping (5-8 weeks) and monthly capacity exceeding 180,000 parts
-
Competitive pricing with 15-18% cost savings on forged carbon solutions
-
Full customization: from T700/T1100G to ultra-high modulus grades
Whether you’re an eVTOL developer, automotive OEM, drone manufacturer, or medical device engineer, HyperX delivers consistent quality, batch-to-batch reliability, and reliable delivery.
Get in touch today for a free consultation, custom quote, or material sample.
📧 Email: [email protected]
🌐 Website: https://www.hyperxcarbon.com/
📞 Phone/WhatsApp: +86 15623270276 (English support available)
Let’s build your next lightweight innovation together – contact HyperX Carbon now and stay ahead in the low-altitude and advanced composites market.