Building a carbon fiber hood from scratch sounds like a job for professional race shops with huge equipment budgets. But the gap between “enthusiast” and “fabricator” is much smaller than most people expect.
Get the right mold, the right resin system, and a solid grasp of the carbon fiber layup process. That’s really all you need to pull a lightweight, show-quality hood out of your own garage — at a fraction of the cost of a ready-made part.
So what’s driving your build? A 30-pound weight reduction? A unique weave pattern? Or just the satisfaction of making something real with your own hands? This guide covers every stage. You’ll go from pulling a plug off your OEM hood all the way to a mirror-polished clear coat finish.
Tools & Materials You’ll Need Before Starting

Get everything on this list staged and ready before you cut a single piece of carbon fiber fabric. Running short on peel ply mid-layup is a nightmare you don’t want.
Carbon Fiber & Core Materials
-
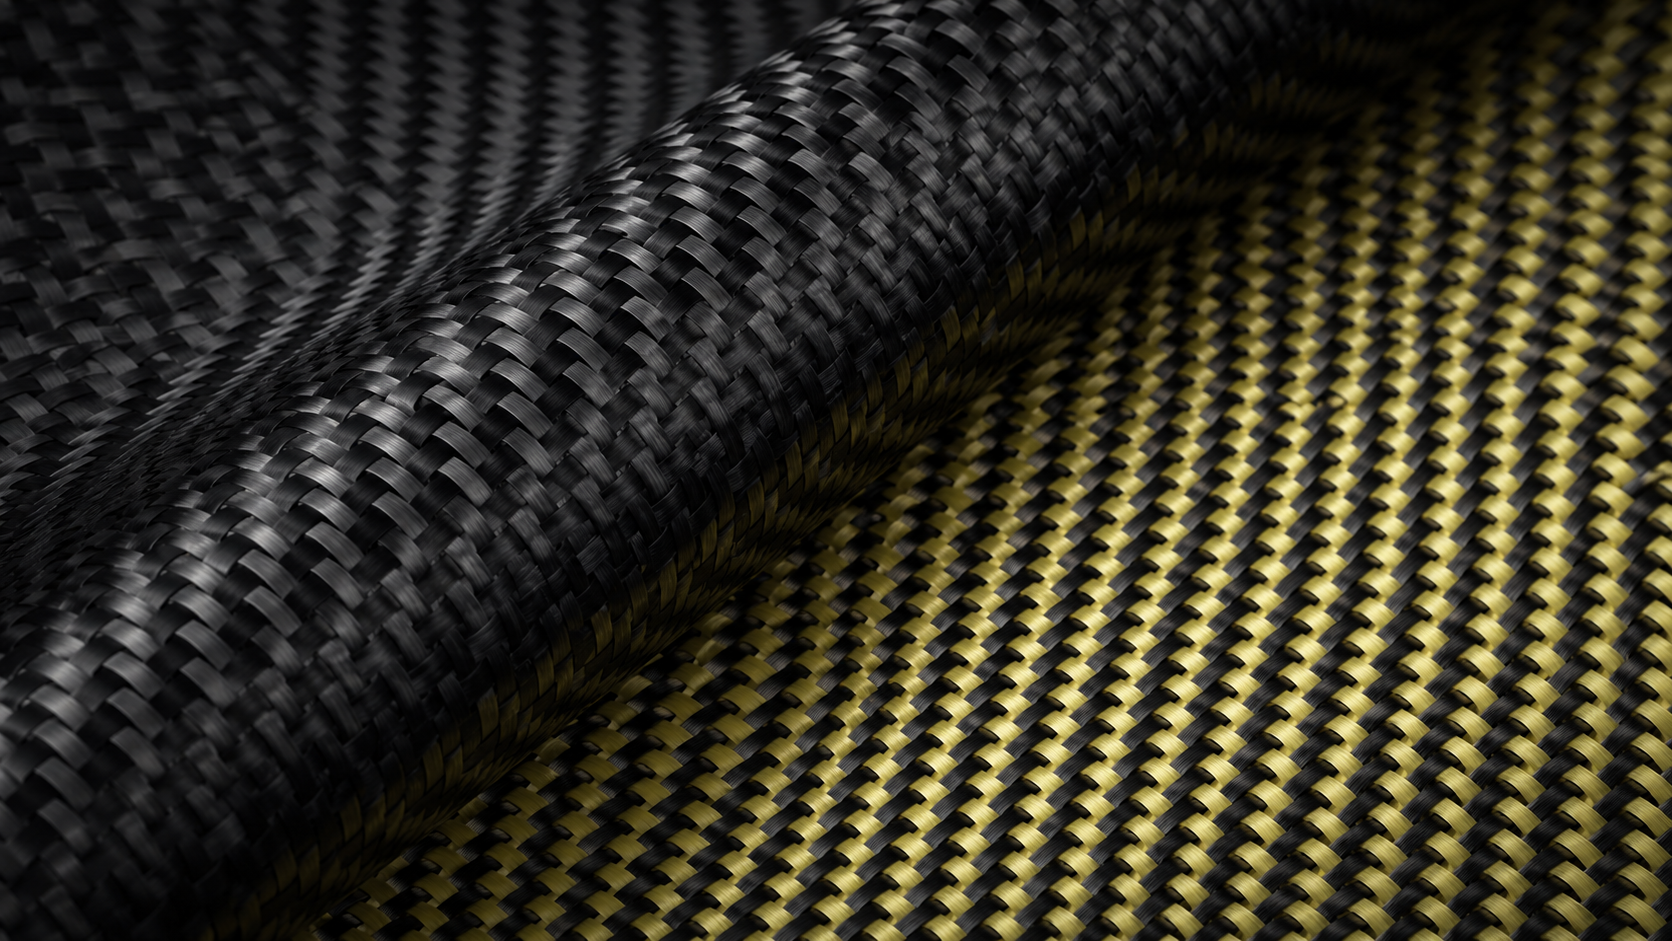
Carbon fiber fabric – 2×2 twill, 3K weave is the standard starting point for hoods; 200–300 g/m² weight
-
Epoxy resin + hardener – slow-cure systems (90–120 min pot life) give you enough working time for a panel this size
-
Release agent – wax-based or PVA; put this on your mold before anything else touches it
-
Peel ply – peels clean, leaves a bondable surface texture
-
Vacuum bagging film + breather fabric – non-negotiable for consolidation
-
Tacky tape – seals your vacuum bag edges
Tools You’ll Use
-
Sharp fabric scissors or a rotary cutter
-
Mixing cups + wooden stir sticks (use by weight, not volume)
-
Chip brushes and foam rollers for resin application
-
Vacuum pump capable of pulling 25–29 inHg
-
Heat gun (optional but useful for wet layup in cold shops)
Safety Gear
Epoxy exposure builds up in your body over time. Once you develop a sensitivity, it doesn’t go away. Wear nitrile gloves, a respirator rated for organic vapors, and safety glasses. Every session. No exceptions.
Step 1 — Building the Mold from Your Original Hood

The mold is where every good carbon fiber hood either gets made or gets ruined. Spend the time here. Get this wrong and nothing downstream saves you.
Your OEM hood is the plug — the master shape you’re pulling the mold from. Start by selecting a panel with the fewest paint defects you can find. Block sand the surface smooth. Fill seams and cracks with soft modeling clay. Use 1/8″ nylon sheet for anything larger. Pull the hood latch and any hardware that has no business being part of a mold surface.
Prepping and Sealing the Surface
After the clay work, wipe off any residue. Use a bondo spatula to contour the clay edges into a draft angle. That angle is what lets your finished mold pop off without hooking on demolding. Seal every hole and slot with release tape or green PET tape over the seams.
Release Agent: Don’t Shortcut This Step
Put down EasyLease chemical release agent in 5 full layers on the outer surface. Or go with Film #10 in 5–6 mist coats — keep the first few passes light. Back that up with 2 coats of mold release wax, buffing between each coat. On the underside flanges — where sticking failures are most common — lay down 3 coats of wax plus 6 coats of Film #10.
Miss a spot here and you get a torn mold. There’s no recovering from that.
Building the Flanges
Cut fluted signboard into barrier strips and glue them to the hood edges to form the mold flanges. Tape all seams with green PET tape to block resin seepage. Pack modeling clay along the outer edges and scrape it to your draft angle. Fill any gaps at the flange-to-hood transition with filleting wax for a clean, sealed corner.
Extend your fiberglass mat a few inches over the flanges as you lay up the mold shell.
Mold Layup
Put down 3 coats of tooling gelcoat on top and 5 coats on the underside. Let the gelcoat cure for 2 hours. Then laminate with 4 layers of 450gsm chopped strand mat using polyester tooling resin. Critical rule: never exceed 4 layers in a single session. Too many layers at once builds up exothermic heat and warps or cracks your mold. Let 2 layers cure overnight, then add the final 2. Full cure takes 24 hours minimum.
Step 2 — Creating a High-Quality Fiberglass Mold

Your cured mold shell from Step 1 is structurally sound. Now the focus shifts to surface quality and lamination order. A mold that looks good on the outside but hides air voids underneath will flex, distort, and ruin every carbon part you pull from it.
Gel Coat: Set Your Thickness Standard
Shoot for 6mm gel coat thickness. Apply it at room temperature with 2% catalyst. Keep the surface wet and even. After 3–4 hours, you should have a smooth, glossy cure — no dull patches, no fish-eyes. That surface is the direct inverse of your finished hood’s outer face. Give it the same care you’d give the final part.
Coupling Coat: Lock Out Air From the Start
Before main lamination, lay down a coupling coat using 300g chopped strand mat with isocyanate resin (Christic 491 PA works well here). This isn’t a structural layer — it’s a bridge coat. Its only job is to seal out air from day one. Every square centimeter needs full resin saturation. Work a radius roller into corners and tight geometry.
No white spots. No exceptions.
White means dry glass. Dry glass means a void. A void means a failed mold.
Main Lamination: Four Layers, Done Right
Build the mold body with 450g chopped strand mat. Mix in 2kg batches — 40ml catalyst per batch. Stir each batch well before use. Add the next layer while the previous one is hard but still has some tack to it.
Use the right roller for each area:
– Aluminum roller — flat runs and open surfaces
– Fiberglass corner roller — curved sections and tight geometry
Do not stack all four layers in one session. The heat from curing builds up fast. That exothermic buildup will warp your mold before it ever sees carbon fiber.
PVA Film: The Final Insurance Layer
Wait for a full cure. Then apply PVA release film in three coats:
– First coat — thin
– Second coat — slightly thicker
– Third coat — thicker again
Each coat needs 15–30 minutes of dry time, depending on shop humidity. Target a final film thickness of 2–4 mils. The surface should look smooth and glossy all the way across. Spot any imperfection? Wash it off with water and start those coats again. This layer is what lets the finished part release clean later — don’t rush it.
Step 3 — Carbon Fiber Layup: Outer Skin Fabrication

The mold is ready. The PVA film is glossy and dry. This is where the real carbon fiber work starts — and where most first-time builds succeed or fail.
Start with 210gsm 2×2 twill carbon fiber cloth. Cut each piece to your mold dimensions. Add 10–20mm overlap allowance on every edge. You’ll trim that excess after cure. Don’t cut it exact — you’ll end up short in the wrong spots.
Laying the Fabric Without Wrinkles
Wrinkles in the outer skin show through the final finish. There’s no sanding them out later. Stop them now. Lay fabric from the mold center outward toward the edges. Place each ply, then apply diagonal tensioning — pull the corners at 45° angles to keep the weave taut and flat. Compact every 4–5 layers with a squeegee or stippling brush. This pushes out trapped air before it gets locked in.
The Outer Skin Stack
Build the laminate in this sequence:
-
Surface layer — 210gsm twill, outermost ply. Follow every contour of the mold. Trace each curve and edge without gaps.
-
Soric core — align it flat, leave 2–3mm gaps at the edges for resin flow
-
Backing layer — 210gsm, innermost ply
Fill the Soric edge gaps with 25–50mm wide carbon fiber tape (1–2 plies, 210gsm). Skip this step and you’ll get ridging and bridging along those edges on the finished part.
Total ply count targets 3–5 plies for the outer skin. Compact every 4 plies. Don’t skip that step.
Reinforcing the Stress Points
Two areas on every hood fail before anything else: the hinges and the latch.
At the hinge line, add 2 extra 210gsm plies. Use a 50mm wide strip centered on the hinge location. It needs to overlap the main skin by at least 20mm on each side.
At the lock points, lay down 3 extra plies as 30×30mm patches. Alternate the orientation at 45°/0° between each layer. That angle shift builds shear resistance right where the latch mechanism pulls hardest.
Resin Application and Cure
Brush epoxy resin onto each layer after placing it. Then wait 2 minutes before moving on. That pause lets surface bubbles settle out on their own. Use 3K fiber for any sections with complex contours. It conforms to tight curves better than heavier tow counts. Plus, it keeps your thickness-to-price ratio in check.
Check edge overlaps after every ply. They need to exceed 5mm minimum. Anything less and you risk delamination at the trim line.
Once the full stack is in, bag it. Cure for 48 hours at ambient temperature. Target fiber volume sits between 40–60%. The bleeder fabric pulls out the excess resin and holds that ratio in range.
Step 4 — Resin Infusion & Vacuum Bagging Process

A hood with hidden voids versus one with a clean, consistent fiber-to-resin ratio — the gap between them comes down to how well you control this step.
Vacuum infusion pulls resin through dry fiber under controlled negative pressure. You’re not brushing resin in by hand — the vacuum does the work. That distinction matters. Wet layup improves with vacuum bagging, but resin infusion starts with dry fiber and zero resin. The result? Higher fiber volume, lower weight, and more consistent strength across the panel.
Setting Up the Bag
Work in this sequence. No shortcuts:
-
Peel ply first — cover the full laminate surface, extend 2cm past the perimeter, and run 5cm toward your vacuum pull point
-
Flow medium — lay infusion mesh over release film. This channels resin across the panel at an even rate instead of letting it race through the path of least resistance
-
Spiral hoses — place at the resin entry point and at the final saturation/vacuum points. Tape them down so they don’t shift once the bag pressurizes
-
Connect lines — attach vacuum and resin hoses to their matching spirals. Wrap a sealant tape collar wherever lines cross the bag perimeter
-
Cut and place the bag — conform it to the mold shape without bridging or stretching over geometry. Press and pleat from one point around the full perimeter
-
Seal with gum tape — 1″ tacky tape along the entire perimeter. Press hard into every pleat
Pull partial vacuum first. Adjust wrinkles and reposition any hoses that shifted. Then push to full vacuum: -0.85 to -0.95 bar on your gauge.
Running the Infusion
Before you crack the resin line open, verify your seal. The laminate should compress and hold steady — you’ll see it pull tight. Any gauge creep means a leak. Find it and fix it before resin enters the system.
Once confirmed:
-
Open the mixed resin line. Vacuum draws it through the fiber stack
-
Watch the flow front — it should advance at a steady, uniform rate across the panel
-
Stop when resin reaches the vent points. That’s full wet-out. Clamp the supply line right away
Dry spots are your main enemy here. Resin racing to one area and starving another leaves you with weak, brittle zones. Use branched or sequential feed manifolds and continuous filament fabric to spread flow across the panel. A dry spot shows up? Position a secondary feed line near it to redirect resin before the pot life runs out.
Resin-rich areas are the opposite problem. Excess resin pooling adds weight without adding strength. Keep resin input to the minimum needed. The vacuum pulls surplus toward the vent side.
Infusion speed depends on four variables: manifold configuration, number and placement of vacuum lines, resin viscosity, and pump strength. Cold shops slow everything down. Warmer resin flows faster and wets out the fiber stack more thoroughly.
Curing and Demolding
Maintain full vacuum through the entire cure cycle. Don’t touch the pump. Don’t assume it’s fine. A pressure loss mid-cure introduces voids that no amount of sanding will fix.
Once the part is cured and hard:
-
Turn off the vacuum
-
Remove the bag, then the peel ply, then the release film — in that order
-
The peel ply leaves a lightly textured surface. It’s ready for secondary bonding or finishing with no extra prep needed
Demold the hood with care. That peel ply texture means the surface is already prepared for clear coat adhesion — the texture gives the coating something to grip. That’s one less step in finishing. A small payoff for doing the bag setup right the first time.
Step 5 — Inner Skin Fabrication & Assembly

The outer skin gets all the attention. The inner skin does all the real work.
The outer face handles looks. The inner skin carries axial loads, anchors your hinges, and holds the entire hood structure together. Get this layer wrong and the outer skin doesn’t matter. The hood will flex, creak, or fail at the mounting points.
Inner Skin Layup Stack
The inner skin uses a simpler laminate than the outer:
– One layer of 210gsm carbon fabric on top
– One layer of 650gsm underneath as backing
That heavier backing layer handles the structural load. Two plies. No more than that.
Before forming, fill any pocket geometry with eutectic removable filler. It flows into the pattern cavities and supports the fiber stack during cure. Once the part is formed and hardened, the filler dissolves out. Clean removal, no residue.
Sand both skins to 600 grit. Budget two hours per skin. It’s tedious. Do it anyway.
Hinge and Latch Alignment
Never pre-drill hole positions before final geometry is set. Wait until forming is complete. Then clamp the original OEM skin against the new one to transfer hole locations. Match the alloy, match the thickness, and weight it flat to control camber. Drill aft-to-forward. Use Clecos temporary fasteners at each interval to lock position as you go. This keeps every hole in sequence with no drift.
For the latch keeps, trace the OEM shape and transfer it. Then trim the excess edge material. Add fillet radii at all openings after the transfer is done — not before.
Bonding the Two Skins Together
Join inner to outer using structural epoxy adhesive under vacuum bag or autoclave pressure. Clamp both skins flush. Cinch a belt around the perimeter. Let it cure before handling. Any gaps in clamping pressure create weak bond lines later. Use distributed clamping across the surface — not spot pressure at a few points.
The result is a unified composite panel: lightweight, stiff, and ready for mounting hardware.
Step 6 — Trimming, Finishing & Surface Polishing

A hood that looks factory-built versus one that looks homemade? The gap comes down to what you do after cure.
Trimming the Edges
Use a Dremel at 10,000 RPM with a Permagrit wheel. Hold the tool at a 15–30° advance angle — that angle alone keeps delamination risk low. Move at 5–10 mm/s. On tight curves, drop below 5 mm/s. That cuts layer separation by 40–60%. Keep cutting pressure under 2N. Push past 5N and you’re looking at 20–30% delamination along the cut edge.
Repairing Surface Defects
Fix all defects before any clear coat goes on:
|
Defect |
Fix |
Success Rate |
|---|---|---|
|
Pinholes |
Epoxy filler + 1200-grit sand |
95% |
|
Bubbles |
UV-cure resin + 0.2mm carbon patch |
90% |
|
Exposed fibers |
Cyanoacrylate seal + 2000-grit abrasive |
85% |
Sanding, Coating & Polishing
Work wet through the full grit sequence: 400 → 800 → 1500 → 3000. Then put on 3–5 coats of UV-resistant clear coat. Target 60μm dry film thickness. Spray at 1.5–2 bar from 40–60cm. Allow 20–30 minutes flash-off between each coat.
Buff with a microfiber wheel at 1500 RPM.
Final benchmark: Ra ≤ 0.4μm, gloss reading 85–95 GU at 60°. Confirm with a profilometer. That number doesn’t lie.
Common Problems & How to Fix Them
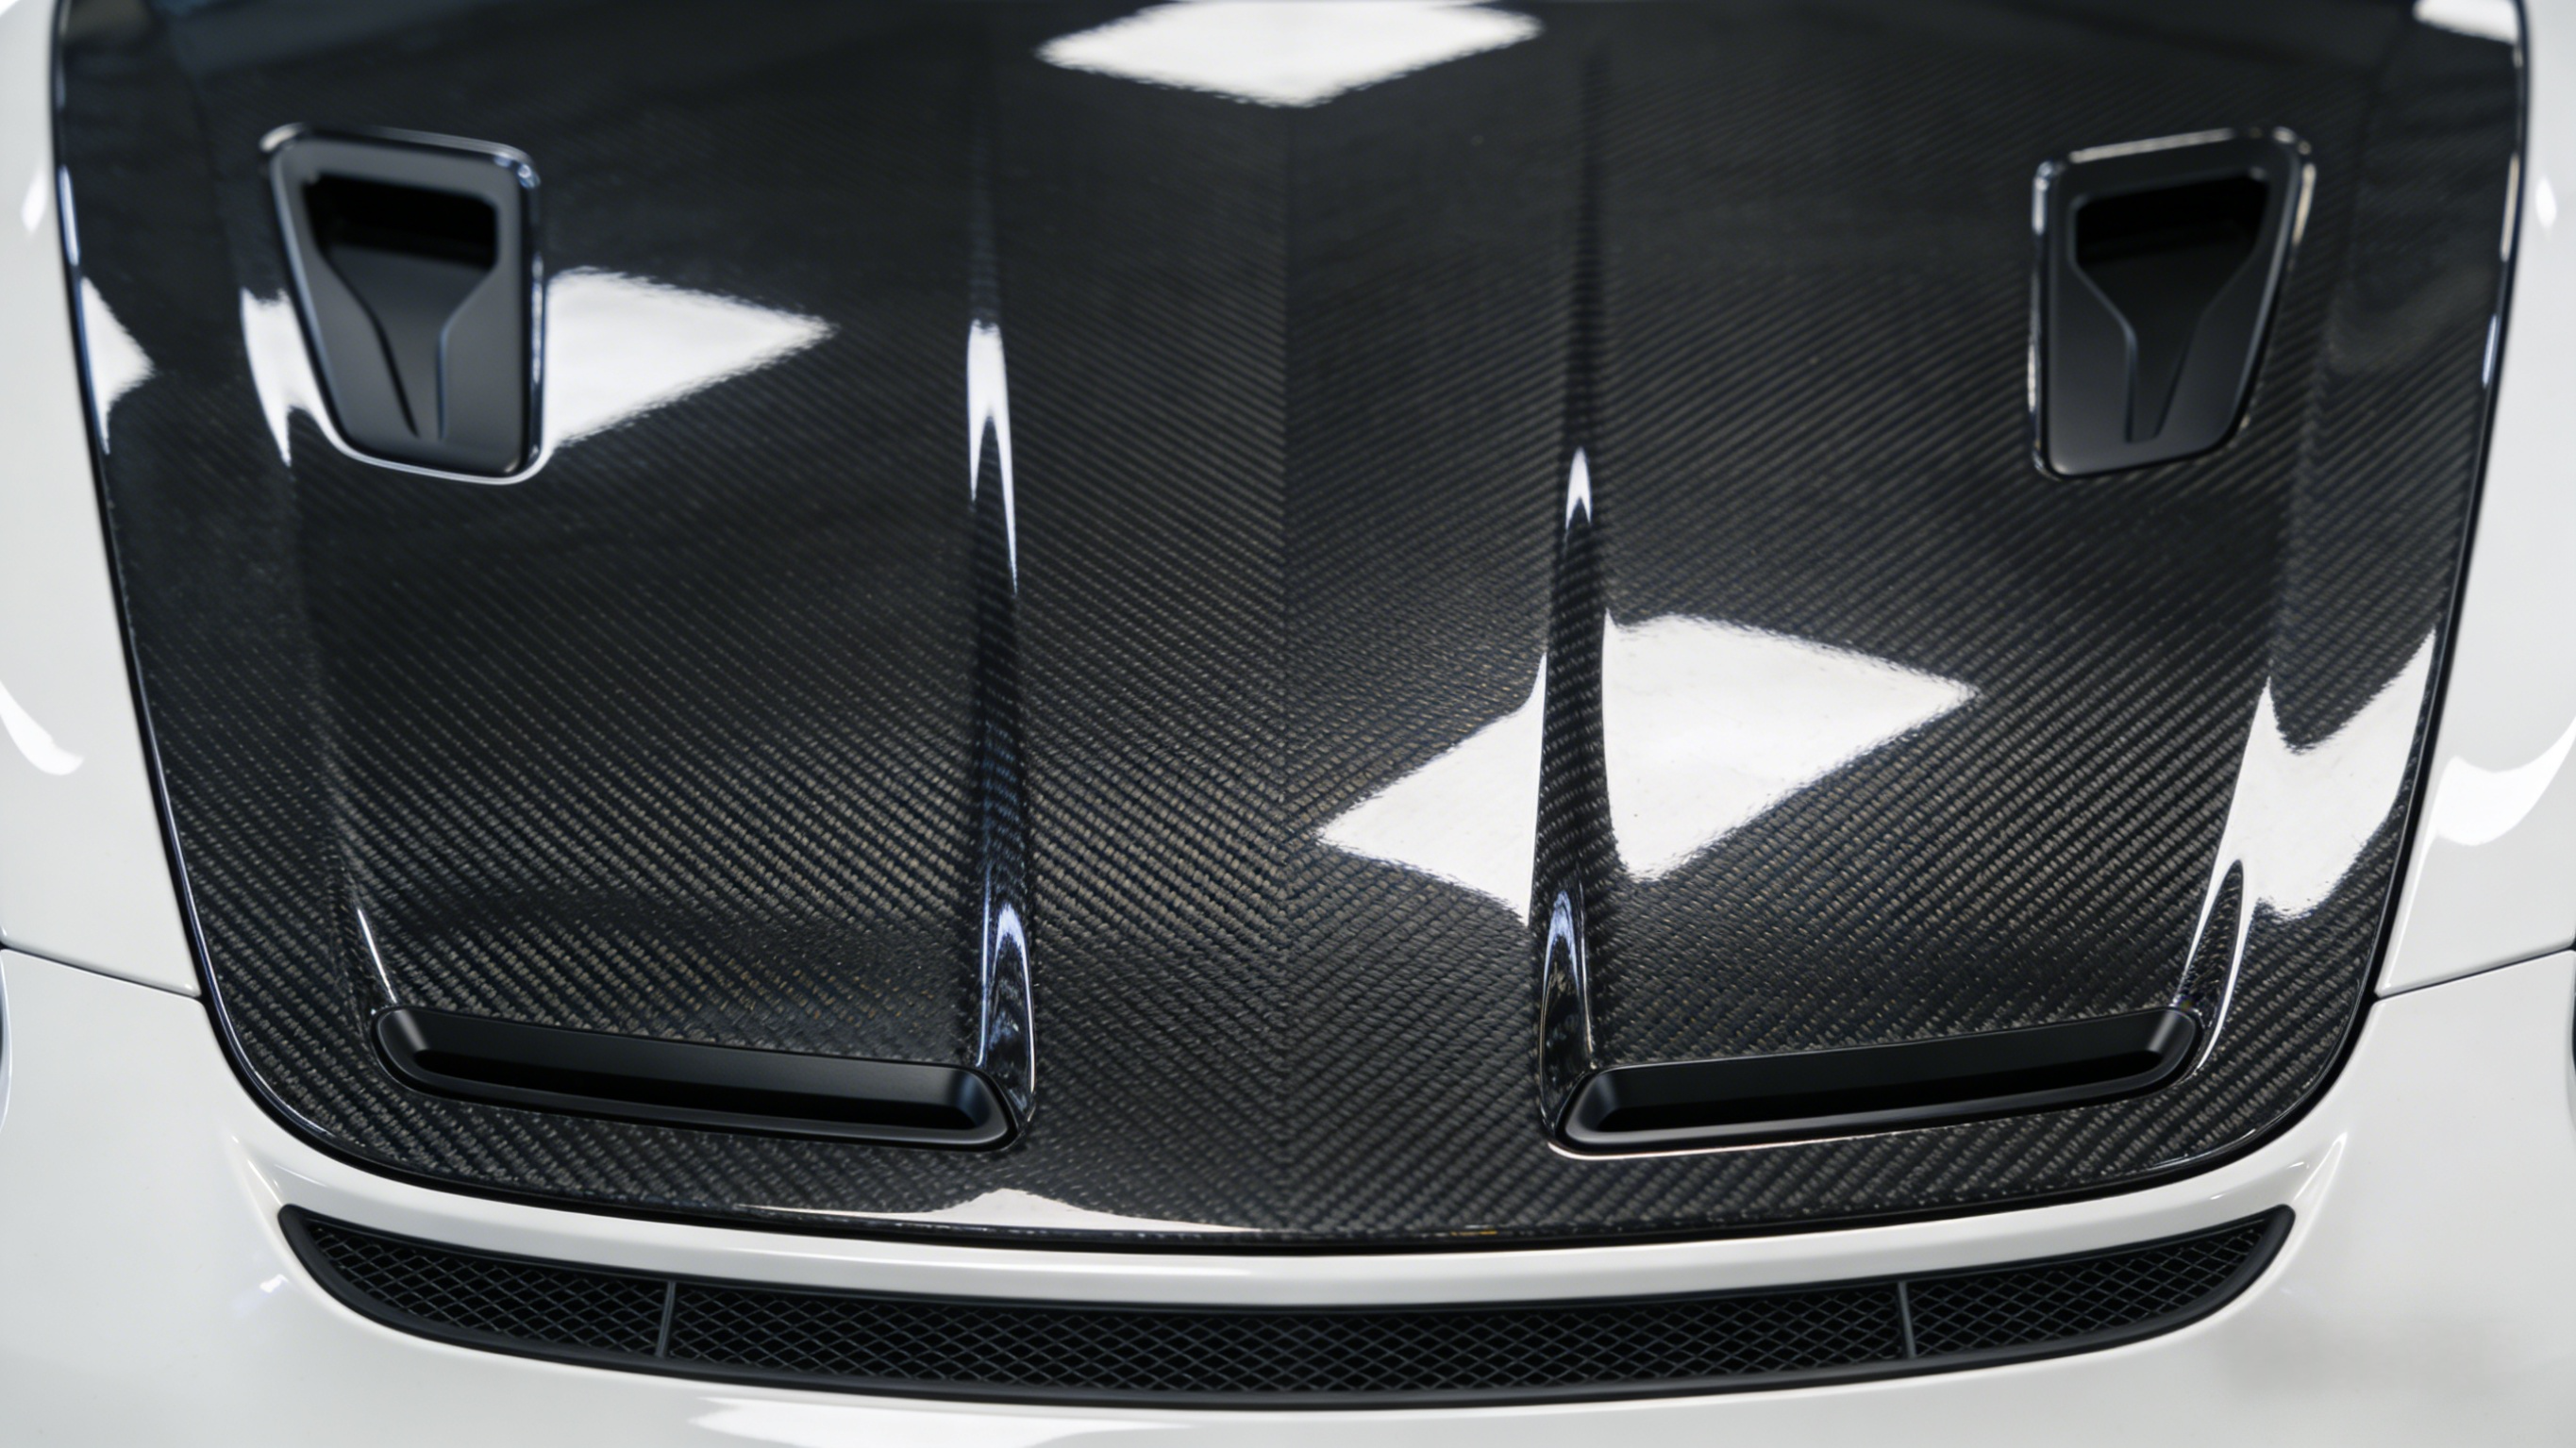
Carbon fiber doesn’t fail without warning. It shows you where you cut corners — right when you care most about the result.
Here are the problems that show up most often, and how to fix them before they wreck the build.
Pinholes and surface voids mean your resin application was uneven, or you moved too fast between plies. Fix it with epoxy filler. Sand back to 1200 grit. That handles it 95% of the time.
Delamination at trim edges comes from too much cutting pressure or the wrong tool angle. Keep cuts under 2N force. Go above 5N and edge separation is what you get — every time.
Dry spots after infusion signal a flow problem — resin raced one path and starved another. Add a secondary feed line near the dry zone before pot life runs out.
Bag leaks mid-cure are silent killers. Voids that form during cure can’t be sanded out. Pull partial vacuum first. Check your gauge. Then commit to full pressure.
Wrinkles in the outer skin lock in for good. No finishing step removes them. Tension the fabric at an angle from center outward — catch it during layup or you’re stuck with it.
Conclusion
Making a carbon fiber hood isn’t a weekend hobby project. It’s a real fabrication skill. Pull a clean part off a mold you built yourself, and it pays for itself right there.
You’ve got the full picture now: mold construction, wet layup, resin infusion, prepreg, vacuum bagging, surface finishing — all of it. The carbon fiber layup process rewards patience. Take shortcuts, and it shows. Master it, and you’ve built a skill set most people just pay someone else for.
So stop reading and start doing. Pull your stock hood, gather your materials, and commit to that first mold. Expect imperfection on round one — that’s not failure, that’s tuition.
Ready to source premium carbon fiber fabric, epoxy systems, or prepreg materials? HyperX Carbon carries professional-grade supplies to back your build.
The best carbon fiber hood is the one you built.
Contact HyperX Carbon – Your Trusted Chinese Carbon Fiber Partner
Ready to source high-performance carbon fiber materials or custom forged carbon fiber parts from China?
HyperX Carbon is a leading manufacturer with 20+ years of expertise, specializing in aerospace-grade forged carbon fiber, prepreg, tubes, sheets, and lightweight automotive/drone/medical components. We offer:
-
Stable supply chain with premium raw materials (Toray, Mitsubishi, Hengshen)
-
AS9100D certified production for aerospace & UAV applications
-
Rapid prototyping (5-8 weeks) and monthly capacity exceeding 180,000 parts
-
Competitive pricing with 15-18% cost savings on forged carbon solutions
-
Full customization: from T700/T1100G to ultra-high modulus grades
Whether you’re an eVTOL developer, automotive OEM, drone manufacturer, or medical device engineer, HyperX delivers consistent quality, batch-to-batch reliability, and reliable delivery.
Get in touch today for a free consultation, custom quote, or material sample.
📧 Email: [email protected]
🌐 Website: https://www.hyperxcarbon.com/
📞 Phone/WhatsApp: +86 15623270276 (English support available)
Let’s build your next lightweight innovation together – contact HyperX Carbon now and stay ahead in the low-altitude and advanced composites market.