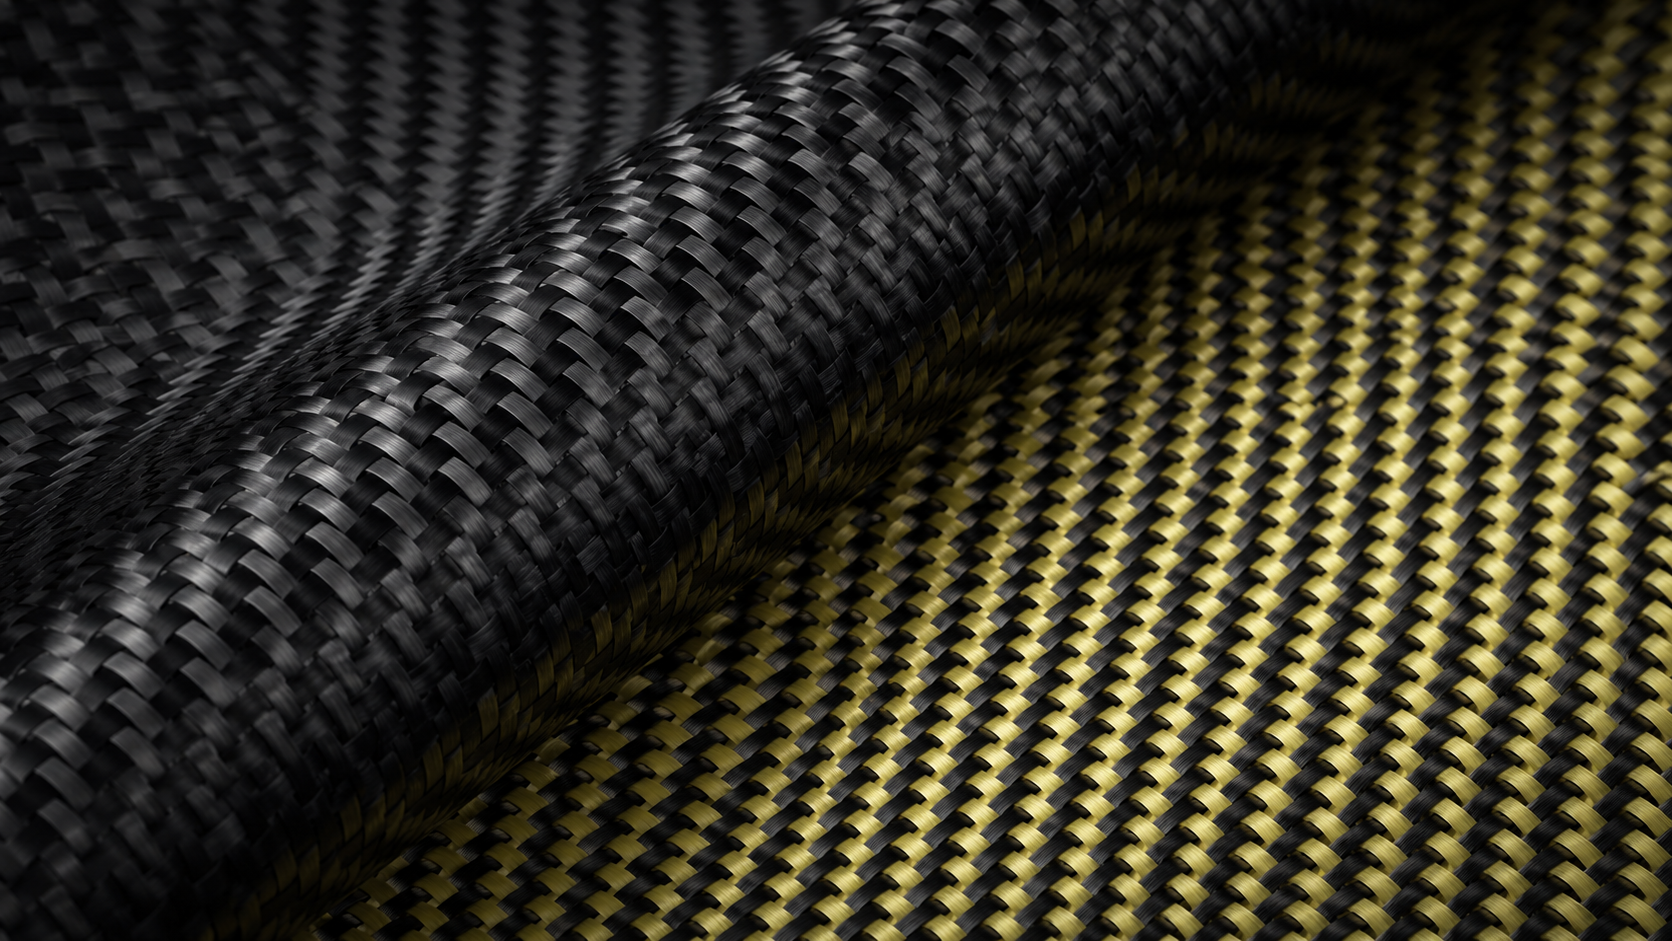
That slick carbon fiber look you’ve been eyeing on other cars? You don’t need to hand over hundreds of dollars to a detailing shop to get it.
DIY carbon fiber wrap is more forgiving than most people expect. The results can be more impressive than you’d think, too. You just need to understand the process first.
The real difference between a flawless finish and a bubbled, peeling mess isn’t talent or expensive tools. It’s knowing the right sequence of steps before you peel back that adhesive backing.
This guide covers everything you need:
-
The prep work that professionals rely on
-
Squeegee and heat gun techniques that make curves cooperate
-
Edge-finishing moves that separate a clean install from an obvious amateur job
Take it step by step, and you’ll walk away with professional-looking results — on your own terms, on your own schedule.
What You Need Before You Start: Tools & Materials Checklist

Gather everything before you touch the car. Mid-install supply runs kill your momentum. That matters more than you’d think when applying self adhesive carbon fiber wrap.
Here’s what you need:
Application Tools
– Vinyl wrap squeegee (felt-edge recommended) — your go-to tool for pushing out air without scratching the film surface
– Heat gun — a must for curved panels and edge wrapping. A hairdryer won’t hold a steady temperature
– Precision knife or scalpel — sharp blades only. Dull ones tear carbon fiber vinyl film
– Isopropyl alcohol (70%+) + microfiber cloths — no skipping this step. Clean surfaces are non-negotiable
– Magnets or masking tape — keeps the film in place before it makes adhesive contact
The Wrap Itself
– Your chosen 3D carbon fiber wrap or carbon fiber look wrap — measure each panel first, then add 4–6 inches on every side before cutting
– A spray bottle with soapy water (for wet application, if that’s your preferred method)
Optional but Worth Having
– Squeegee buffer cloth
– Pin tool for micro-bubble release
– Plastic trim removal tools for panel access
That’s the full kit. Nothing hard to find. Nothing that’ll break the bank.
Surface Preparation: The Step Most DIYers Skip (And Regret)

Bad prep doesn’t just ruin your wrap. It guarantees it.
Dust, grease, or residue between your panel and the carbon fiber wrap adhesive backing will show up. You’ll see bubbles, lifted edges, and that lumpy texture that screams “DIY gone wrong.” Even the best 3D carbon fiber wrap on the market won’t save a dirty surface. The mess comes from underneath.
Here’s your prep sequence, in order:
-
Degrease first. Wipe every surface with isopropyl alcohol (70% or higher) on a clean microfiber cloth. Do it twice. Oil from your hands alone is enough to wreck adhesion.
-
Inspect for texture issues. Run your fingers across the panel. Raised edges, old adhesive residue, or rough patches will push straight through the film. You’ll feel them before you see them.
-
Clean top-to-bottom. Start at the highest point and work down. This stops you from dragging dirt back over areas you’ve already wiped clean.
-
Let it dry — all the way. Don’t rush this step. Moisture trapped under self adhesive carbon fiber wrap turns into a bubble. You can’t squeegee it out later. It’s stuck there.
One thing to check before you move on: press a strip of masking tape to the surface and pull it back. Lifted paint or leftover residue means that panel needs more work. No film goes on until it’s sorted.
A clean, prepped surface gives the adhesive a solid, even bond. That means sharper edges, fewer bubbles, and a carbon fiber look wrap that stays put.
Step 1: Measure and Cut Your Carbon Fiber Vinyl Wrap

Cutting too small is the one mistake you can’t fix mid-install.
Measure each panel on its own before anything touches the car. Use a flexible tape for curved surfaces — a rigid ruler gives you false readings on a fender or door edge. For tight contours, run a string along the surface. Then measure the string flat.
The numbers that matter:
-
Cut your carbon fiber vinyl film 5–6 inches larger than each panel on all sides
-
Leave at least 1 inch of excess per edge on smaller trim pieces
-
For wheel wells, keep 1 inch beyond the rim edge — stay clear of the tire zone
Blade angle matters too. Use a 30° blade for precision cuts on standard vinyl. Switch to 45°–60° for thicker 3D carbon fiber wrap material. Always test on scrap first.
One hand guides the cutter. The other holds the film flat. Move in one smooth, swift pass — hesitation creates jagged edges.
Label each cut piece before setting it aside. Trim pieces look identical off the car. Once you’re on your knees next to a door panel, that gets confusing fast.
Step 2: Position and Align the Vinyl Without Activating the Adhesive
This is the step where patience pays off — and that’s not an exaggeration.
Your carbon fiber vinyl film is cut to size. Now resist the urge to peel the backing and commit. Position the film before any adhesive contact. That’s your one shot to fix mistakes without wasting material.
Here’s how to do it:
-
Lay the film over the panel with the liner still on. Let it settle on its own. Don’t push it flat.
-
Use magnets or masking tape to hold the film in place. Check alignment from multiple angles. Step back. Look at it straight-on, then from the side.
-
Check your overhang on all edges. You want consistent excess — 4–6 inches — wrapping past every panel edge.
-
Smooth out any visible folds by hand. Use light pressure. No tools at this stage.
One alignment check worth doing: lift one corner and peek at the panel centerline. See the carbon fiber look wrap pattern running crooked? Shift it now. Once the carbon fiber wrap adhesive backing makes full contact, repositioning is off the table — you’re taking a real risk trying.
Take your time here. The next step locks everything in.
Step 3: Apply and Smooth the Carbon Fiber Film—From Center Outward
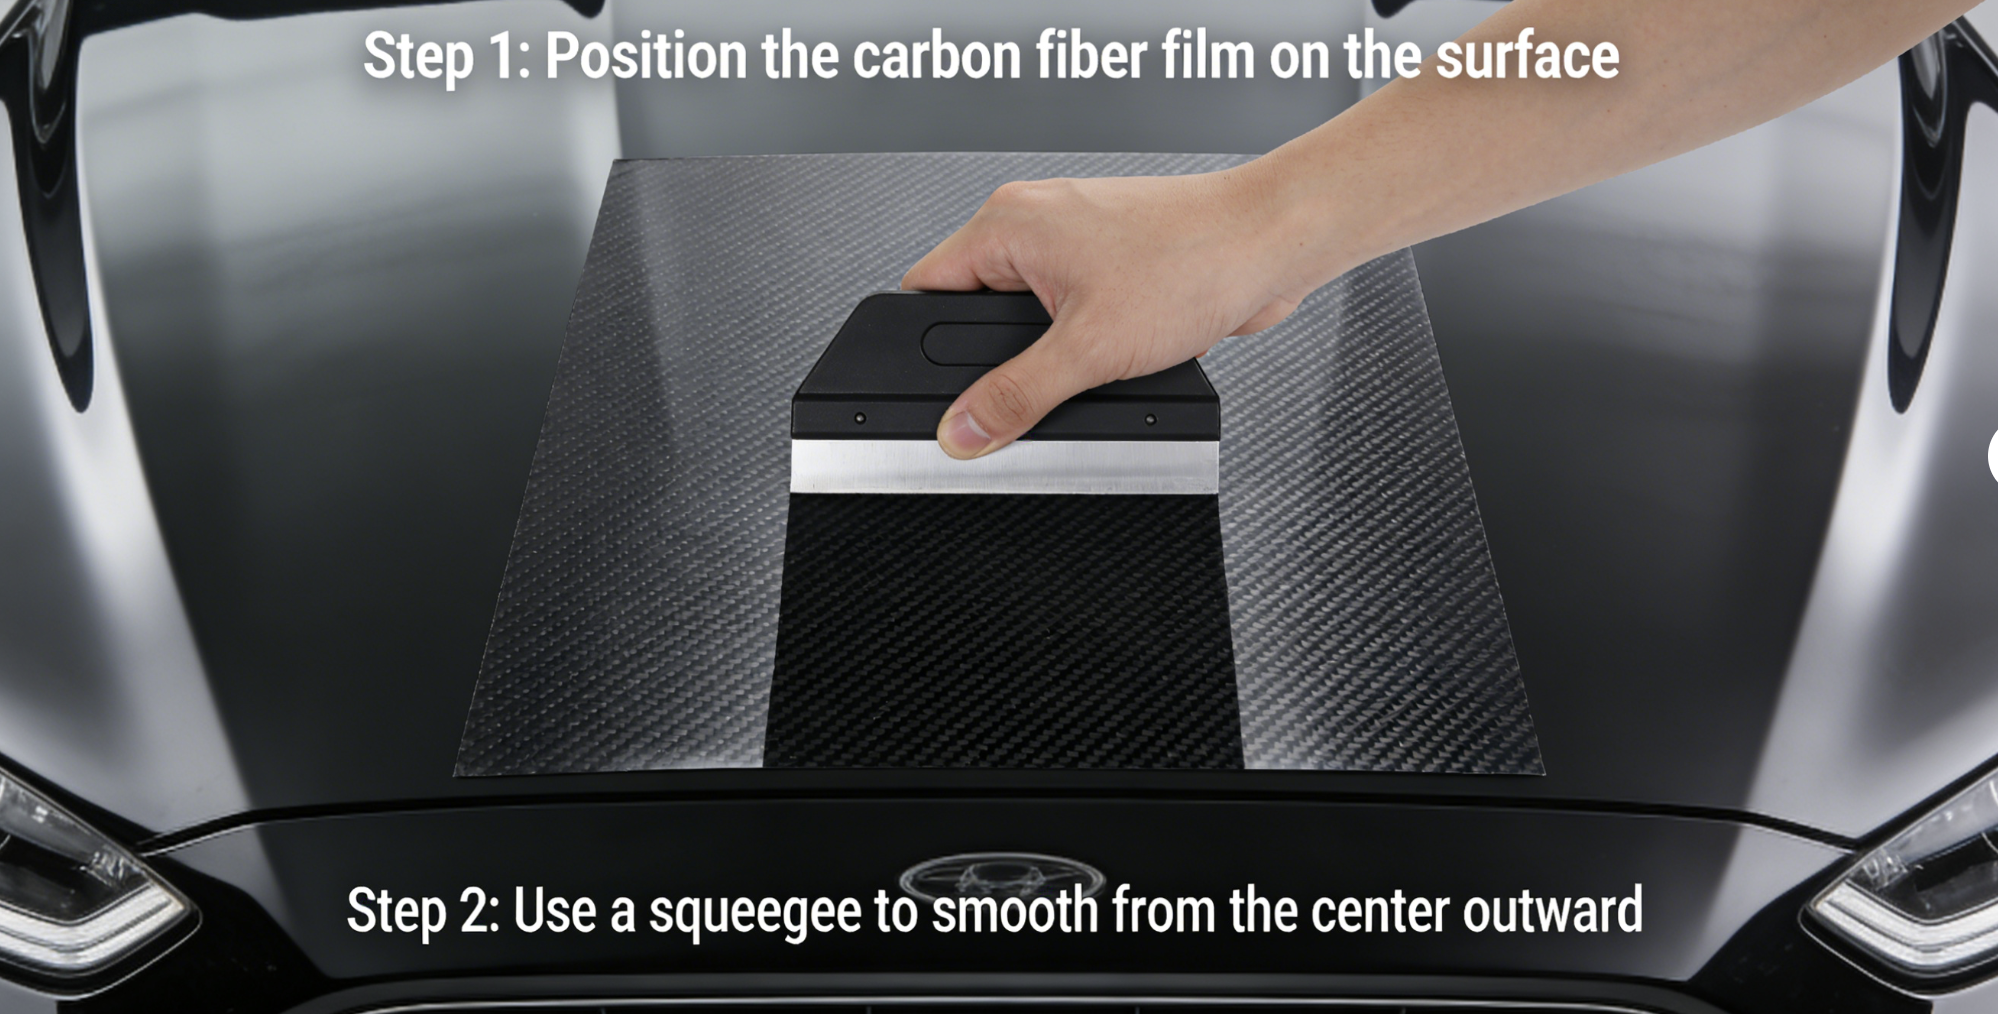
The center is your anchor. Everything else radiates from it.
Peel back the top few inches of the carbon fiber wrap adhesive backing — just enough to expose the middle section. Press that center strip down hard. This is your hinge point. From here, you control the film instead of fighting it.
Push the squeegee outward in overlapping strokes. Work toward each edge, one side at a time. Hold your angle steady at 45°. Use even, consistent pressure. Don’t go back over a spot you’ve already done. Each stroke moves air forward — never traps it underneath.
A few things to keep in mind while you work:
-
Keep the surface temperature at or below 80°F. Warmer surfaces cause the carbon fiber vinyl film to bond too fast, leaving you no room to adjust
-
Overlap each squeegee stroke by about half its width — gaps between strokes are where bubbles hide
-
On curves, use your heat gun for vinyl wrap first. Warm the film, stretch it out, then squeegee it flat. Warm film bends to your will. Cold film pushes back.
Stubborn bubble that won’t move? One quick pin poke. Press it flat right after. Done.
Stay focused and move in order. The vinyl wrap squeegee technique isn’t complicated. It just rewards patience over speed.
Step 4: Tackling Curves, Corners, and Complex Surfaces With a Heat Gun
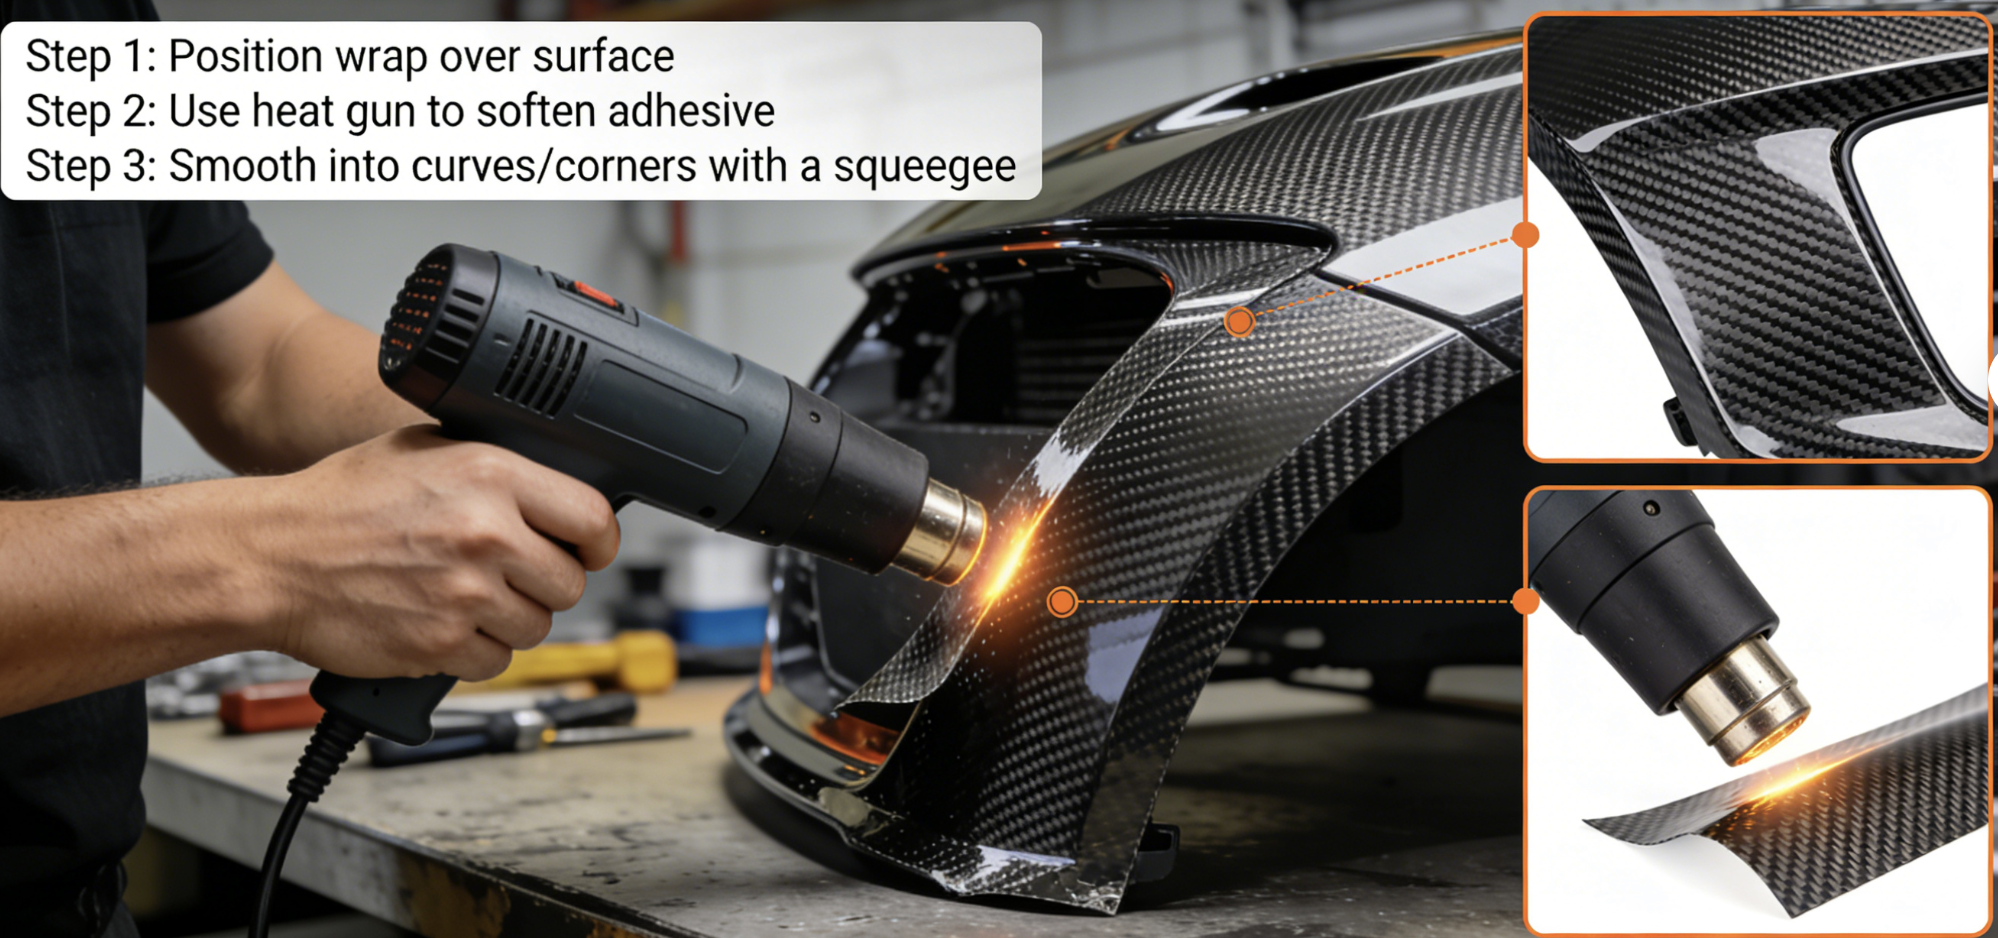
Flat panels are forgiving. Curves are not — and that’s where most DIY installs fall apart.
The heat gun changes that. Without it, carbon fiber vinyl film fights back on every contour. With it, the material turns cooperative — almost liquid in how it conforms. The trick is knowing how to use heat, not just that you should.
Start with the right equipment. A 600–1200 watt heat gun gives you the control range you need. A hairdryer doesn’t cut it. You need consistent, adjustable heat — not a guessing game.
Keep your distance. Hold the gun 4–6 inches from the film surface at all times. Get closer and you risk scorching the 3D carbon fiber wrap or warping the texture pattern beneath. Keep the gun moving. Never hold it in one spot.
Work in sections, not sweeps. On large panels — hoods, doors, roofs — heat a small area, squeegee it flat, then move to the next zone. Heating the whole panel at once creates uneven tension and a wrinkled mess.
For tight corners and curves, use short, controlled heat bursts. Skip the continuous stream. Heat the film just enough to stretch. Then press it down with the squeegee right away while it’s still warm and pliable.
On compound curves, the H-pattern works well. Picture the surface split into four quadrants. Apply heat in smooth, overlapping passes across each section. This spreads temperature across the material and stops any one spot from over-stretching.
One final move that matters: after shaping any curved or recessed area, hit it once more with post-heat at 100°F–110°F. This breaks the film’s memory and locks the new shape in place. Edges stay down weeks later instead of lifting.
New to this? Practice on scrap material first. Different carbon fiber look wrap films react to heat in their own way. Learn how yours behaves before you touch the actual panel — it saves a lot of frustration.
Step 5: Trim the Excess and Wrap the Edges for a Clean Finish

A wrap that looks finished — not just installed — is all about the edges. That’s where the result is won or lost.
You’ve smoothed the film flat. Now cut the excess and lock those edges down. This is where the professional finish either happens or it doesn’t.
Trimming the excess:
-
Leave 10–20mm of film past each panel edge before cutting. That’s enough to wrap under and grip — not so much that it bunches
-
Use a sharp precision knife or scalpel. Let the panel edge guide your blade. The panel itself is your template
-
Cut in one clean, continuous pass. Stop-and-start cuts leave ragged lines that show through the film
-
Replace your blade often. A dull knife doesn’t cut carbon fiber vinyl film — it tears it
Wrapping the edges:
-
Use your heat gun for vinyl wrap before pressing the film under the edge. Warm film stretches with no resistance. Cold film cracks or lifts
-
Pull the film taut — firm and even. Then press it flat against the underside of the panel
-
For corners, use small, sequential pulls — not one big stretch. Work around the corner in sections. Apply short heat bursts between each pull
-
Press each wrapped edge down with your squeegee or a firm fingertip. You want full contact with the carbon fiber wrap adhesive backing. No air gaps hiding underneath
Once all edges are wrapped and pressed, run a final pass of post-heat across every edge at 212°F (100°C). This locks the adhesive’s bond. It also stops the film from springing back to its original shape — what wrappers call the film’s “memory.” Skip this step and those edges will peel up three weeks later.
Clean edges don’t take talent. They take the right sequence, sharp tools, and heat at the right moment.
Step 6: Final Heat Activation—Locking In the Bond for Long-Term Durability

This is the step that separates a wrap that lasts from one that peels up by spring.
Every edge you’ve wrapped, every curve you’ve shaped — none of it holds without a final heat pass. The carbon fiber wrap adhesive backing needs sustained heat to cure all the way through. Skip it, and the film keeps its original shape. It will fight its way back to flat over time.
Here’s what to do:
-
Set your heat gun to 212°F (100°C) minimum. Work in a steady, deliberate pattern across the entire surface — not just the edges
-
Move in slow, overlapping passes. Every inch of carbon fiber vinyl film needs direct heat coverage
-
Pay extra attention to corners and wrapped edges. These spots are the first to show a failed bond
Once the surface cools, press hard along every edge one final time. Run your thumb or a squeegee across each seam. The exterior carbon fiber wrap or car interior carbon fiber wrap is now bonded at an adhesive level — deeper than surface pressure alone can achieve.
Get this step right, and your DIY carbon fiber wrap still looks sharp six months down the road.
Fixing Common Problems: Bubbles, Wrinkles, and Lifting Edges

Even a careful install throws curveballs. Here’s how to read them — and fix them fast.
Bubbles
Small bubbles right after application are normal. Most disappear within 48 hours as the adhesive settles.
Got a stubborn one? One clean pin poke at the edge does it. Press flat with your squeegee right away. Done.
Larger bubbles mean the surface wasn’t clean before you laid the film. No amount of squeegeeing fixes that. Lift the section. Wipe the panel down with fresh isopropyl alcohol. Let it dry, then reapply.
Wrinkles
Wrinkles show up when the film locks down at an uneven rate. This happens from rushing the squeegee pass or skipping heat on a curved area.
Catch it early? Lift the film from the nearest edge and reposition it. Work at a steady pace. The adhesive on carbon fiber vinyl film gives you a short window before it grips hard — don’t waste it.
Already set? Heat the wrinkled section with your heat gun for vinyl wrap. Ease the film back up. Smooth it out while the material is still warm.
Lifting Edges
Edges lift for two reasons: not enough post-heat, or film pressed over a surface that wasn’t clean of grease.
Fix it the same way each time. Heat the edge back until it’s soft. Press it down with solid pressure. Run a final pass at 212°F. Still lifting? Wipe that panel section with isopropyl again before you press it down for good.
Prevention beats repair every time. Clean surfaces, proper heat activation, and a thorough final edge press — these three habits cut out 90% of edge failures before they ever start.
Carbon Fiber Wrap for Car Interior vs. Exterior: Key Differences to Know

Same material, same look — but interior and exterior wraps do very different jobs. Pick the wrong one for the wrong spot, and you’re throwing money away.
Here’s what sets them apart:
Durability & Adhesion
Exterior carbon fiber vinyl film is built tough. It has UV inhibitors, abrasion resistance, and a strong adhesive bond. That bond holds up against rain, road debris, and temperature swings. Interior wrap uses a milder adhesive. This lets you peel it off without damaging your dashboard or door panels. No residue, no mess.
Where Each One Goes
– Car interior carbon fiber wrap: dashboards, center consoles, door panels, trim pieces, steering wheels
– Exterior carbon fiber wrap: hoods, mirrors, rooftops, full or partial body panels
Finish & Texture Options
Interior wraps come in matte and gloss finishes — brushed metal, wood grain, leather-look. 3D carbon fiber wrap for exterior focuses on deep-weave, high-gloss patterns. These patterns are made to catch light as the car moves.
One practical note: interior wrap fades faster under direct sun. Park in the shade when you can — it adds real life to the wrap.
FAQ: Most Asked Questions About DIY Carbon Fiber Wrap Installation
Real questions from real people who’ve stood in their driveway holding a roll of vinyl, wondering if they’re about to make a very expensive mistake.
Can a complete beginner do this?
Yes — with realistic expectations. Carbon fiber wrap has a moderate-to-high skill curve, not a vertical wall. The adhesive is forgiving at first contact. You have a window to reposition. Beginners usually run into trouble by rushing. That means skipping the degrease step, applying in cold temperatures, or overheating the film. Follow the sequence in this guide. You’ll avoid the mistakes that matter most.
What’s the ideal temperature for installation?
Between 18–25°C, with low humidity. Below 10°C, the adhesive stiffens and the film loses its flexibility. Curves become a fight you won’t win. High moisture causes the same problem. It sneaks under the carbon fiber wrap adhesive backing before you spot it.
Is DIY carbon fiber wrap worth it financially?
The numbers are hard to argue with. Material runs €10–€80 per square meter depending on quality. A professional installation on the same vehicle costs €300–€1,000. Basic rolls start around €8–€15. Premium films from established brands land at €25–€80 per square meter. For a leased car, a sporty refresh, or a short-term style change, DIY carbon fiber wrap gives you the look without the big price tag.
How do I know which adhesive type to buy?
Look for air-release channels — micro-grooves built into the adhesive layer. They let trapped air escape during application. This is the beginner-friendly option. Standard adhesive needs more heat and a precise sliding technique. On your first install, air-release channels are the practical choice. They’re more forgiving. The margin for error is much wider.
How long does it last?
Quality films with UV stabilizers last far longer than budget alternatives. Low-cost wraps often lack proper flexibility. They tend to fail at curves and edges first. How long yours lasts comes down to three things: film quality, surface prep, and doing the final heat activation step right.
Conclusion
You’ve got everything you need — the checklist, the technique, the troubleshooting fixes. The gap between your car and a head-turning carbon fiber finish? Just an afternoon and some patience.
Here’s the truth: a DIY wrap that looks professional versus one that peels off in three months has nothing to do with talent. It comes down to preparation and the right materials. Nail your surface prep. Trust the squeegee. Don’t skip that final heat activation pass. Those three steps alone get you 90% of the way there.
Contact HyperX Carbon – Your Trusted Chinese Carbon Fiber Partner
Ready to source high-performance carbon fiber materials or custom forged carbon fiber parts from China?
HyperX Carbon is a leading manufacturer with 20+ years of expertise, specializing in aerospace-grade forged carbon fiber, prepreg, tubes, sheets, and lightweight automotive/drone/medical components. We offer:
-
Stable supply chain with premium raw materials (Toray, Mitsubishi, Hengshen)
-
AS9100D certified production for aerospace & UAV applications
-
Rapid prototyping (5-8 weeks) and monthly capacity exceeding 180,000 parts
-
Competitive pricing with 15-18% cost savings on forged carbon solutions
-
Full customization: from T700/T1100G to ultra-high modulus grades
Whether you’re an eVTOL developer, automotive OEM, drone manufacturer, or medical device engineer, HyperX delivers consistent quality, batch-to-batch reliability, and reliable delivery.
Get in touch today for a free consultation, custom quote, or material sample.
📧 Email: [email protected]
🌐 Website: https://www.hyperxcarbon.com/
📞 Phone/WhatsApp: +86 15623270276 (English support available)
Let’s build your next lightweight innovation together – contact HyperX Carbon now and stay ahead in the low-altitude and advanced composites market.