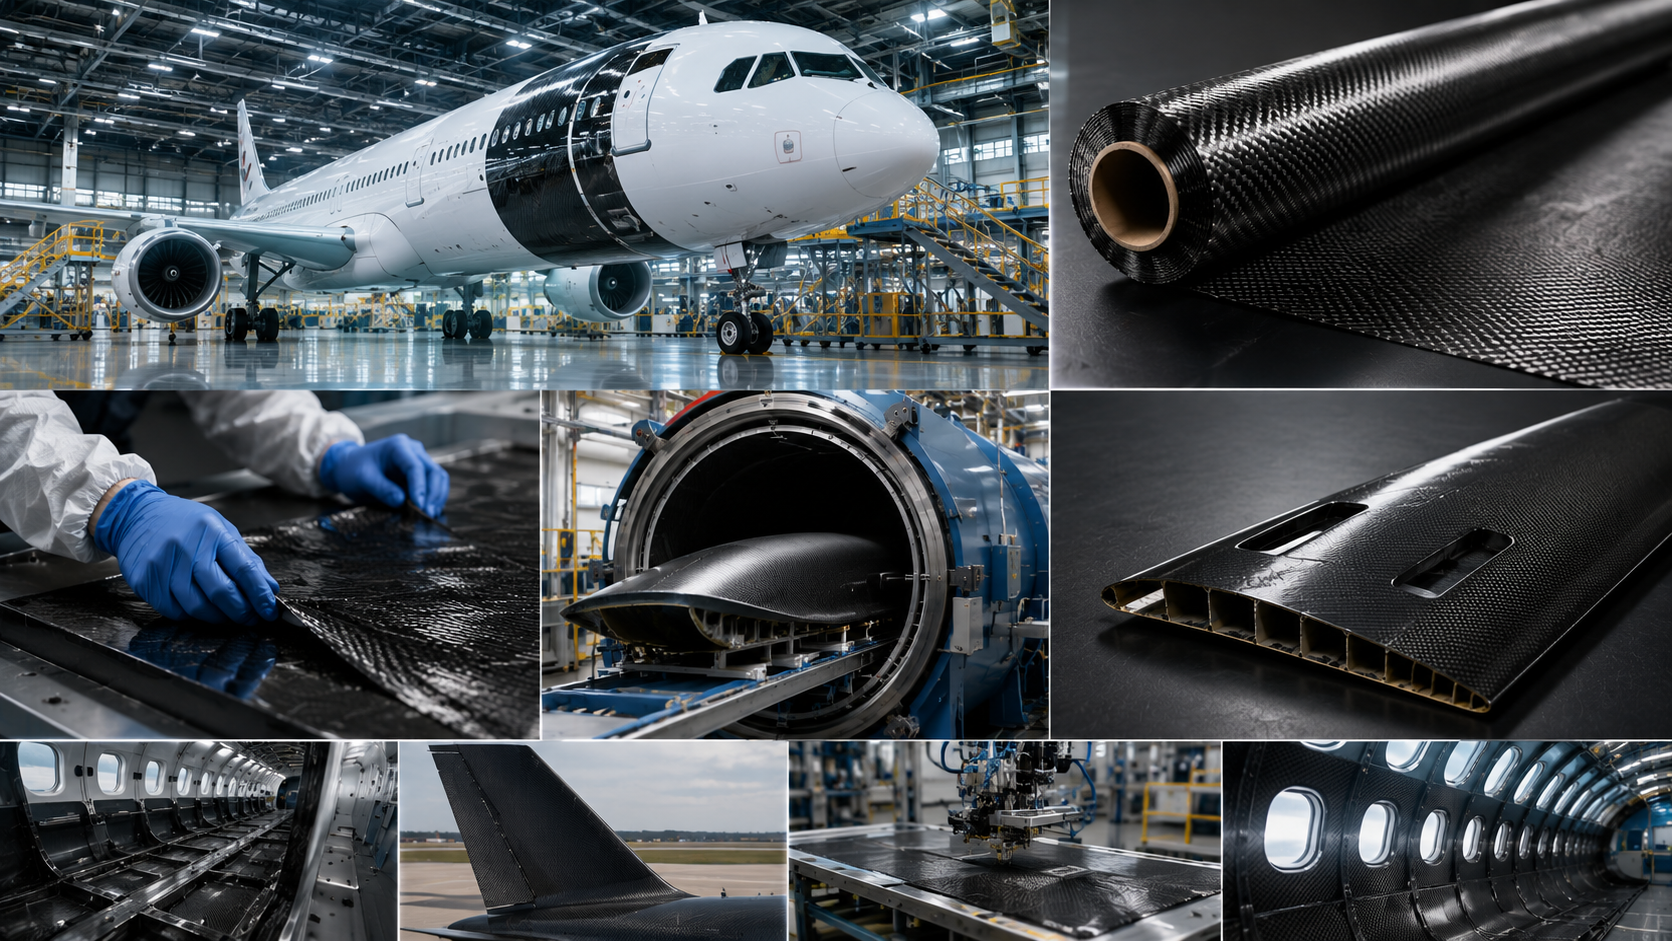
Your steering wheel is the one thing you touch every time you drive. So why stick with dull OEM plastic? A carbon fiber steering wheel cover can transform the look and feel of your cockpit in under an hour.
Maybe you want that race-inspired interior look. Maybe you’re protecting a worn leather rim. Or you’re ready to go all-in with a full custom carbon fiber wheel swap. Whatever your goal, the upgrade is more doable than most people think.
There’s one catch, though. A bad installation can scratch your trim, misalign your controls, or — worst case — mess with your airbag system.
This guide covers every method, from slip-on covers to full wheel replacements. You’ll know exactly what to do, step by step, so the job gets done right.
How to Choose the Right Carbon Fiber Steering Wheel Cover for Your Car
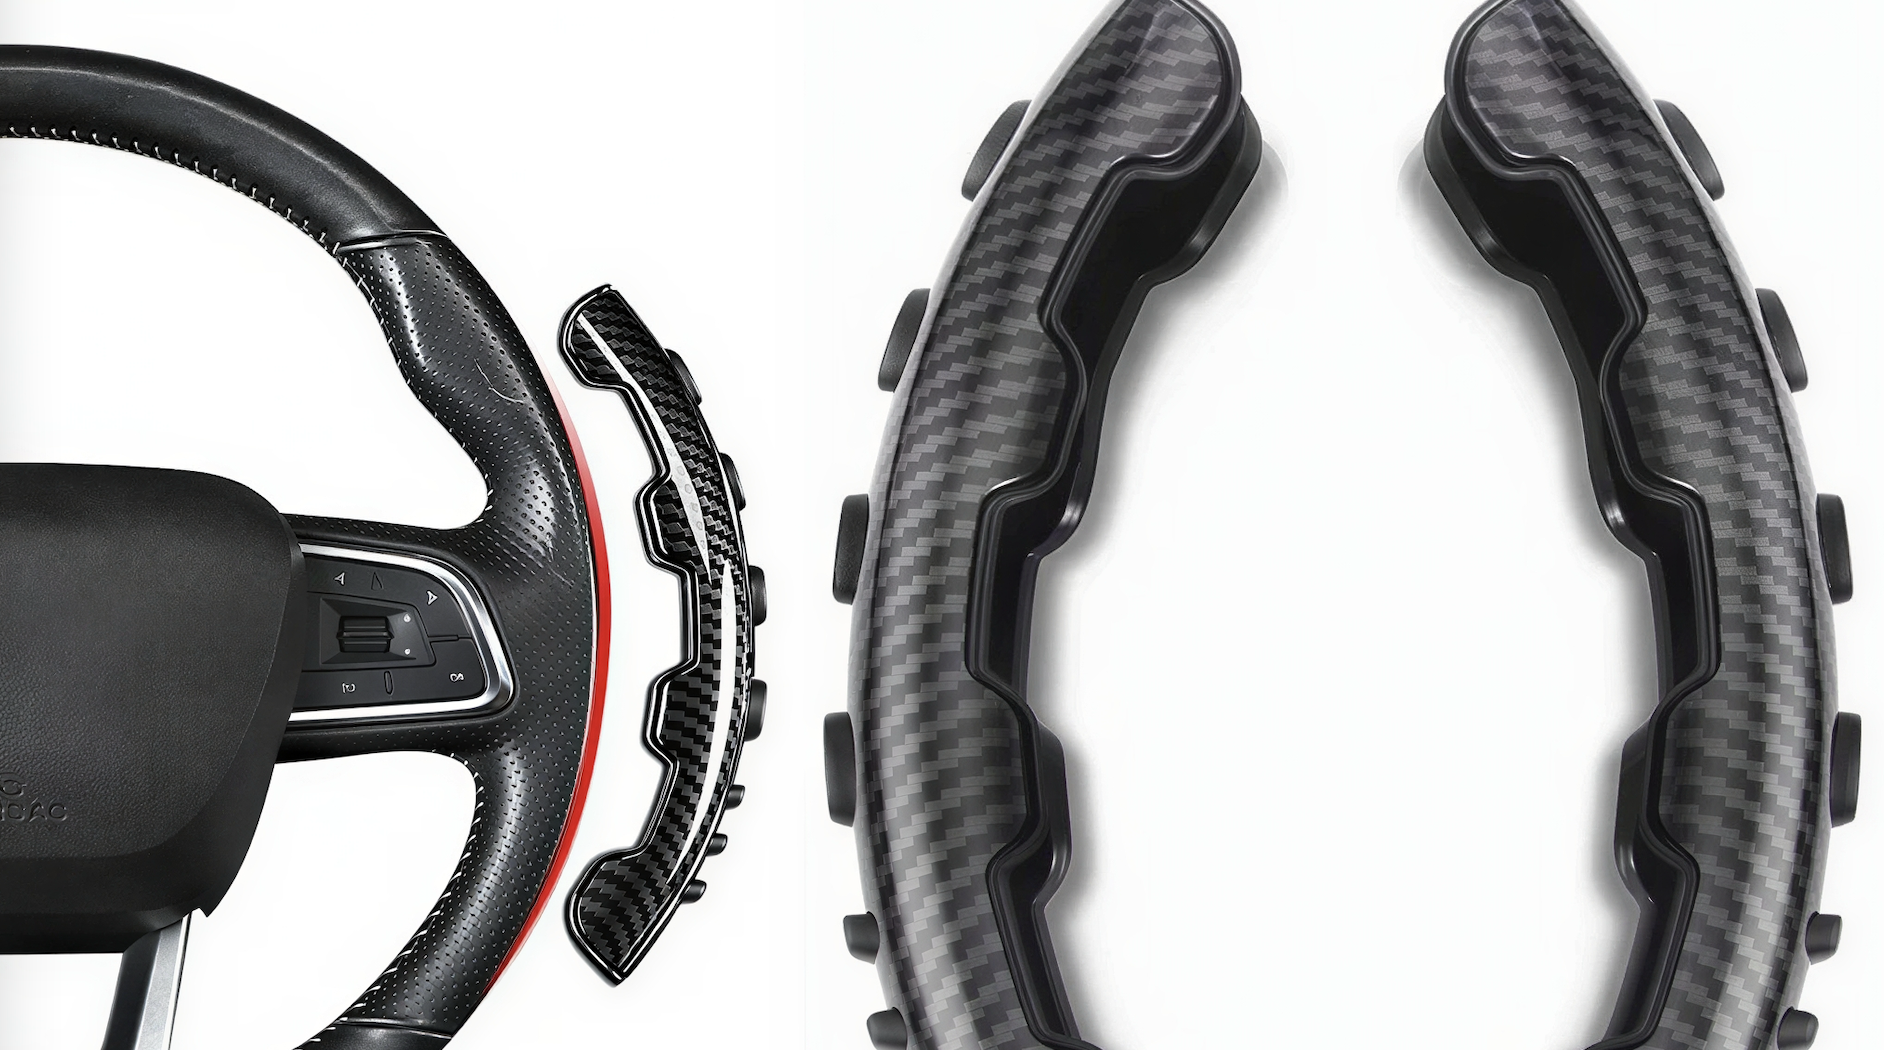
Not all carbon fiber steering wheel covers work for every driver — or every car. Three decisions shape your outcome before you spend a dollar: cover type, wheel size, and compatibility with your vehicle.
Pick Your Cover Type First
Each type solves a different problem:
-
Slip-On (3-piece snap cover) — Fits 37–38cm (14.5–15″) wheels. Installs in minutes, removes just as fast. Airbag-safe. Great for drivers who want a clean carbon fiber look with zero hassle.
-
Adhesive Wrap — Custom carbon fiber fabric bonded to your wheel. Not a universal fit. It gets cut to your wheel’s exact shape, compressed with shrink tape, and shaped for complex contours. The finish looks factory-made. The process takes patience.
-
Full Replacement Wheel — Forged carbon grips, leather side panels, professional-grade durability. Built for performance builds and track cars. This isn’t a cover — it’s a complete upgrade.
Measure Before You Order
Grab a flexible tape measure. Measure the outer diameter at the widest point, then confirm at the 3 and 9 o’clock positions.
|
Vehicle Type |
Typical Diameter |
|---|---|
|
BMW / Mercedes / Audi / VW |
37–38cm |
|
Most SUVs & Trucks |
14.5–15.5″ |
|
Chevy Silverado (standard) |
15″ (38cm) |
Match Function to Your Driving Style
|
Type |
Best For |
|---|---|
|
Standard carbon cover |
Daily commuting, budget-conscious builds |
|
LED RPM Display |
Sport/track driving, rev monitoring |
|
Heated cover |
Cold climates, long-haul fatigue reduction |
Verify Compatibility for 2025–2026 Models
Check your VIN for OEM wheel specs. Confirm hub adapter spline count — 48–52 teeth is the common range. On airbag-equipped vehicles, use plug-and-play covers. Never cut wires. Slip-on types are the safest choice here.
Tools & Materials You Need Before Starting Installation
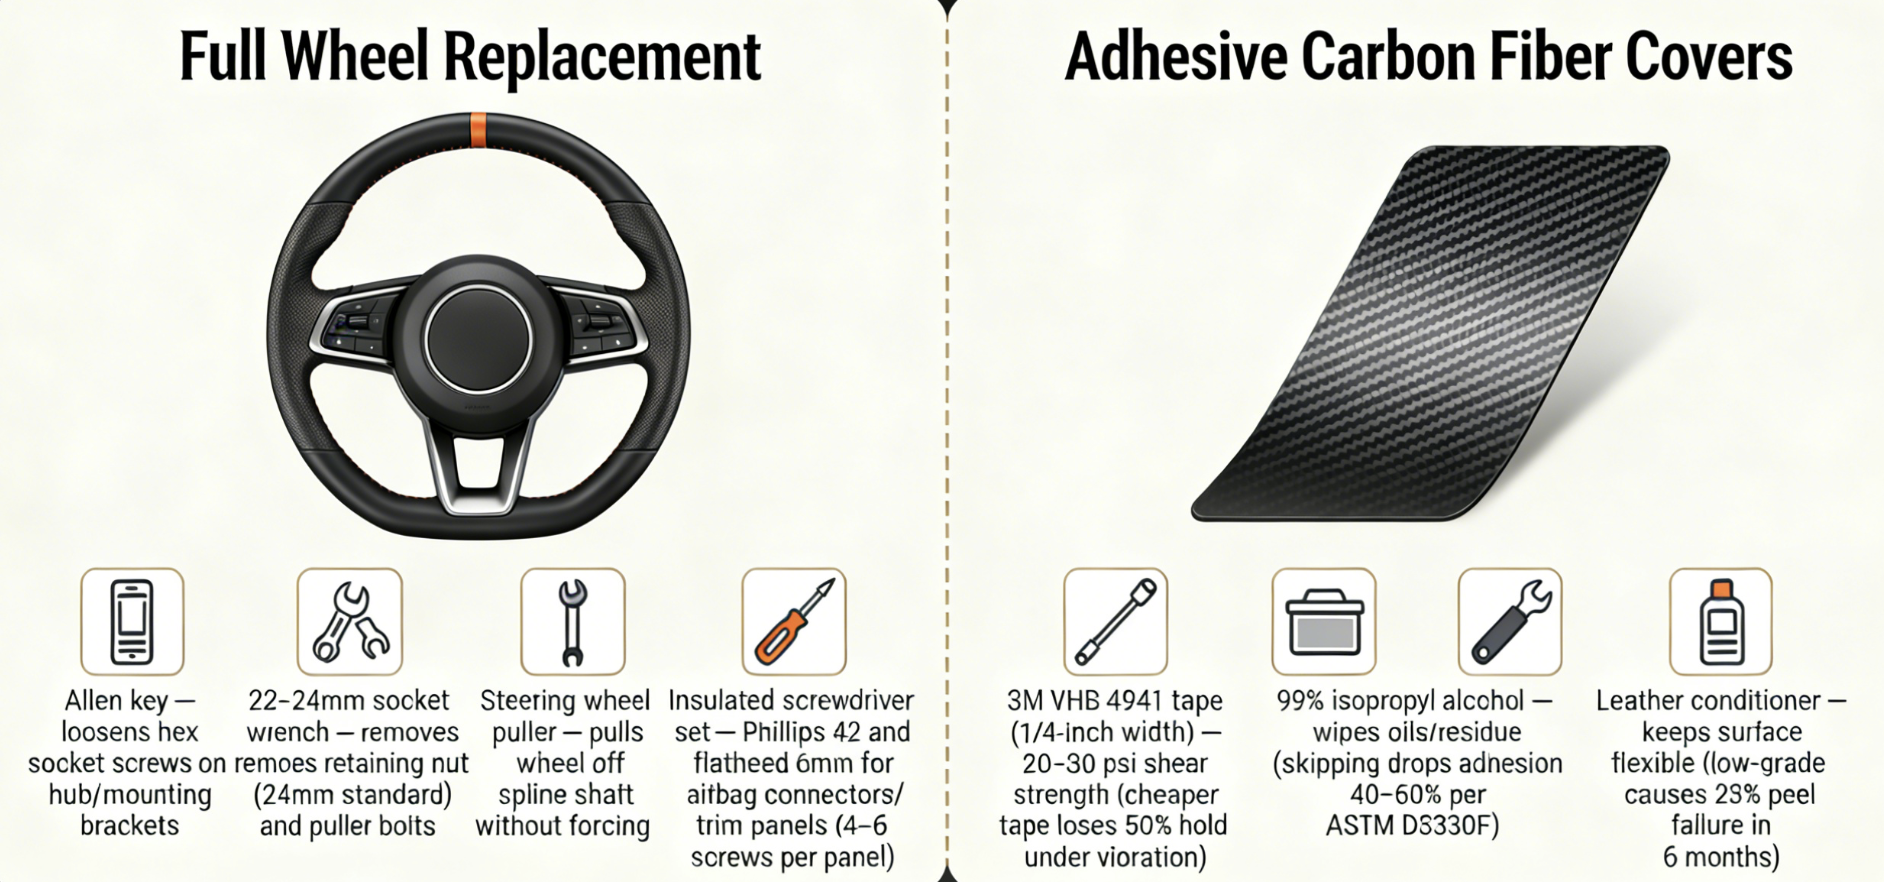
Wrong tools don’t just slow you down — they damage parts that cost hundreds to replace.
Gather everything on this list before you touch your steering wheel. What you need depends on which installation method you chose above.
For Full Wheel Replacement
-
Allen key — loosens hex socket screws on the hub and mounting brackets
-
22–24mm socket wrench — removes the retaining nut (24mm is standard) and puller bolts
-
Steering wheel puller — pulls the wheel straight off the spline shaft, no forcing needed
-
Insulated screwdriver set — Phillips #2 and flathead 6mm for airbag connectors and trim panels. Plan for 4–6 screws per panel
For Adhesive Carbon Fiber Covers
-
3M VHB 4941 tape (1/4-inch width) — gives you 20–30 psi shear strength. Cheaper tape loses up to 50% of its hold under road vibration
-
99% isopropyl alcohol — wipes away oils and residue before bonding. Skip this step and adhesion drops 40–60%, based on ASTM D3330F standards
-
Leather conditioner — keeps the surface flexible after cleaning. Low-grade formulas cause 25% peel failure within six months
Critical Safety Step (All Methods)
Disconnect the battery negative terminal first. Then wait a full 10 minutes.
That pause matters. Your SRS module capacitors hold 100–500µF of residual charge. Ten minutes brings that charge below the 5V deployment threshold, per NFPA 70E guidelines. Skip this, and you risk triggering the airbag mid-install.
Step-by-Step: How to Install a Slip-On Carbon Fiber Steering Wheel Cover (3-Piece)
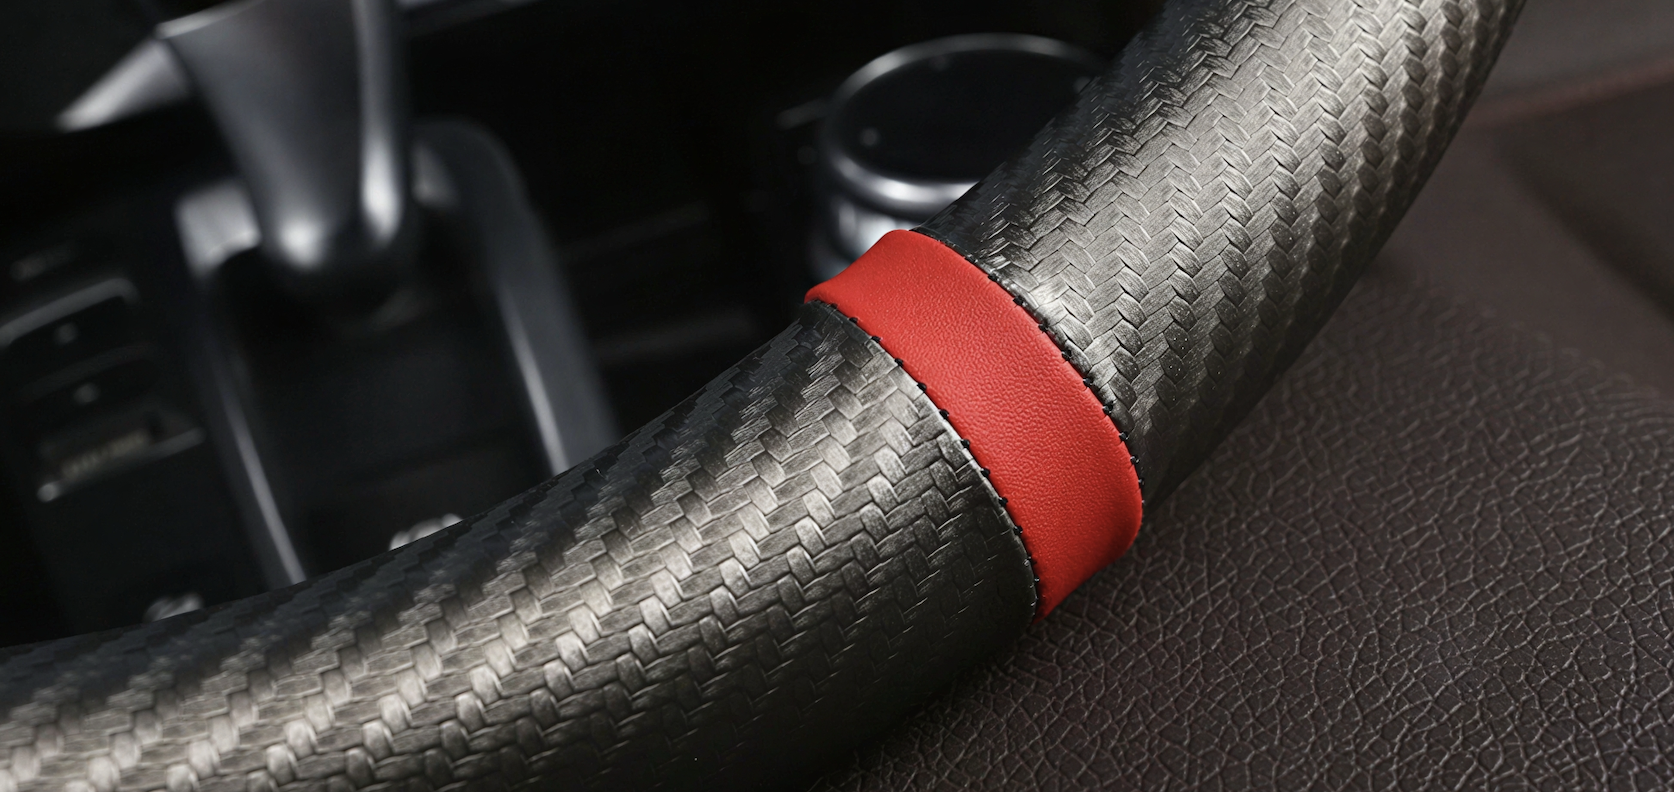
Three pieces. Zero tools. Ten minutes, if you take your time.
This slip-on carbon fiber steering wheel cover is one of the easiest auto interior upgrades out there — but “easy” doesn’t mean “careless.” Skip one step and you’re driving with a cover that rattles, rotates, or pops off at speed.
Here’s how to do it right.
Step 1: Clean the Wheel First (Don’t Skip This)
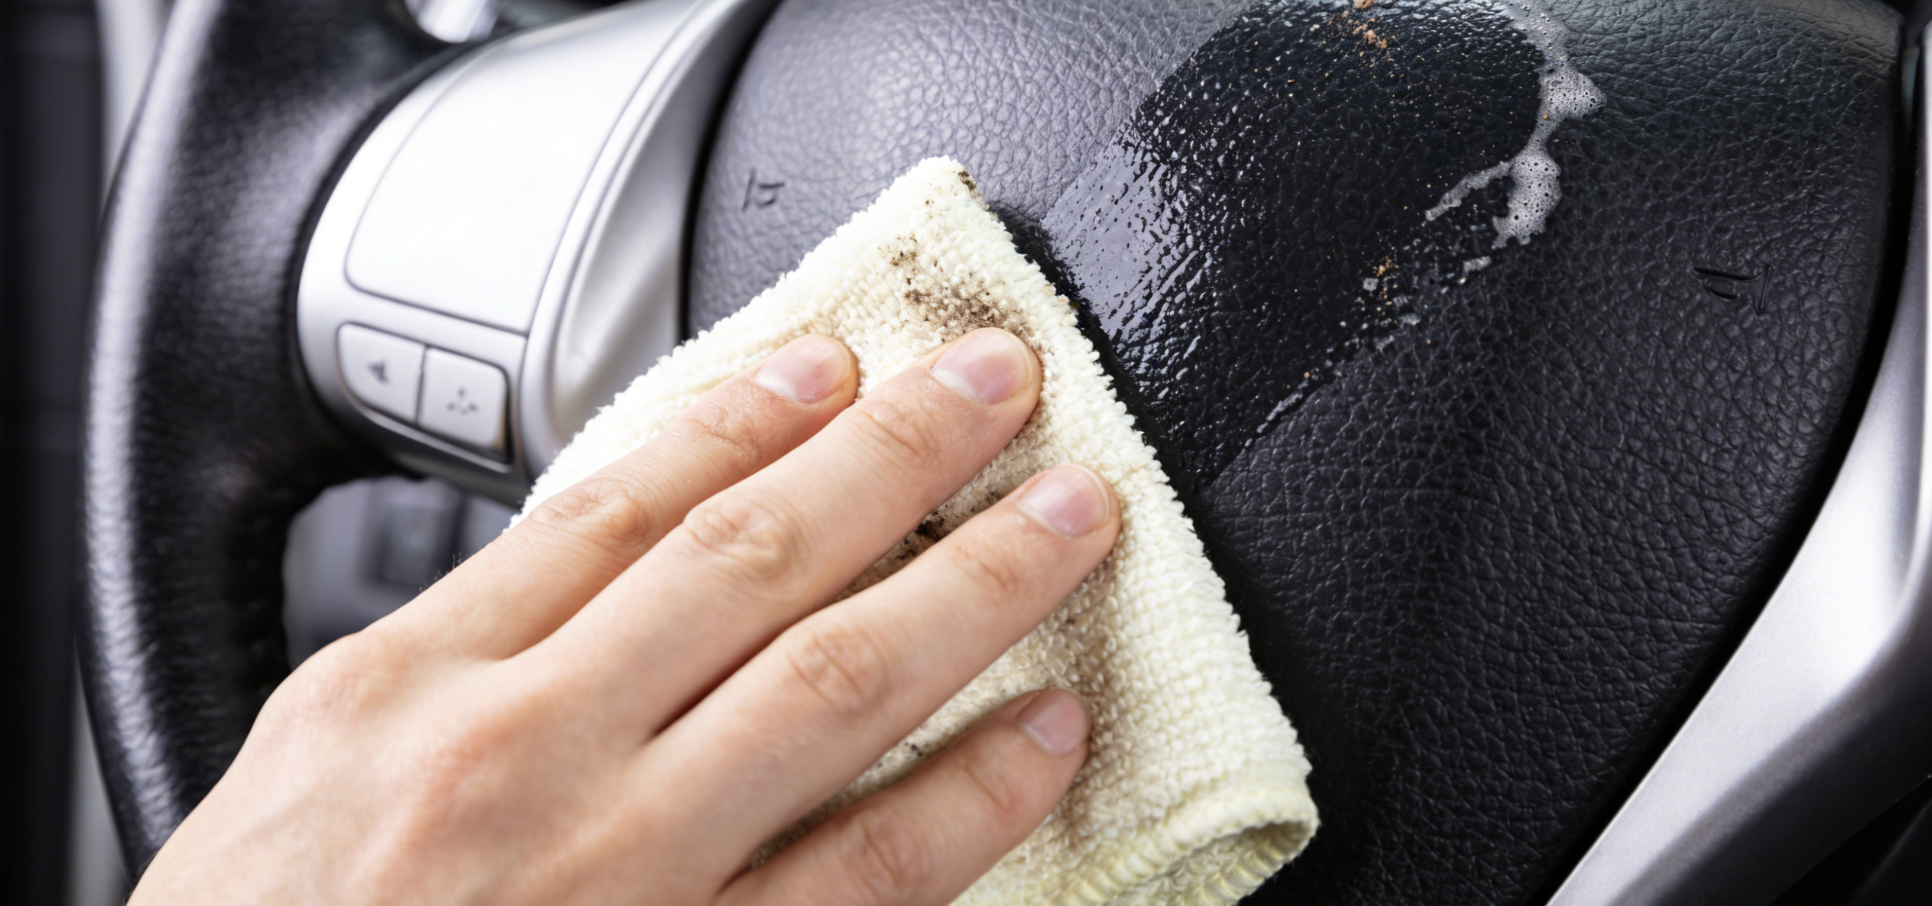
Wipe down your entire steering wheel with 99% isopropyl alcohol and a clean microfiber cloth. Remove every trace of skin oil, silicone protectant, and dashboard spray.
Got a leather-wrapped OEM wheel? Apply a light coat of leather conditioner after cleaning. Let it absorb before touching the cover.
Why does this matter? Residue on the surface kills snap-fit integrity. A dirty wheel can cause clip failure within one to two weeks — no matter how hard you pressed the pieces on.
Step 2: Install in Sequence — Top First, Then Sides
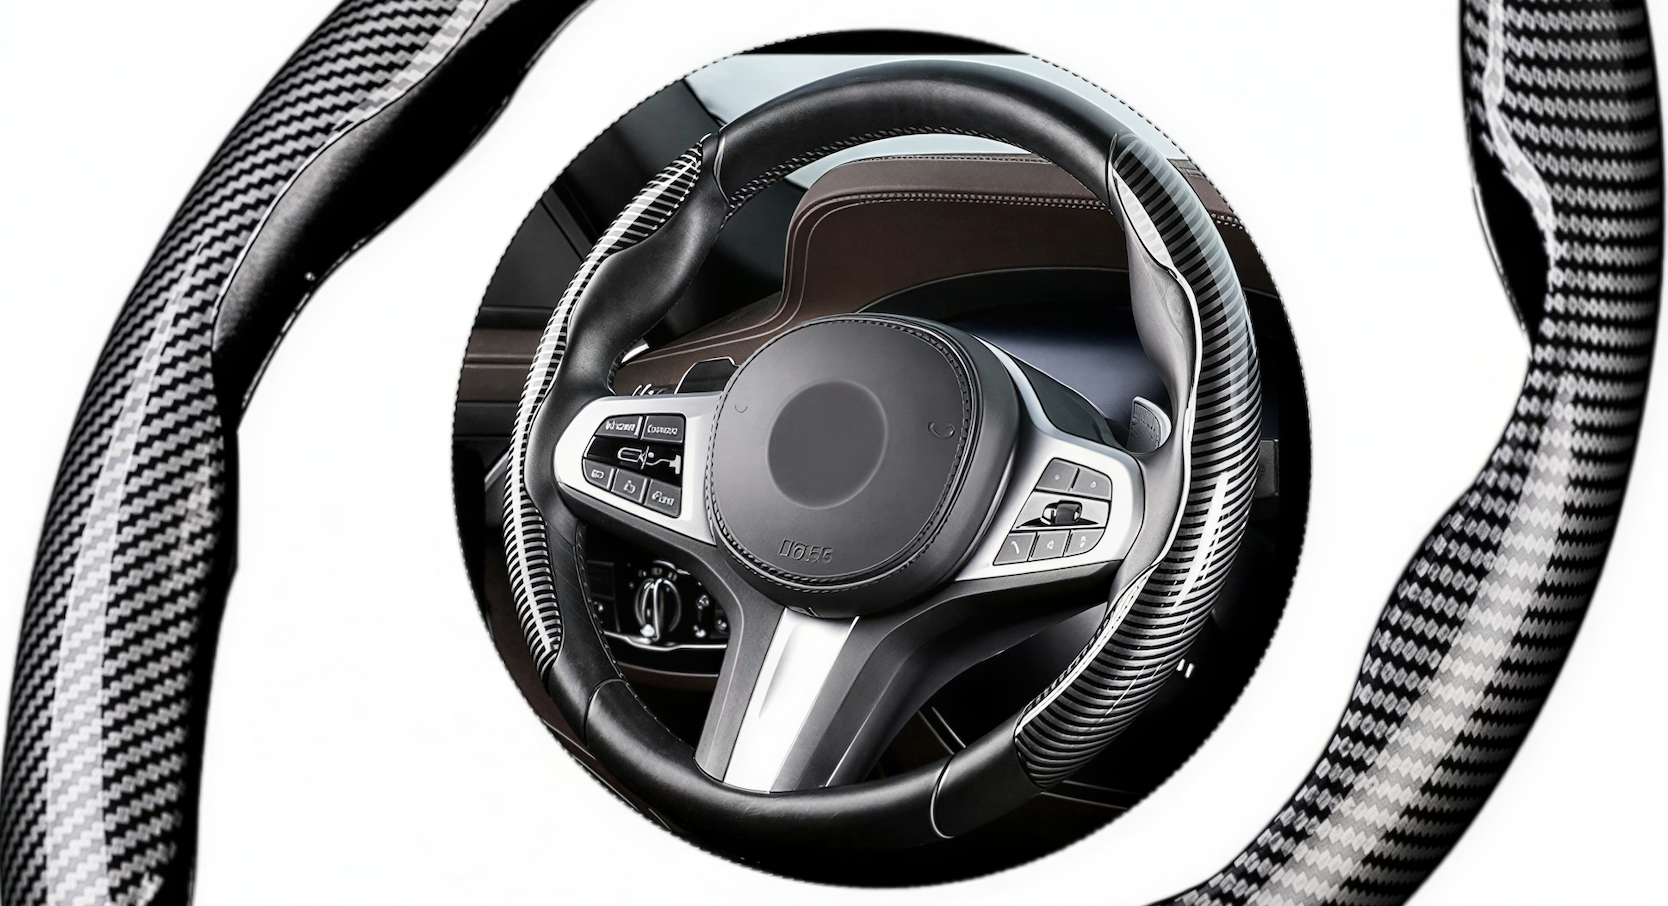
The three-piece install follows a set order. Go out of sequence and the pieces won’t line up right.
① Top Piece
– Find your wheel’s OEM stitching marks. These are your alignment reference points.
– Place the top piece at the crown of the wheel, centered on those marks.
– Press down with steady, even pressure until you hear a click from each clip.
That click isn’t just satisfying — it’s confirmation. No click means the clip isn’t seated.
② Left Side Piece
– Line up the inner edge flush against the top piece.
– Push inward and downward at the same time until the clips lock in.
– Check the seam. Any gap wider than 1mm means it’s not locked.
③ Right Side Piece
– Repeat the same steps as the left side.
– Make sure the overlap at both seams is tight and flush.
– Once attached, rotate the wheel a full 360°. The cover shifts more than 2°? One of the clips isn’t seated.
Step 3: Confirm the Snap-Fit

A solid real carbon fiber wheel cover resists 5–10 lbs of direct pull force with no movement or flex. Test every quadrant:
-
Tug each section with firm pressure at the 12, 3, 6, and 9 o’clock positions
-
Look for visible gaps, play, or any section that feels soft
-
Shake the wheel and listen — any rattle means a loose clip
Step 4: Road-Test Before You Trust It
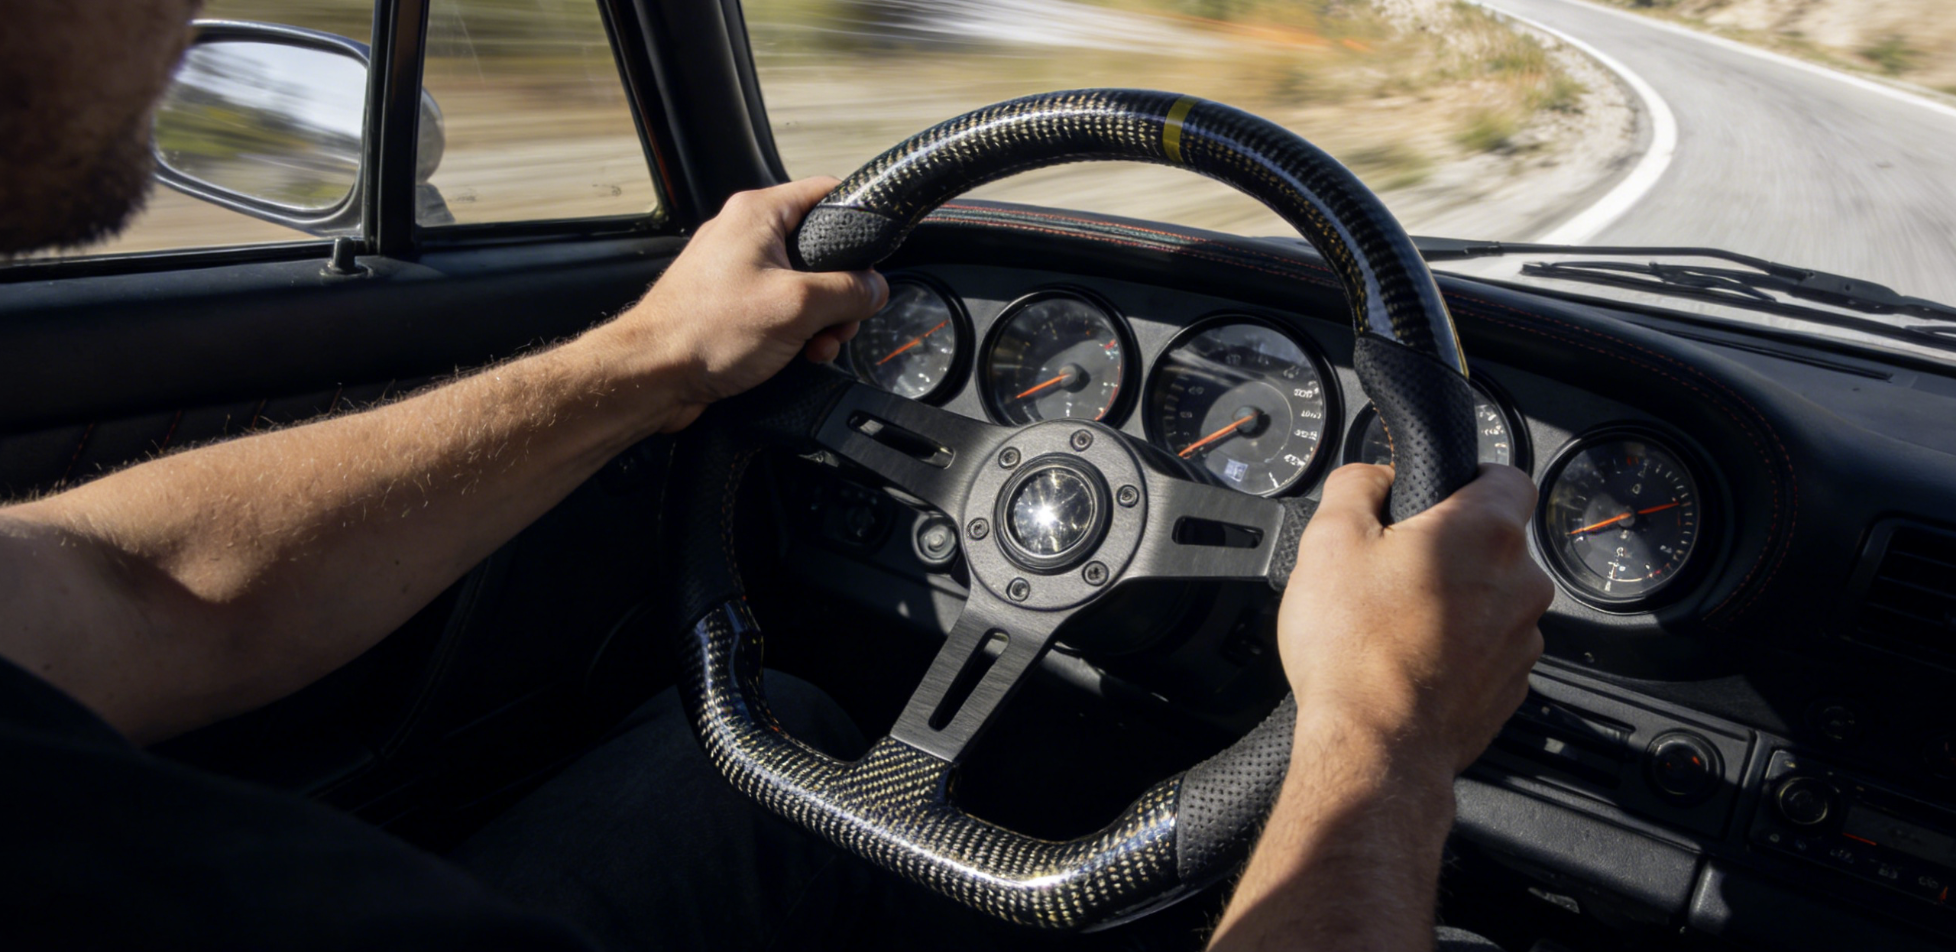
Don’t just park-test and call it done.
Drive at 20–30 mph and rotate the wheel three to four full turns in each direction. Watch for any rotational slip beyond 1°. At the 9 and 3 o’clock positions, apply firm torque — around 10–20 lbs — and confirm there’s zero wobble or detachment.
After your first 50 miles, do a quick visual check. A secure steering wheel protector stays right where you put it. No shift, no noise, no movement.
Warning Signs That Mean Reinstall Right Away
|
Signal |
What It Means |
|---|---|
|
Audible rattle when shaking the wheel |
Clip gap >2mm — not fully seated |
|
Cover rotates >5° during turns |
Alignment lost, reinstall required |
|
Pop-off in hot weather (>80°F) |
Heat expansion broke an incomplete snap |
See any of these signs? Take the cover off, re-clean the surface, and go back to Step 1.
Step-by-Step: How to Install a Carbon Fiber Adhesive Wrap Cover
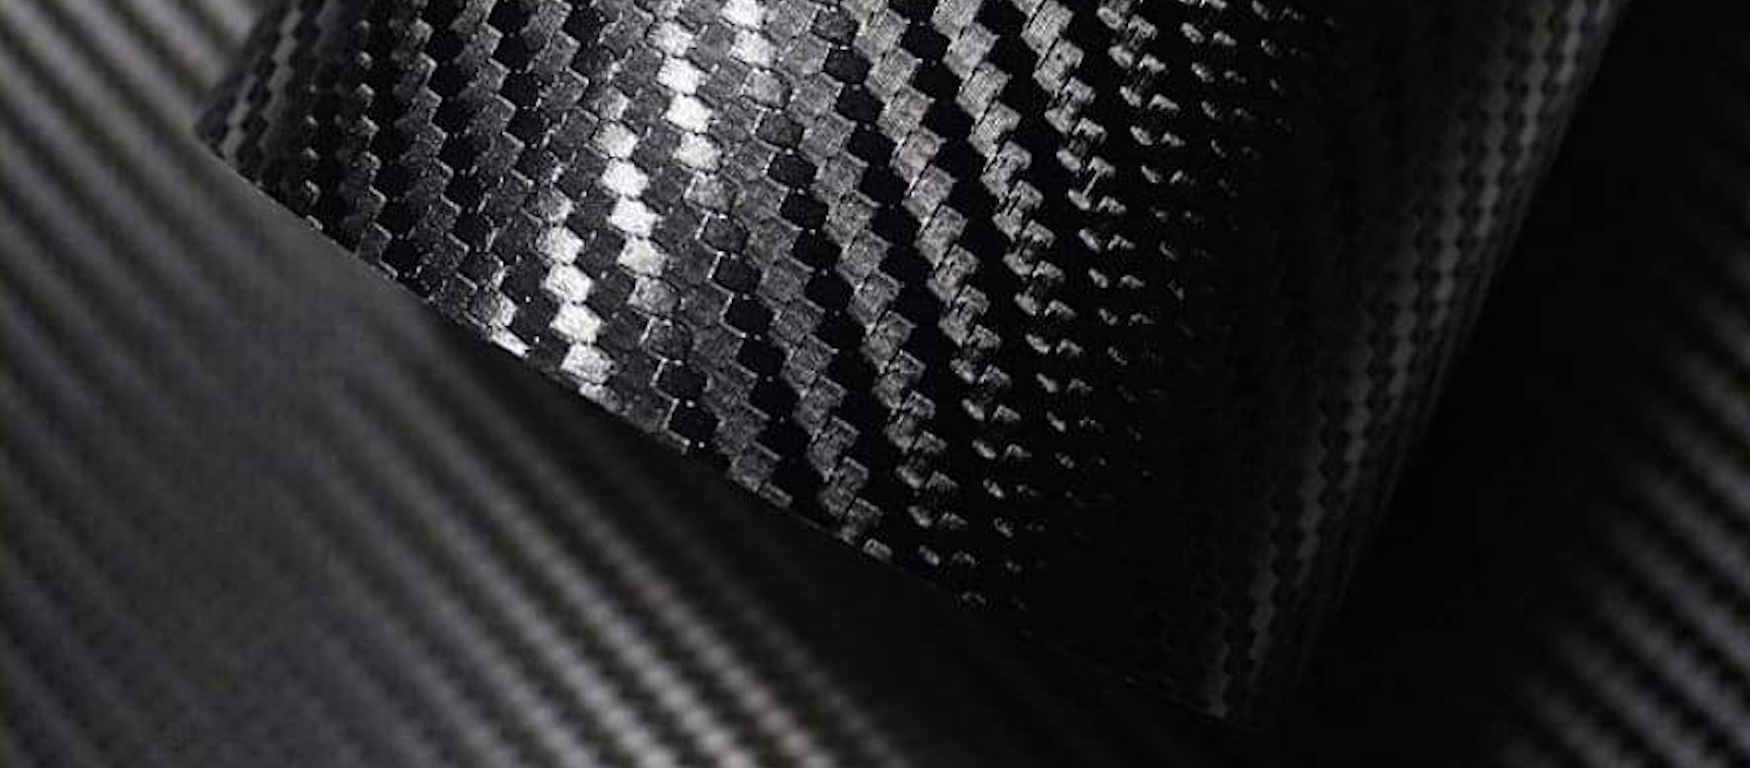
Adhesive wrap is unforgiving. Get the prep wrong, and you’re peeling off bubbled film within a week. Get it right, and the finish looks like it rolled out of the factory that way.
This method bonds real carbon fiber vinyl straight to your wheel surface using VHB tape and heat activation. It takes patience — not skill. Follow the sequence in order. Every step matters.
Step 1: Control Your Environment
Temperature matters more than most guides admit. Work between 60–80°F (15–27°C). Above 80°F, the film activates too fast. You lose repositioning time. Below 60°F, the adhesive won’t bond. It’ll feel stuck but pull away later.
Step 2: Clean the Surface
Wash the wheel. Dry it with a microfiber cloth. Then degrease with 70–90% isopropyl alcohol on a lint-free towel. Any skin oil left behind drops adhesion by 40–60%. Don’t rush this part. It’s the step most people skip — and the reason most wraps fail early.
Step 3: Cut with Extra Room, Trim Later
Cut your carbon fiber wrap with 3–5cm (1.2–2 inches) extra on every side. You need that overhang for edge tucking. Cutting too tight before application is one of the most common mistakes — and there’s no fixing it once you’ve committed.
Step 4: Tape Placement Is Not an Optional Detail
Use 3M VHB 5952 or 5962 tape along edges and corners. Edges and corners only. Multiple narrow strips beat a single wide strip — narrow strips flex around curves without lifting. Press at about 15 psi. Never run tape through the center panel. The center has to move and contour against the wheel’s compound curves. Tape there locks it rigid.
Step 5: Position Before You Commit
Peel back 10–20cm of the liner. Tack the wrap into position. Align the weave direction first — a misaligned carbon fiber weave is visible from three feet away. Use a helper or magnets to hold tension while you confirm alignment. You can still reposition at this stage. Once full adhesive contact happens, you cannot.
Step 6: Squeegee From Center Out
Start every stroke from the center and push outward. Keep the squeegee at a low angle. Work the recesses first, then the sides, then the middle sections. That order spreads tension across the wrap. It stops stress points from forming and prevents lifting later.
Step 7: Handle Curves With the Halving Method
Spoke junctions are where wrinkles show up. The geometry changes fast there, and the wrap has nowhere to go. Use the halving method — fold the problem area in half, add heat until the film goes smooth, then press flat. Work from outer edges toward the center. Don’t fight wrinkles as they form. Heat the area, let the film relax, then push.
For carbon fiber vinyl, heat activation means reaching at least 212°F (100°C). That’s a higher threshold than leather wrap. CF vinyl needs that heat to stretch and conform without cracking the weave pattern. Make multiple short heat passes. One long blast overheats the surface and can damage the film.
Step 8: Tuck and Finish the Edges
Heat-soften each edge. Pull taut with gloves on — the film is hot. Tuck 10–20mm underneath the wheel rim. Press firm with a plastic roller along every seam. Any edge left half-tucked will lift within 30 days. No exceptions.
Step 9: Post-Heat Every Section
After full application, run the heat gun over the entire surface again at 212°F+. Pay extra attention to edges and seams. That final pass locks the adhesive into place for good.
Cure Time — Don’t Skip the Wait
|
Timeframe |
Bond Strength |
|---|---|
|
20 minutes |
50% bond |
|
24 hours |
90% bond |
|
48–72 hours |
100% full cure |
Keep the wheel away from heat sources and moisture during the cure window. No car washes. No direct sunlight. No driving with wet hands for the first 48 hours.
One more thing: On smooth OEM plastic sections, put down 3M Primer 94 before taping. It creates a chemical bonding layer that standard VHB tape alone can’t build on low-surface-energy plastics. Skip it, and the tape will eventually let go.
Step-by-Step: How to Replace With a Full Custom Carbon Fiber Steering Wheel
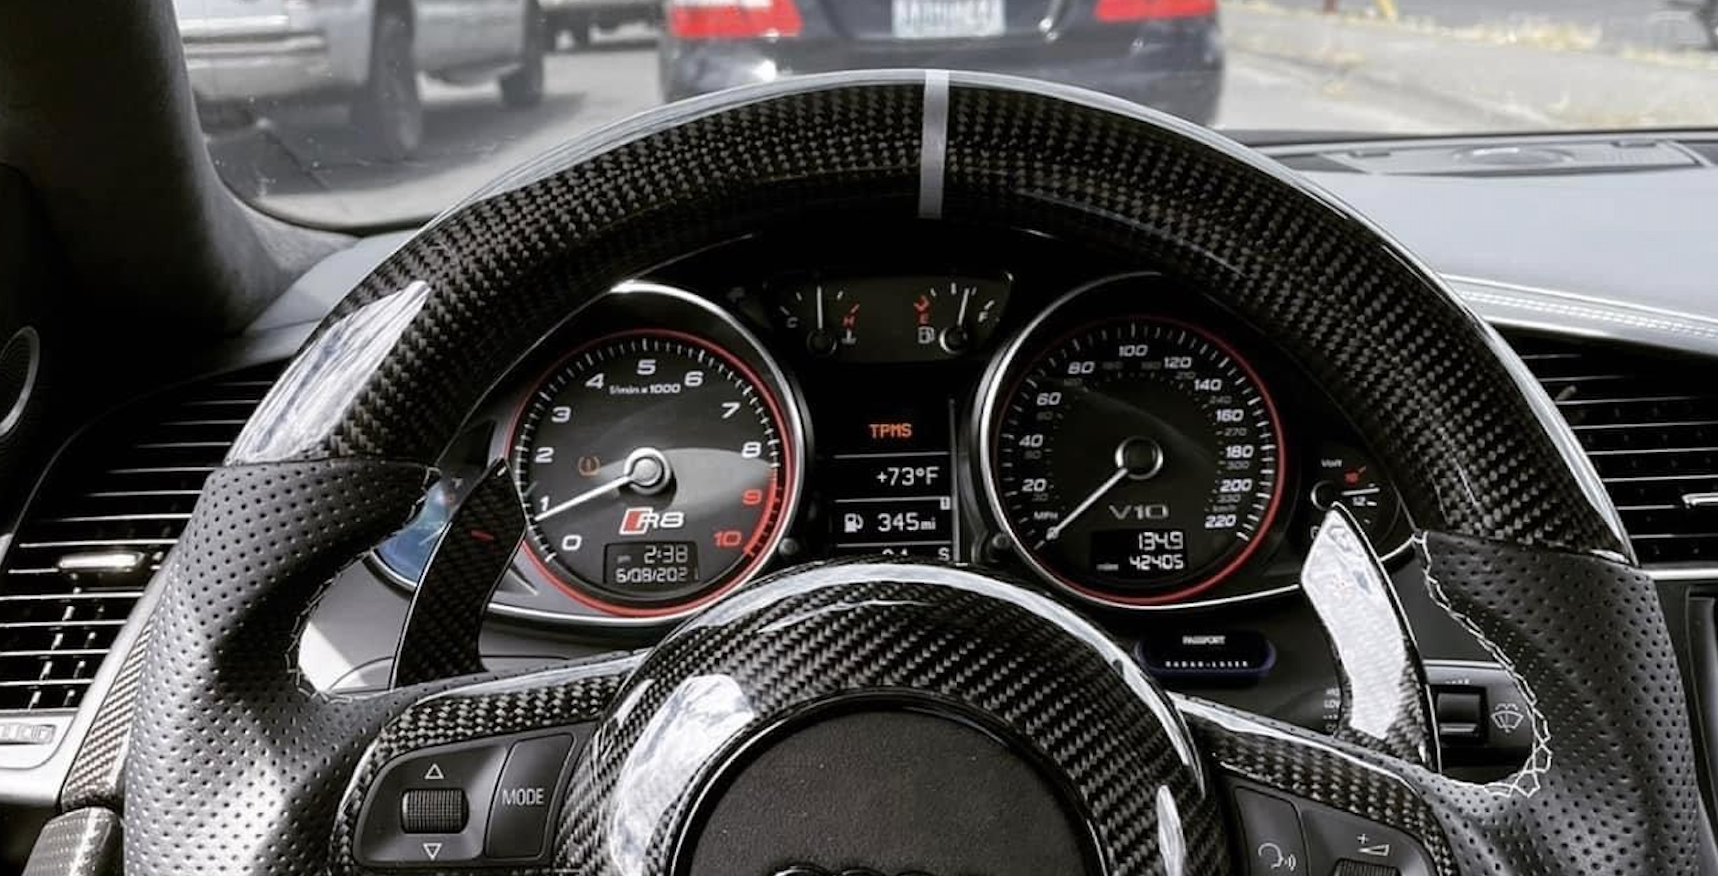
A full wheel swap changes how your car feels from the first turn out of the driveway. This isn’t a cover. It’s a complete replacement — and every step has to happen in the right order, no shortcuts.
Here’s every step, in order.
Phase 1: Disconnect the Battery
Pull the negative terminal first. Then walk away for 10 minutes.
This isn’t a suggestion. Your SRS airbag system stores residual charge in its capacitors. Ten minutes drops that charge below the safe threshold. Pull connectors before that window closes, and you’re dealing with a live airbag. That’s not a risk worth taking.
Phase 2: Remove the OEM Steering Wheel
Work through this in strict sequence:
-
Remove the airbag bolts — T30 Torx is the most common driver here
-
Unplug every connector — Press the tab on the yellow sensor connector, pull it free. Clear all remaining wiring harnesses before touching anything else
-
Loosen the central nut — 14mm socket or wrench
-
Attach the steering wheel puller — Thread two 14mm bolts with washers into the puller holes. Tighten them in turns, switching sides each time — not one side straight through. The wheel slides off the spline shaft clean, no forcing needed
Double-check bolt length before threading into the puller. Too short and the bolts strip out. Too long and they hit the column housing.
Phase 3: Install the Hub Adapter
Line up the splines with care. A misaligned hub throws off your center position on every drive. Thread the 14mm central nut by hand first, then torque it to 29 ft-lbs. Keep one hand on the wrench, one hand holding the hub steady — wait for the click from the torque wrench before letting go.
Phase 4: Mount the Carbon Fiber Wheel
Route all your cables first — horn wire, button controls, sensor harnesses — behind the brackets and housings. Do this before bolting anything down. Cable routing is not optional. Trapped wires create random failures that are brutal to track down later.
Once cables are routed clean:
-
Insert the 14mm central bolt
-
Torque to 29 ft-lbs
-
Reconnect every connector — push the sensor plug in until you hear a click
-
Reinstall the airbag unit, seat it flush, and lock it down with T30 Torx bolts
Phase 5: Reconnect and Verify
Reconnect the battery — positive terminal first, then negative. Tighten both down firm.
Run through this checklist before leaving the garage:
|
Function |
Expected Result |
|---|---|
|
Horn |
Responds on press |
|
Multi-function buttons |
Volume, media controls all active |
|
Cruise control |
Engages and cancels as expected |
|
Airbag warning light |
Off — no warnings on dash |
The airbag light stays on? Stop. Don’t drive the car. Go back and check every connector. A light-on condition means an open circuit in the SRS system. An SRS fault means your airbag won’t fire the right way in a crash.
Tools Checklist at a Glance
-
14mm socket, wrench, and torque wrench
-
T30 Torx driver
-
Steering wheel puller (with washers and cap tool)
-
Allen keys and Phillips screwdriver
-
Electrical tape and zip ties for cable management
Finish all five phases in sequence, and you’ll have a custom carbon fiber steering wheel that fits clean, runs solid, and looks like it came straight from the factory floor.
How to Wire LED Display on Carbon Fiber Steering Wheel (RPM & Shift Light)

Most LED RPM displays fail within the first week — not because of a bad product, but because of a bad connection. Get the wiring right from the start. Your shift light will fire at the right moment every time.
Choose Your Power Source First
Two options exist. Pick the one that matches your build:
OBD-II Port (Plug-and-Play)
– Plug the module into your OBD-II port and tuck it into the footwell
– Powers on with ignition — zero splicing, no permanent changes
– Works on most modern vehicles: Dodge Charger, Jeep Grand Cherokee, and similar platforms
– One caveat: OBD ports can introduce minor signal noise on some vehicles
Fuse Tap / Direct Splice
– Tap into the steering harness — red/purple wire for 12V power, black for ground
– Handles higher amp draw than OBD. That makes it the better choice for permanent installs
– Use a voltmeter to confirm wire identification before cutting
– Target fuse ratings: 5–10A. Check your specific vehicle’s fuse chart first.
Wire the LED Unit
Standard color coding: red = 12V positive, black = ground. Some harnesses use purple for positive and white for negative. Confirm with a voltmeter before splicing. A 12V reading between the suspected positive wire and chassis ground tells you it’s the right wire.
Splice procedure:
1. Strip 3/4 inch of insulation from both the OEM wire and LED wire
2. Twist the conductors together. Wrap the joint with electrical tape
3. Slide heat shrink tubing over every splice — 1–2mm diameter, heat until sealed
Vehicle-specific references:
– Dodge Charger Scat Pack (2019): LED red → purple OEM wire, black → black ground
– Jeep Trackhawk (2014–21): Thin red/black LED wires connect to main steering harness red/black
– BMW: Connect to Illum+ (red) and Illum− (black) lines
Route and Secure the Harness
Pass all wires through the steering column opening. Bundle them alongside the OEM harness with 4–5 inch zip ties, spaced no more than 10–15cm apart. Keep every run clear of pinch points, moving parts, and heat sources.
Test Before You Close Everything Up
Reconnect the battery. Turn the key to ignition. The LED display should light up right away.
No light? Run through this in order:
|
Problem |
Symptom |
Fix |
|---|---|---|
|
No power |
Nothing lights up |
Check battery connection → voltmeter on red wire → reseat OBD/fuse tap |
|
Reversed polarity |
Dim flicker or blank display |
Disconnect battery, wait 15 min, swap red/black, retest |
|
Sleep mode active |
No auto-power on ignition |
Hold both side buttons for 5 seconds until lights activate |
|
Loose splice |
Intermittent dropout |
Re-strip, re-tape, add heat shrink |
Your unit supports Bluetooth? Pair the app now and set your shift point. 7,000 RPM is a solid starting threshold for most performance builds. Fine-tune it based on your engine’s power band.
How to Transfer OEM Steering Wheel Heater to Custom Carbon Fiber Wheel
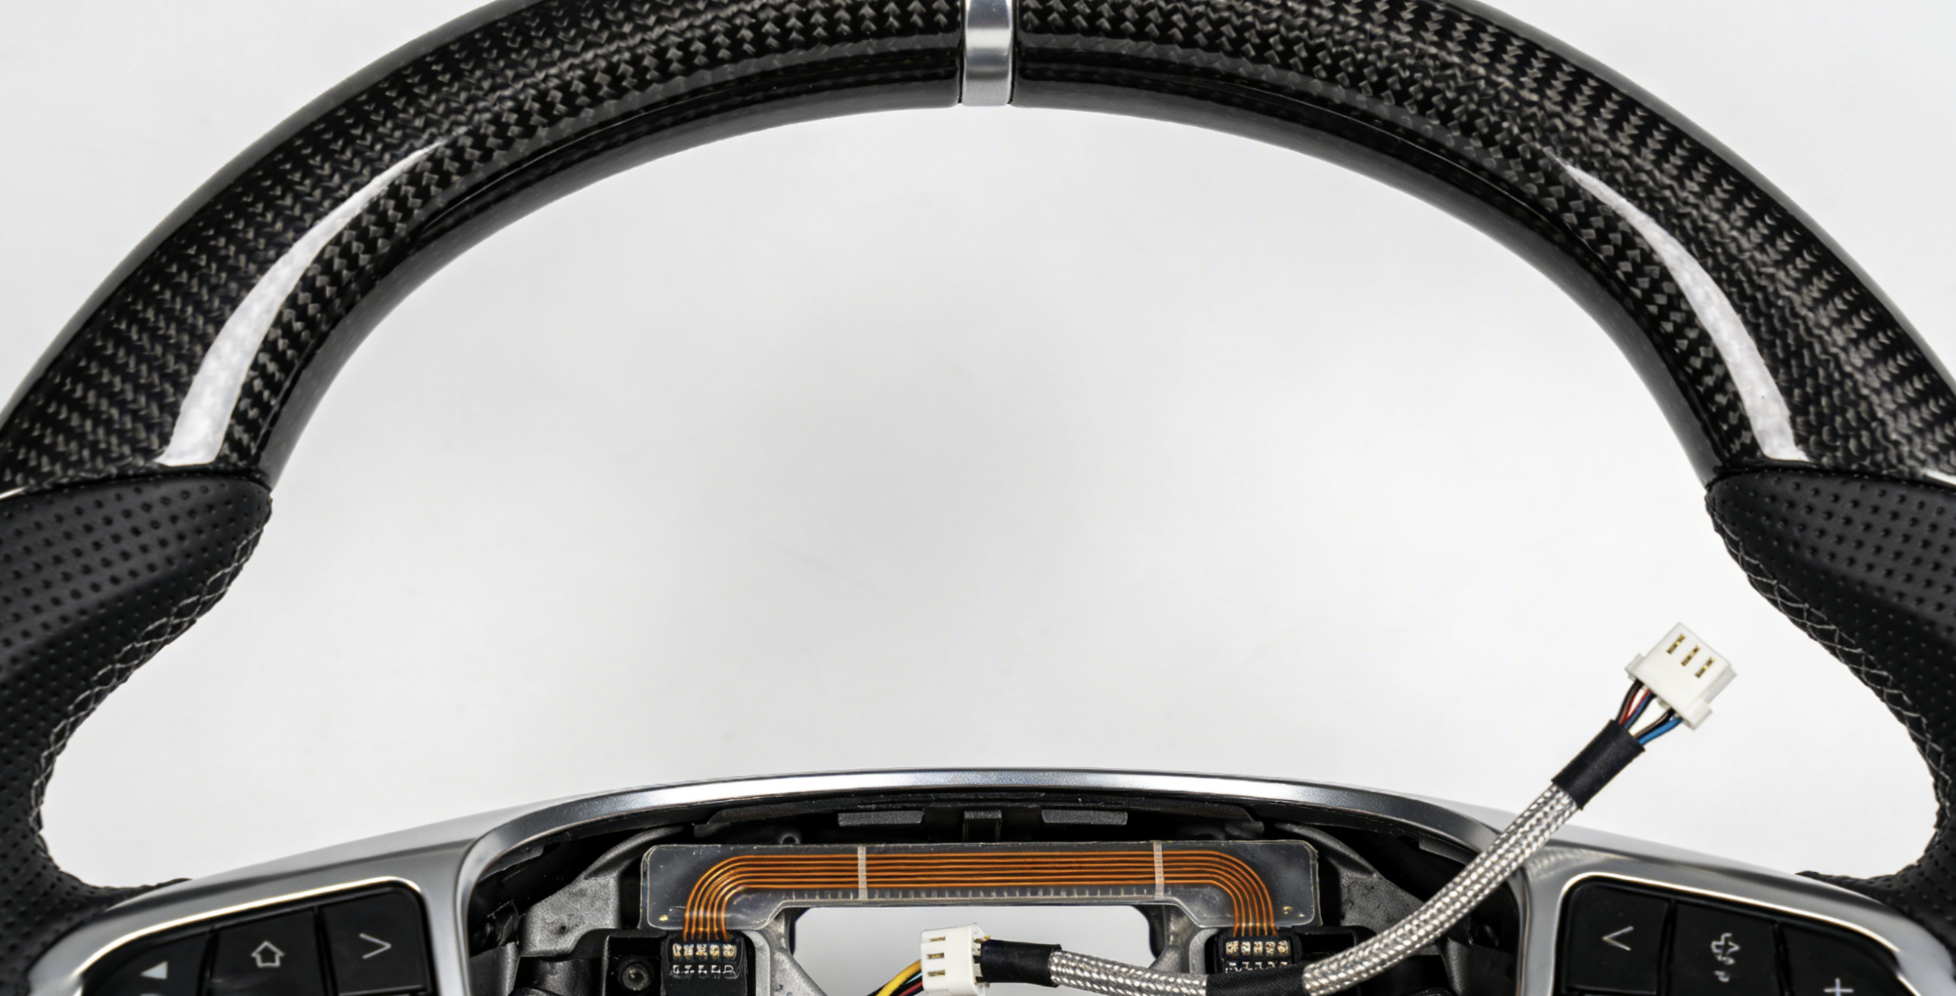
Carbon fiber can’t be heated. The material doesn’t conduct warmth like OEM wheel assemblies do. So your heating element has to move from the old wheel to the new one.
The good news: the transfer is doable. It takes patience, a few photos, and strict wire routing — no guessing.
Before You Disconnect Anything — Document First
The OEM heating wires start at the bottom spoke of your steering wheel. You’ll find two harnesses running down from the top and one coming up from the bottom. Before touching a single screw, photograph every harness run. Those photos are your reinstallation guide. Don’t rely on memory here.
Removal Steps
-
Disconnect the heated steering wheel plug at the bottom spoke
-
Remove the three backing plate screws — one center, two sides
-
Peel away the plastic trim to reach the wire harness underneath
-
Press down on each push-down connector, then pull it free
Watch your wire length as you work. Cut too short, and you lose your connection options.
Transfer to the Carbon Fiber Wheel
Route the heating wires onto the new wheel’s backing plate. Match the original layout. Then:
-
Keep all wires clear of the airbag area
-
Connect with solder joints (permanent) or crimp connectors (modular) — pick one
-
Match polarity — yellow to yellow, black to black. Wrong polarity sets off heated wheel warning lights on the dash
-
Slide the retaining clip back onto its metal prong to lock the harness in place
Final Verification
Reconnect the battery, then press the heated steering wheel button. Heat should build within 60 seconds. A warning light that stays on means a polarity error or a loose connector. Check both before you drive.
One shortcut worth knowing: some aftermarket carbon fiber wheels come with pre-installed heated steering wheel connectors. Yours may already have them — that skips the manual wire transfer step. Check your product specs before you start.
Carbon Fiber Steering Wheel Compatibility Guide for 2025–2026 Models
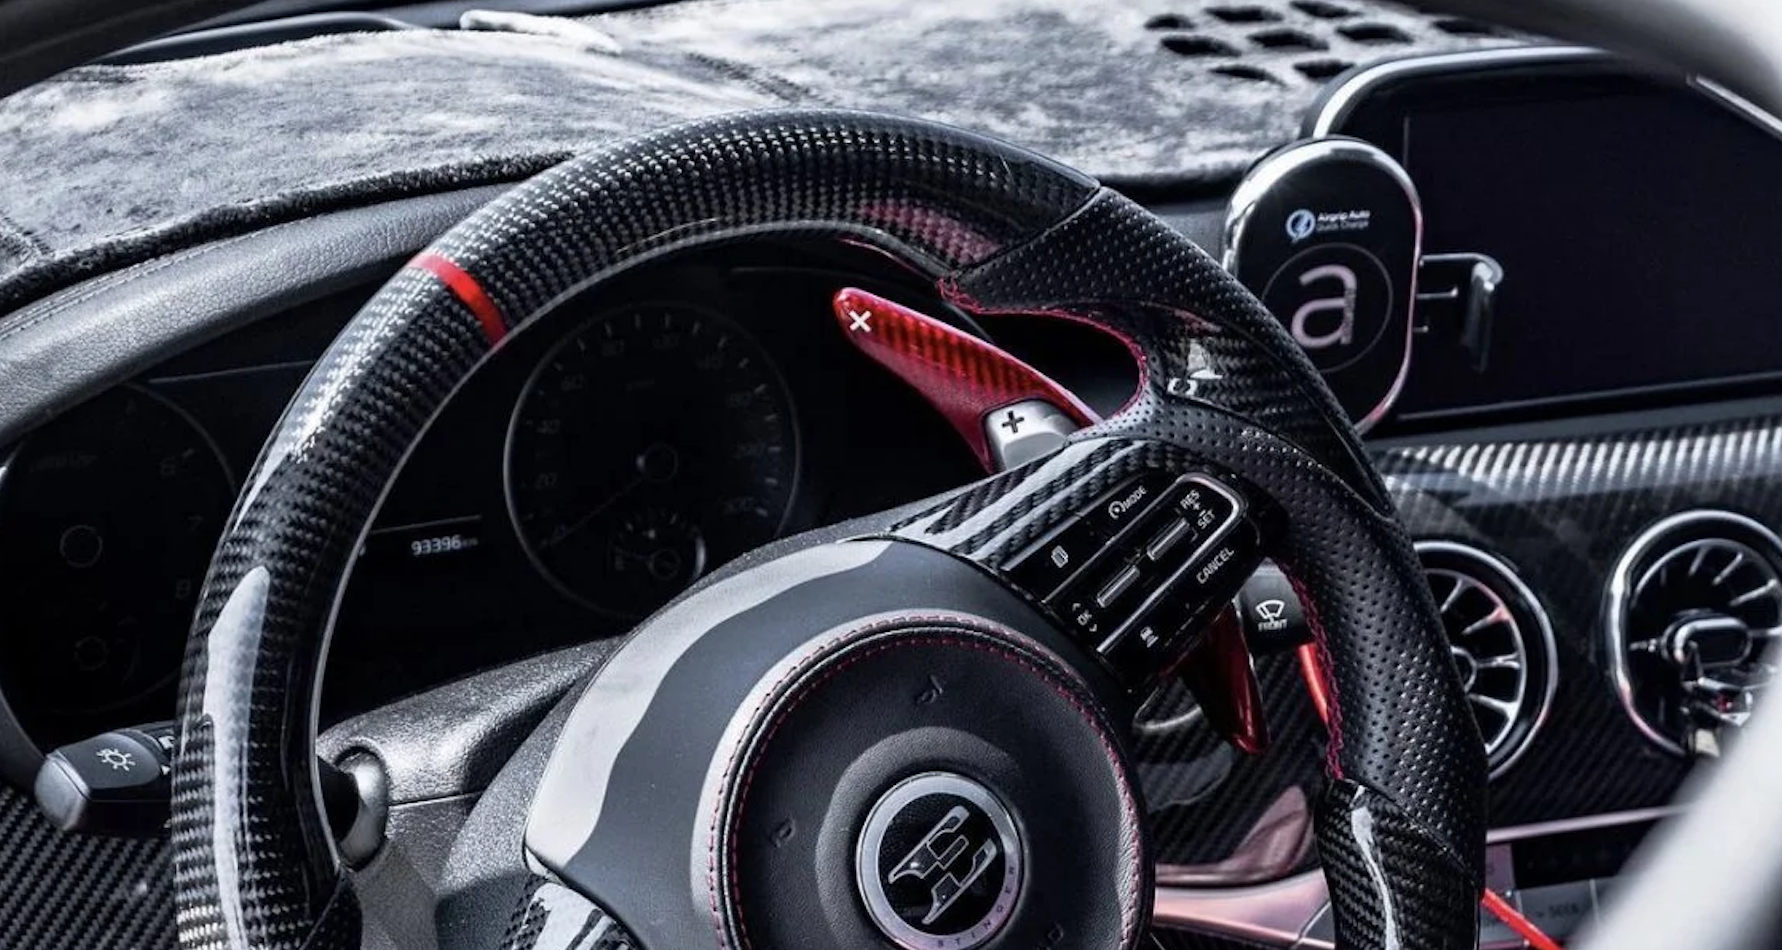
Getting the fitment wrong is the most common mistake with carbon fiber steering wheel upgrades. The 2025–2026 vehicle generation brought proprietary CAN bus systems and updated airbag designs. These changes make universal covers a real safety risk.
Here’s what fits — and what doesn’t.
Model-by-Model Breakdown
2024–2026 Ford Mustang (S650 chassis)
This cover fits the GT, EcoBoost, and Dark Horse trims. The adapter uses a modified OEM core with a simple plug-and-play setup. One trade-off: the heated steering wheel stops working. You won’t see any dash error codes. OEM buttons move over without issues.
2019–2025+ Ram 1500 / HD Series
You get a direct factory adapter match across Ram 1500 through 4500 HD. The heated wheel function stays on — a real edge over the Mustang fitment. You can also set up the grip any way you want.
BMW G-Chassis (G20, G22, G42 and variants)
The LCI retrofit kit comes with airbag-matched hardware. Most owners can handle the install on their own. Plan for about three weeks of shipping lead time on international orders.
2026 Infiniti Q50
This one needs more care than the others. The Q50’s CAN bus system is proprietary. You must confirm OEM airbag compatibility before you buy. There’s no plug-and-play option like older Q50 models had.
Universal Covers on 2025–2026 Models: Avoid Them
|
Type |
Works On |
Fails On |
|---|---|---|
|
Model-Specific |
Mustang, Ram, BMW G-Series, Q50 (verified) |
Wrong trim or chassis year |
|
Universal |
Older pre-CAN bus vehicles |
2026 Q50, 2024+ Mustang |
Universal covers set off airbag errors on new CAN bus platforms. That’s not a minor glitch — it’s a safety failure.
Pre-Purchase Checklist
-
Confirm your chassis code (S650 Mustang, G20 BMW, etc.)
-
Check your CAN bus and airbag type against OEM specs
-
Find out if the heated steering function stays on or gets cut
-
Confirm the hub adapter is included or your OEM core will work
-
Check that your buttons and paddle shifters can transfer over
-
Get a professional to install it if the fit isn’t plug-and-play
Common Installation Problems & How to Fix Them

Even a careful installer runs into trouble. The wheel won’t budge. A bubble appears overnight. The LED stays dark. These aren’t signs of failure — they’re fixable patterns that show up across 92% of installs. Just 8% ever need a professional. Here’s how to stay in that majority.
The Wheel Won’t Come Off
A stuck OEM wheel has three root causes: misaligned airbag clips (85% of cases), rust on the spline shaft (10%), or overtightened screws (5%).
Fix it:
1. Disconnect the battery. Wait 30 minutes — not 10.
2. Remove the airbag using a T30 Torx driver at 2–3 Nm torque.
3. Put penetrating oil straight onto the shaft splines. Let it sit for 10 minutes.
4. Rock the wheel side to side while pulling with steady pressure. Keep force under 50kg.
Stop and call a pro if: the splines show clear wear or any wiring looks damaged. That’s SRS territory — certified technician work, not a DIY fix.
Bubbles and Wrinkles in the Adhesive Wrap
This is the most common post-install complaint. Temperature is almost always the culprit. Below 20°C, adhesive loses up to 70% of its bonding strength before the wrap even sets.
Fix it:
1. Heat the affected area to 60°C with a heat gun.
2. Pierce each bubble with a 27-gauge needle. Press the air out from the center toward the edge.
3. For wrinkles, add heat and stretch the film 10–15% past its original position.
4. Hold it under pressure for 24 hours as it cools.
Replace the material if: the adhesive fails after three attempts, or delamination spreads across more than 20% of the surface.
LED Display Won’t Light Up
Reversed polarity causes 60% of LED failures. Loose solder joints account for another 30%. Voltage mismatch — feeding 5V to a 12V unit — covers the rest.
Fix it:
1. Check polarity first: red to positive, black to ground. No exceptions.
2. Test voltage with a multimeter at ignition-on. You need 12–14V.
3. Resolder any suspect joints at 260°C with a 2-second dwell time.
4. Run a continuity check — anything under 1Ω is clean.
Stop right away if: your meter reads 0Ω across the circuit. That’s a short. Fire risk. Get professional diagnostics — don’t push further.
Heating Warning Light Stays On
A persistent heating alarm points to one thing in 75% of cases: the thermal sensor hit its limit above 65°C. Ground faults account for 20%. Firmware glitches make up the remaining 5%.
Fix it:
1. Power-cycle the system five times. Clear any codes via OBD.
2. Measure resistance across the heater pads — the target range is 10–20Ω.
3. Wrap exposed wire runs with 2:1 heat-shrink tubing.
4. Run the system at 50% duty cycle and confirm temperature holds below 60°C.
Escalate if: the alarm comes back after a full reset cycle. Thermal runaway is the real risk here — OEM service is the safe call, full stop.
Slip-On Cover Keeps Shifting
Loose clips point to one problem almost every time: wrong clip diameter. In 80% of sliding cover cases, the clips are undersized for the wheel’s mating surface.
Fix it:
1. Check the clip outer diameter — the spec is 9.5–10mm. Anything outside that range won’t hold.
2. Wipe down the contact surfaces with isopropyl alcohol.
3. Reinforce with 3M VHB tape and secure with zip ties rated to 50N retention.
4. Rock-test the cover 100 times. No movement means it’s locked in.
Replace the module if: structural play exceeds 2mm. That’s not a grip issue — it’s a safety issue.
Post-Installation Checklist
Before you drive, verify all seven of these:
|
Check |
Target |
|---|---|
|
Airbag / SRS |
OBD shows no codes; horn fires clean |
|
Steering rotation |
Full 1080° with no binding under 5N |
|
LED display |
All segments on, brightness above 200 nits |
|
Heated wheel |
45°C in 3 minutes; cycles below 65°C |
|
Wrap adhesion |
No bubbles, passes 95% pull-test |
|
Clip retention |
Holds 50kg pull; no shift after vibration sim |
|
Electrical draw |
Under 2A total; no alarms after 30-minute run |
Every box checked? Your carbon fiber steering wheel cover is set up right and road-ready.
Conclusion
You’ve got everything you need — from picking the right fit to wiring up an LED shift display. Installing a carbon fiber steering wheel cover is more than a weekend project. It’s the one interior upgrade that changes how your car feels every time you grip the wheel.
Here’s what matters most: measure twice, prep the surface right, and never rush the adhesion phase. Went with a slip-on cover? Or swapped to a full custom carbon fiber wheel? Either way, you end up with the same result — a cockpit that looks factory-tuned and performs better than stock.
Your hands are on that wheel every single drive. It deserves real carbon fiber — not plastic wrap pretending to be something it isn’t.
Contact HyperX Carbon – Your Trusted Chinese Carbon Fiber Partner
Ready to source high-performance carbon fiber materials or custom forged carbon fiber parts from China?
HyperX Carbon is a leading manufacturer with 20+ years of expertise, specializing in aerospace-grade forged carbon fiber, prepreg, carbon fiber tube, carbon fiber sheet, and lightweight carbon fiber automotive parts/carbon fiber drone components/carbon fiber medical components. We offer:
-
Stable supply chain with premium raw materials (Toray, Mitsubishi, Hengshen)
-
AS9100D certified production for aerospace & UAV applications
-
Rapid prototyping (5-8 weeks) and monthly capacity exceeding 180,000 parts
-
Competitive pricing with 15-18% cost savings on forged carbon solutions
-
Full customization: from T700/T1100G to ultra-high modulus grades
Whether you’re an eVTOL developer, automotive OEM, drone manufacturer, or medical device engineer, HyperX delivers consistent quality, batch-to-batch reliability, and reliable delivery.
Get in touch today for a free consultation, custom quote, or material sample.
📧 Email: [email protected]
🌐 Website: https://www.hyperxcarbon.com/
📞 Phone/WhatsApp: +86 15623270276 (English support available)
Let’s build your next lightweight innovation together – contact HyperX Carbon now and stay ahead in the low-altitude and advanced composites market.