Carbon fiber is unforgiving. One wrong cut and you’re staring at a delaminated edge, a ruined panel, and a costly mistake with no fix. Trimming a sheet for a custom drone frame? Shortening a tube for your car build? Machining CFRP for the first time? Each task demands more respect than most people expect. The dust alone is reason enough to stop and read before you fire up any blade.
This guide covers every stage. You’ll find the right tools, the right speeds, and the safety gear that counts. Plus, it shows you the finishing moves that separate clean, professional edges from jagged, fraying ones. Get it right the first time, and carbon fiber delivers results worth the effort.
Why Cutting Carbon Fiber Is Different From Other Materials

Most materials forgive a rough cut. Carbon fiber does not.
Steel, aluminum, wood — these are homogeneous materials. Their structure is consistent all the way through. Carbon fiber is built in a different way: woven fibers locked inside a resin matrix, layer by layer. That laminated structure is what makes it strong. It’s also what makes cutting it so difficult.
Use the wrong blade at the wrong speed, and the resin separates from the fibers. That’s delamination — and once it starts, it spreads. One-third of carbon fiber component failures trace back to flawed cutting processes. One major automotive manufacturer found this out the hard way. Microscopic fraying in cut edges compromised battery casing seals. The result was a multimillion-dollar recall.
Heat is the other enemy. Metals can handle thermal stress during machining. Carbon fiber’s resin matrix cannot. Cut too fast or too hot, and you get charring, fiber fraying, and a weakened edge that fails under load.
Then there’s the dust. Carbon fiber particles are nothing like wood shavings or metal chips. They’re fine. They’re sharp. Standard dust management tools can’t contain them — and the health risks are real.
Every variable matters here: tool type, cutting speed, material thickness, and ventilation. The sections ahead address all of them.
Essential Safety Gear Before You Start (Carbon Fiber Dust Protection)

Gear up before the blade touches the material. That’s not optional.
Carbon fiber dust is the hidden cost of every cut. The particles are microscopic, sharp, and persistent. Your lungs have no defense against them without the right equipment.
Respiratory Protection
A standard paper dust mask does nothing here. The minimum is an N95 respirator — and that’s the floor, not the ceiling. For serious machining work, step up to a HEPA-filter respirator or NIOSH-approved PPE.
Fit matters as much as grade. A bad seal lets particles slip straight through at the edges. Wear it right, every time — for the full duration of cutting, grinding, and sanding.
Eye, Skin, and Hand Protection
Impact-resistant safety goggles block dust particles and chemical vapors from resin. For your hands, pick disposable nitrile gloves over latex. They resist resin contact better and cause less skin irritation. Add barrier cream for long sessions.
Carbon fiber contact causes itching, redness, and allergic dermatitis. Don’t skim past that warning.
Dust Extraction and Ventilation
On-tool extraction is the top priority for dust control. Grab particles at the source — before they go airborne. This cuts your inhalation risk by a wide margin. Back that up with a HEPA-filter vacuum for cleanup. Standard shop vacs push carbon fiber particles straight through the filter and back into the air.
Wet cutting adds another layer of protection. Water knocks down airborne dust right at the cut. It also keeps the blade cool.
Check the manufacturer’s SDS before handling any carbon fiber product. Good sources include Torayca.com and Grafil.com. Some composites contain carbon nanotubes (CNTs) — now common in high-performance bicycle frames. Treat that dust with extra caution. Safety data on CNT inhalation is still thin, and the early signals are not good.
Choosing the Right Tool: Carbon Fiber Cutting Tools Comparison

Six tools sit on the workbench. Only one is right for your cut. Pick the wrong one, and the material — not the tool — decides what happens next.
The table below cuts through the noise fast:
|
Tool |
Cost |
DIY-Friendly |
Best For |
|---|---|---|---|
|
Scissors / razor blade |
Very low |
✓ High |
Thin sheets only |
|
Rotary tool (Dremel) |
$50–200 |
✓ High |
Small, precise cuts |
|
Angle grinder |
$100–300 |
✓ High |
Fast straight cuts |
|
Bandsaw |
$500–2,000 |
Moderate |
Versatile shop work |
|
Laser cutter |
$10k+ |
✗ Low |
Large-scale thin sheets |
|
Waterjet |
$50k+ |
✗ Low |
Thick composites |
|
CNC router/mill |
$5k–50k+ |
✗ Low |
3D shapes, production runs |
Straight Cuts
Angle grinders handle straight cuts well — high RPM, clean results, fast throughput. Run a carbide-grit or diamond blade, not a standard metal disc. Diamond blades are the harder option. They cut cleaner, chip less, reduce fraying, and hold their edge far longer. Bandsaws work too, particularly in shop environments. Keep the feed rate slow. Rush it, and fraying starts.
Curved and Precision Cuts
A rotary tool with a solid-rim cut-off disk is the right call for curves, notches, and small intricate shapes. High RPM keeps the cut clean. Low RPM tears the fibers. For complex 3D geometry at volume, a CNC router takes over completely.
Industrial Cuts
Waterjet handles thick material — above 10mm — with no heat distortion and tolerances around ±0.1mm. Laser cutting dominates thin sheets under 5mm, with precision no hand tool can match. Standard CO₂ lasers work up to 10mm in multiple passes. High-power fiber lasers push to 20mm. Both methods need the right settings dialed in. Wrong parameters on a laser cause thermal damage to the resin matrix. That’s the failure mode you’re cutting around — don’t invite it.
One Setting Most People Miss
For CNC work, drop spindle speed 20% below standard settings and bump the feed rate up a notch. Carbon fiber chews through tool edges fast. Diamond-coated or PCD tooling is not a nice-to-have here. It’s the line between a clean production run and a $10k+ unplanned downtime bill.
How to Cut Carbon Fiber Sheets: Step-by-Step
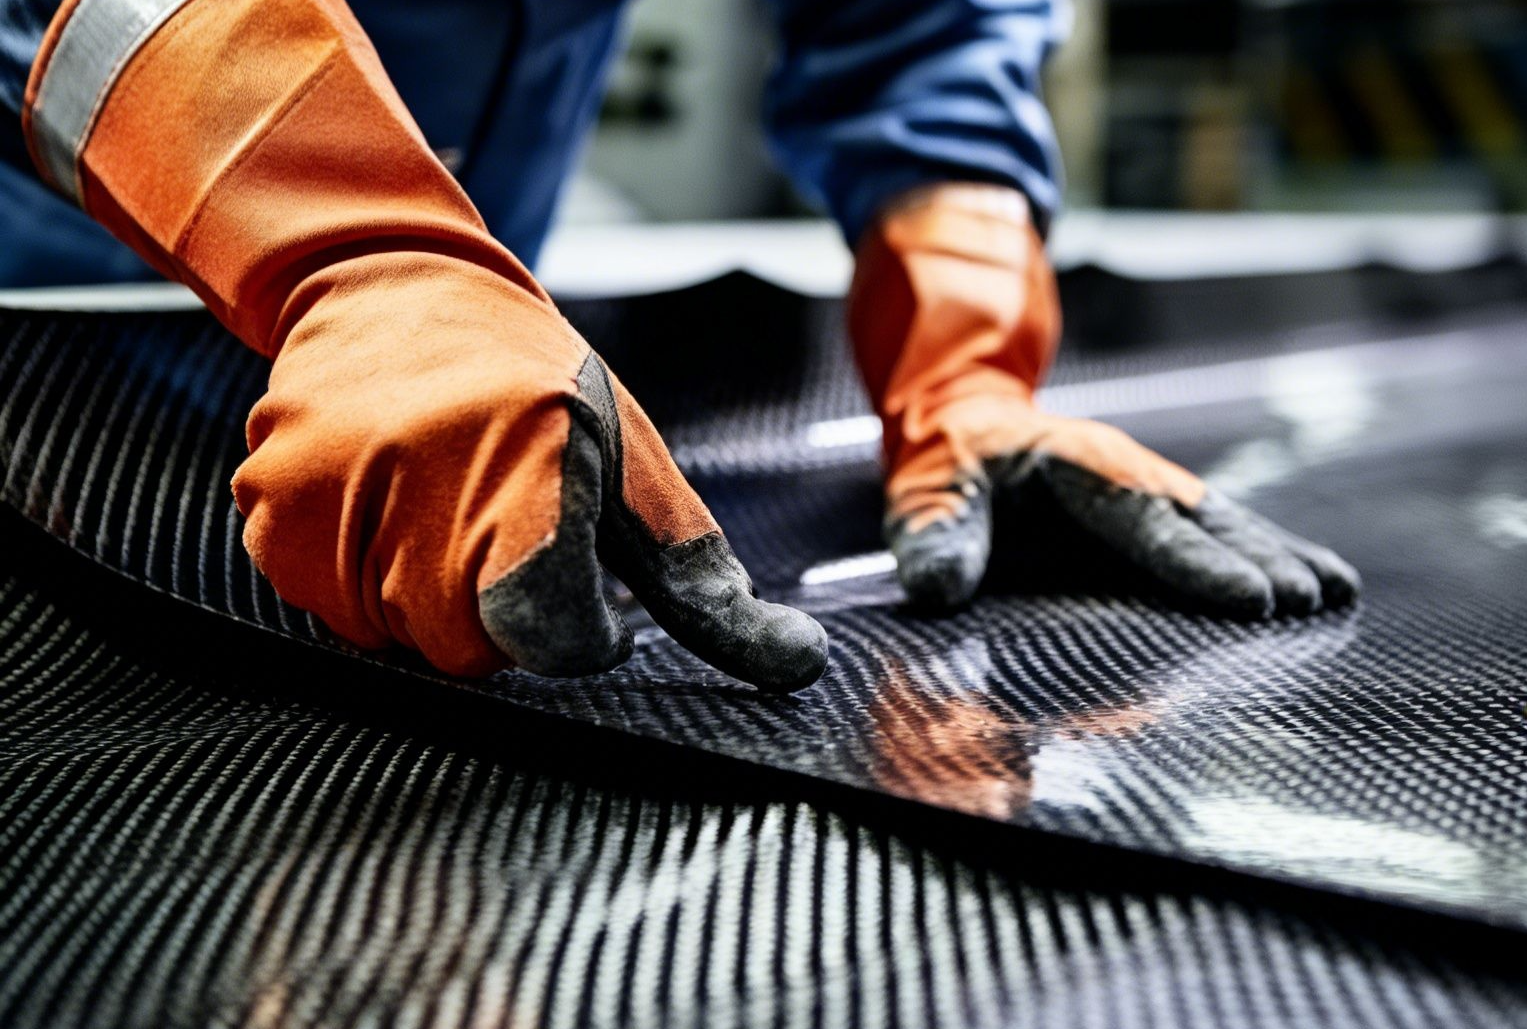
Mark the line first. Everything else follows from there.
Before the blade touches material, draw your cut line — then shift 1–2mm to the outside of it. That buffer is not slop. It’s your margin for sanding back to a clean, accurate edge. Chips and micro-fractures show up right at the cut zone. That offset keeps you clear of them. Skip this step and you’re chasing problems the entire way through finishing.
Rest the sheet on a wood block or high-density foam. The support surface matters more than most people realize. It absorbs vibration at the cut point, keeps the material stable, and lets the cut piece fall away without dragging. No support means edge damage — every time.
Match the Tool to the Cut Type
Straight cuts:
– Hacksaw — fine-grit metal blade, slow and controlled
– Angle grinder — fast and smooth, demands steady hands and respect for the speed
– Table saw — fine-tooth carbide blade for repeatable, production-quality straight lines
Curved and intricate cuts:
– Jigsaw — tungsten carbide blade handles curves and profiles. It moves through the resin without cracking it
– Dremel / rotary tool — tungsten carbide wheel for tight, complicated shapes where a jigsaw can’t fit
Interior cuts:
– Electric drill — metalworking bit first, to open a pilot hole
– Coping saw — thread the blade through that pilot hole and work from the inside out
Complex or large pieces:
– CNC router with a 1/8″ solid carbide downcut burr — the downcut geometry pulls fibers into the cut. That keeps them from lifting and fraying
– Waterjet for hard-to-reach geometry and thick stock
One rule applies across all of these: the cutting edge should be as fine as possible. Coarse teeth tear fibers. Abrasive and diamond-crusted tools cut them clean. Regular steel dulls fast against carbon fiber. Carbide, abrasive-type, and diamond-coated tooling is the standard. That’s not an upgrade — it’s the baseline.
CNC Speed and Feed Settings
|
Material |
Spindle Speed |
Feed Rate |
|---|---|---|
|
1/16″ sheet |
10,000 RPM |
60″/min |
|
1/32″ sheet |
10,000 RPM |
70″/min |
|
Veneer |
10,000 RPM |
75″/min |
Thinner material runs at a faster feed rate. Spindle speed stays constant across all three. Stay close to these numbers. Carbon fiber frays and delaminates at the cut edge the moment settings drift from the right range.
Finishing the Edge
The cut is halfway. The edge work is what holds up under load and looks professional.
Start with 120-grit wet/dry abrasive paper on flat edges and corner radiuses. Use a sanding block — a Permagrit block for contoured edges, or wrap abrasive paper around foam or wood for a DIY version. Work through progressive grits until the surface feels smooth with no sharp catches.
Once the edge is clean, seal it. Wipe a thin coat of epoxy resin along the cut edge with a lint-free cloth. This locks exposed fibers in place. It blocks moisture from getting in. It also stops the laminate from peeling back under vibration or load. Five minutes of work. It extends the life of every cut piece.
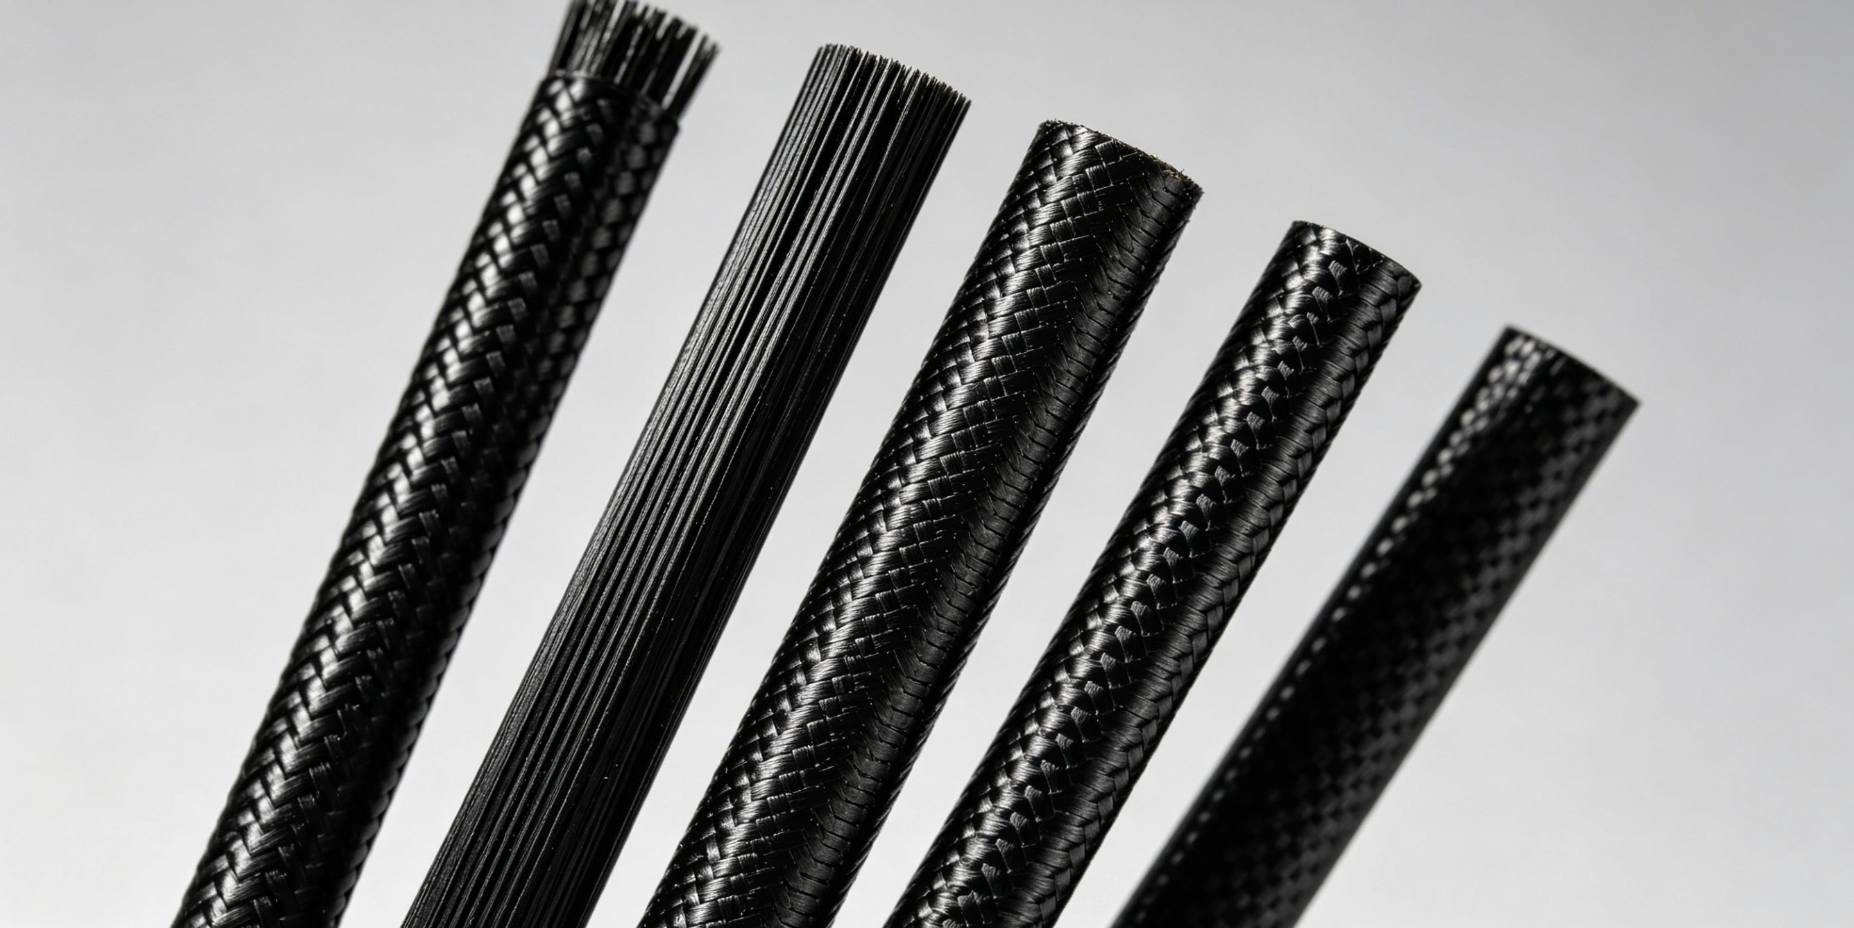
Tube cuts work differently. Wrap masking tape around the cut zone first — it holds the outer fibers in place during the cut. Then rotate the tool around the tube rather than cutting straight through. One fixed entry point causes splintering. Rotating the cut spreads the contact around the tube and keeps the edge intact.
How to Cut Carbon Fiber Tubes and Rods: Step-by-Step

Tubes and rods behave differently from flat sheets — and your technique has to change with them.
The core problem is circumferential delamination. Cut straight through a tube in one pass and the blade tears fibers apart instead of shearing them. The fix is rotation. Keep the tube moving under the blade so every fiber gets cut one section at a time, not all at once.
Small Rods Up to 4mm: The Razor Blade Roll Method
This one surprises people. No power tool. No dust cloud. Just a sharp razor blade, a wet paper towel, and patience.
Mark your cut point with a white-out dot — place it 0.5mm beyond your target length to account for sanding. Lay the rod on a vinyl cutting mat topped with a damp paper towel. The towel does two things: it dampens the rod and captures fine dust right at the source.
Set the razor blade on the mark. Roll the rod forward and backward under light downward pressure. You’re cutting individual strands one at a time. The contact point rotates around the circumference as you go. That’s what stops delamination from forming. After two to three minutes, you’re close to through — snap the remaining strands, then sand the end straight down with 300-grit on a flat block. A few downward strokes and it’s done.
Tubes and Larger Rods: Rotational Cutting
For anything larger — seat posts, structural tubes, larger-diameter rods — the rotational principle stays the same. The tool just scales up.
Before you cut, wrap masking tape around the tube at a right angle to its axis. That tape works as your guide line and structural support at the same time. It keeps the blade on path and holds outer fibers in place during the cut.
Score a shallow groove around the circumference first. This locks the blade’s path and removes run-out risk. Then finish the cut — hacksaw, Dremel wheel, or angle grinder, depending on wall thickness — while rotating the tube under the blade at a steady pace. Clamp or support both the cut side and the drop side. An unsupported drop end causes burring every time.
Thicker Tubes: Diamond Abrasive Blades
For thick-walled tubes, skip toothed blades. A diamond-coated or segmented abrasive cut-off blade shears fibers rather than catching them. For unidirectional layups — where fibers run parallel and tear out more easily — go with a finer grit and a thinner blade profile.
Let the blade do the grinding. No forcing. Cutting dry? Use a segmented blade so air can flow through and cool the cut. Cutting wet? Water stops the epoxy from gumming up the blade and keeps heat from reactivating the resin matrix. Either way: slow feed, steady rotation, both ends secured.
Delamination shows up mid-cut? Slow your pace and switch to a finer grit blade. That’s usually all it takes.
Finishing the End
Sand to final length on a disk sander for a true 90° face. Or use 120- to 300-grit wet/dry paper on a flat block, working through the grits in order. Sand at a right angle to the fiber direction. Then clean up any burrs at the inner edge with a small round file before sealing.
How to Prevent Delamination and Fraying When Cutting Carbon Fiber

Sharp tools and slow feeds fix most delamination problems before they start. The rest comes down to technique.
Cutting forces pull resin layers away from the fibers — that’s what causes delamination. The usual culprits: dull tooling, feeds that run too fast, and material without solid support underneath. Fix those three things and you cut out most of the risk.
Before the cut:
– Put painter’s tape on both sides of the cut line. That one step holds 95% of edge integrity — as long as you seal with epoxy after. Skip it on thin sheets and you’ll pay for it.
– Clamp the workpiece with full backing support underneath. Material that flexes under the blade will fray. No exceptions.
– For waterjet cuts, pre-drill 3mm pilot holes at every pierce point. Use a composite drill bit. One test on a 3mm drone part with 21 pierce points came back with zero delamination using this exact method.
During the cut:
– Set spindle speed to 8,000+ RPM. Keep the feed rate low — 0.01 to 0.05mm/rev for CNC work.
– Use compression cutters on thick material. The up/down-cut flute design pushes layers together rather than pulling them apart. This fights delamination at the top face and the bottom face at the same time.
– Use mist coolant or cut wet. Heat wakes up the resin matrix and speeds up layer separation. Keep things cool.
Thickness-specific approach:
|
Thickness |
Priority |
|---|---|
|
Under 0.5mm |
Extra tape layers + ultra-low feed (50–100mm/min) + sharpest available tooling |
|
Over 3mm |
Compression cutters + extra clamps + moderate spindle (2,000–5,000 RPM) + pre-drilled pierce points |
After the cut:
Seal the cut edges right away with a thin coat of epoxy resin. It locks down exposed fiber ends, keeps moisture out, and stops any delamination from spreading under load or vibration.
Here’s a number worth holding onto: sharp tooling alone cuts fraying by 70–80% compared to dull tools. Add tape and epoxy sealing on top of that, and you’re at 95% edge integrity. That entire gap is yours to close.
Finishing Carbon Fiber Edges After Cutting
A rough edge isn’t cosmetic — it’s structural. Exposed fibers pull in moisture. That starts delamination. Stress builds at those points and the part fails under load. Four steps close that risk.
Sand in sequence. Start dry at 300 grit to knock down burrs without clogging the abrasive. Move to 600 grit, still dry. Switch to wet sanding at 800 grit — water cuts surface heat and lifts finish quality by up to 28.1%. Finish at 1200 grit wet for a clean, tight edge. Use a diamond block (220–400 grit) on straight sections. On curved sections, wrap foam-backed abrasive around the contour. This keeps the abrasive in contact and stops fibers from pulling out.
Keep tolerances tight. Hand sanding hits ±0.05mm on small parts — enough for most builds. Variable-speed orbital sanders (2,000–5,000 RPM) can match that accuracy. But run them too fast and heat builds up. That costs you 7.1% of flexural strength. Keep speeds moderate.
Seal before you call it done. Clean the edge with IPA. Let it dry. Mix a low-viscosity transparent epoxy at a 100:30 resin-to-hardener ratio. Apply a 0.1–0.2mm coat along the edge using a brush or syringe. Wipe the excess off. Cure at 20–25°C for 24 hours. Then do a final light pass with 2000-grit wet paper to bring up a clean gloss. Skip this step and heat-damaged fiber ends stay exposed — that’s an 8.7% drop in strength you don’t need to lose.
Leave the edge unsealed and it works against you. Finish it right, and the part performs the way it was built to.
Advanced Cutting Methods: Laser Cutting and Waterjet Cutting Carbon Fiber

Two methods sit at the top of CFRP cutting — and both need equipment most shops don’t have.
Laser Cutting Carbon Fiber
Laser cutting never touches the material. No blade contact means no mechanical force, no tool wear, and no delamination from cutting pressure. For complex shapes and thin sheets, it leads on precision.
The variables that matter most:
-
Wavelength: Shorter is better. A 532 nm wavelength produces half the heat-affected zone (HAZ) of a 1064 nm laser. Picosecond and femtosecond pulses bring HAZ down to 5–100 μm — versus 100–2000 μm from continuous-wave lasers.
-
Scanning speed: This is the biggest driver of thermal damage. Slow speeds build up heat. Fast speeds cut HAZ but need careful power calibration.
-
Power: Too much burns the resin matrix. Too little means repeated passes — and repeated passes stack up heat each time.
Real example: dimethyl ketone-assisted laser cutting dropped HAZ from 274 μm to just 38.7 μm. That’s an 85.89% reduction from one process change.
For production work on sheets under 6mm, a 3–6 kW fiber laser gives you the best cost-to-output ratio. Parallel channel scanning lets you cut up to 13mm thickness with solid precision.
Waterjet Cutting Carbon Fiber
Waterjet handles thick material without thermal damage. Water carries no heat into the cut zone. The resin matrix stays unaffected, and tolerances hold to ±0.1mm on stock above 10mm. It’s the right pick when laser power can’t reach your thickness and CNC tooling wear costs keep rising.
Common Carbon Fiber Cutting Mistakes and How to Fix Them (FAQ)
Most cutting problems follow the same patterns — and so do the fixes.
White Fuzzing and Delamination at the Cut Edge
Fiber ends poking out at 30–60° angles aren’t cosmetic damage. That’s active structural failure. It starts with cutting speed too high, dull tooling, or depth of cut over 0.2mm per pass. Carbon fiber’s brittleness takes over from there — resin separates, fibers pull out, layers lift.
Fix it: Sand the fuzzed edge back with progressive grits. Then seal it right away with epoxy resin. That rebonds the matrix. For clean cuts going forward, use these settings:
– Sharp diamond-coated or carbide tooling
– Low cutting speed
– Moderate feed rate
– Depth of cut under 0.2mm per pass
Sharp tooling alone cuts fiber pullout by 50–70%.
Excessive Cutting Dust
Carbon fiber throws off particles between 0.12 and 127 µm — small enough to float in the air for hours. Drilling at 1000 RPM with a 9.8mm bit at 0.2mm/rev puts fibers in the 0.25–75 µm range. Drop to 1500 RPM with a 5mm bit, and that range falls to 0.12–60 µm.
Fix it: Use wet cutting with mist coolant. Pair it with a HEPA vacuum right at the source. Your carbon fiber PPE respirator needs NIOSH-approved composite-rated protection. Standard N95 is the bare minimum — not the target.
Can Household Tools Cut Carbon Fiber Sheets?
Thin sheets under 3mm — yes, with the right blade upgrades. Standard blades — no. Carbon fiber’s axial modulus runs 250–380 GPa. Conventional steel goes dull in seconds.
What works: A circular saw or jigsaw fitted with a proper carbon fiber saw blade — carbide-tipped, fine teeth, 60–80 TPI. Run it at 3,000–5,000 RPM with a low feed rate. Place a backup board underneath to stop tear-out. No dust control set up? Don’t cut at all.
Can Standard Metal Blades Cut Carbon Fiber?
No. A standard metal blade delaminates the material and destroys itself in the same pass. Carbide extends tool life 5–10x over HSS. A diamond blade for carbon fiber pushes that even further. Keep feed rate between 0.1–0.2mm/rev and RPM in the 2,000–4,000 range.
|
Operation |
RPM |
Feed |
Max Depth |
Tooling |
|---|---|---|---|---|
|
Drilling |
1,000–1,500 |
0.2 mm/rev |
— |
Carbide, 5–9.8mm dia |
|
Milling |
2,400 |
200 mm/min |
0.2mm |
Diamond-coated |
|
Sawing |
3,000–5,000 |
Low |
<3mm sheet |
Carbon fiber saw blade |
One number worth tracking: resin breaks down above 100°C. Stay under that mark and your edge stays clean. Push past it and the matrix starts fighting you.
Conclusion
Cutting carbon fiber isn’t complicated — but it is unforgiving. A clean, professional cut comes down to three things: the right blade, the right speed, and serious respect for carbon fiber dust safety. Wear your P100 respirator every single time. No exceptions.
Trimming a drone frame on your workbench? Shaping body panels in the garage? You’ve got the full playbook now — from wet cutting carbon fiber to edge finishing that holds up.
Here’s a shortcut worth thinking about: tight tolerances or complex geometry can get expensive fast. Professional carbon fiber machining often saves more than it costs. At HyperX Carbon, custom pre-cut CFRP material ships ready to use. No dust. No guesswork. No wasted panels.
Your build deserves precision. Start with the cut.
Contact HyperX Carbon – Your Trusted Chinese Carbon Fiber Partner
Ready to source high-performance carbon fiber materials or custom forged carbon fiber parts from China?
HyperX Carbon is a leading manufacturer with 20+ years of expertise, specializing in aerospace-grade forged carbon fiber, prepreg, tubes, sheets, and lightweight automotive/drone/medical components. We offer:
-
Stable supply chain with premium raw materials (Toray, Mitsubishi, Hengshen)
-
AS9100D certified production for aerospace & UAV applications
-
Rapid prototyping (5-8 weeks) and monthly capacity exceeding 180,000 parts
-
Competitive pricing with 15-18% cost savings on forged carbon solutions
-
Full customization: from T700/T1100G to ultra-high modulus grades
Whether you’re an eVTOL developer, automotive OEM, drone manufacturer, or medical device engineer, HyperX delivers consistent quality, batch-to-batch reliability, and reliable delivery.
Get in touch today for a free consultation, custom quote, or material sample.
📧 Email: [email protected]
🌐 Website: https://www.hyperxcarbon.com/
📞 Phone/WhatsApp: +86 15623270276 (English support available)
Let’s build your next lightweight innovation together – contact HyperX Carbon now and stay ahead in the low-altitude and advanced composites market.