Every gram you strip from a race car makes a difference — and the wheel arches are where that difference hits hardest. Carbon fiber wheel tubs do more than cut weight. They shape how the car handles, how fast it laps, and how well the chassis holds up over time.
The 2026 generation takes things further. You get refined prepreg layup schedules, tighter autoclave cure cycles, and fitment tolerances that would have looked unrealistic just a few years back.
Professional team running a full conversion? Serious builder stepping up from fiberglass? This guide gets straight to the point:
-
Material science, explained in practical terms
-
Installation done right, step by step
-
Performance gains you can measure on the clock
Carbon Fiber Wheel Tubs & Covers 2026: Strength & Installation Guide
One premise drives this guide: the right information, in the right order, saves you time, money, and bad decisions.
Here’s what’s covered:
-
Material & manufacturing basics — prepreg layup, autoclave cure cycles, weave patterns, and why each one affects structural rigidity
-
Strength data, head-to-head — carbon fiber vs. fiberglass, aluminum, and steel, with real benchmarks you can use
-
2026 model highlights — zone-specific reinforcements, tubeless compatibility standards, and tighter robotic layup tolerances
-
Step-by-step installation — surface prep through final torque specs, tools listed, nothing skipped
-
Compatible vehicle reference — so you know before you buy
-
FAQ — maintenance, weather resistance, repair options
Pure technical content. No filler.
What Are Carbon Fiber Wheel Tubs & Wheel Covers
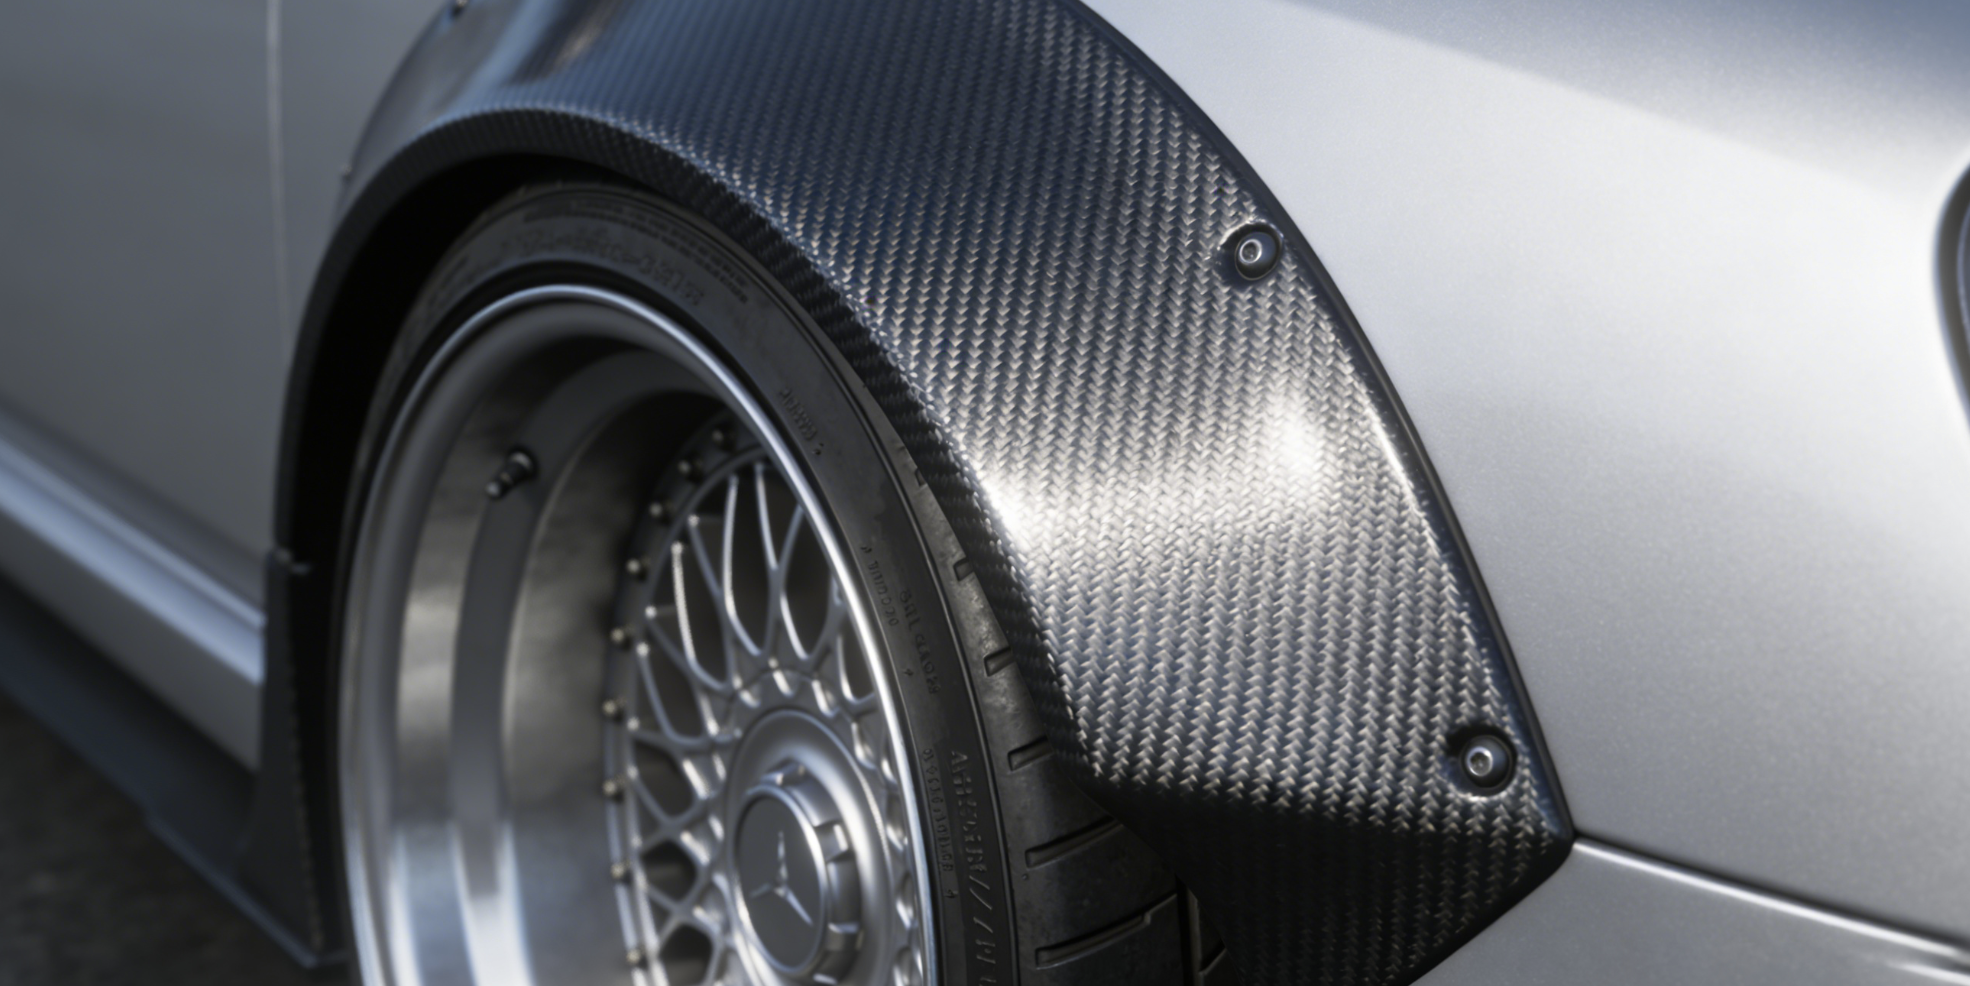
The wheel arch takes more punishment than almost any other spot on a race car. It handles constant mechanical stress, intense heat, and serious aerodynamic pressure all at once. Carbon fiber wheel tubs are built to handle exactly that.
Each tub is a one-piece carbon fiber housing. It expands the wheel arch cavity to fit large-diameter slicks — from 34″ radials all the way up to 47″ Pro Mod tires. The built-in Cormat liner protects the outer carbon surface from rocks and debris. It also gives the wheel well a clean, gloss-ready finish on the inside. Every unit comes with NHRA/IHRA certification and its own individual serial number. That’s not a sales pitch — it’s a hard compliance requirement.
Carbon fiber wheel covers work as the protective inner layer inside that system. They bond directly to the tub structure. No separate component. No bolted-on panel. Just one solid, integrated build.
Here’s why 2026 makes this relevant:
-
Lightweight variants now hit 7.5 lbs per pair — a number that lines up with current FIA and NHRA weight regulations
-
EV race platforms are growing fast, and teams need maximum tire clearance without adding weight
-
Aluminum panels can’t keep up — thin aluminum dents, and it breaks down under burnout heat
Carbon doesn’t have those problems.
That’s the foundational case. The data behind it comes next.
2026 Carbon Fiber Wheel Tub Product Features & Design Upgrades

The spec sheet tells part of the story. The construction tells the rest.
Two production models are available, each built around specific clearance requirements.
-
Tim McAmis Performance 47″ model — 26.5″ wide, 23.5″ tall, 11 lbs per pair, retails at $975.00 plus a $40 shipping surcharge
-
Quarter-Max 36″ model — 24″ wide, 19″ tall, built for narrower tire packages where the McAmis size is more tub than your build calls for
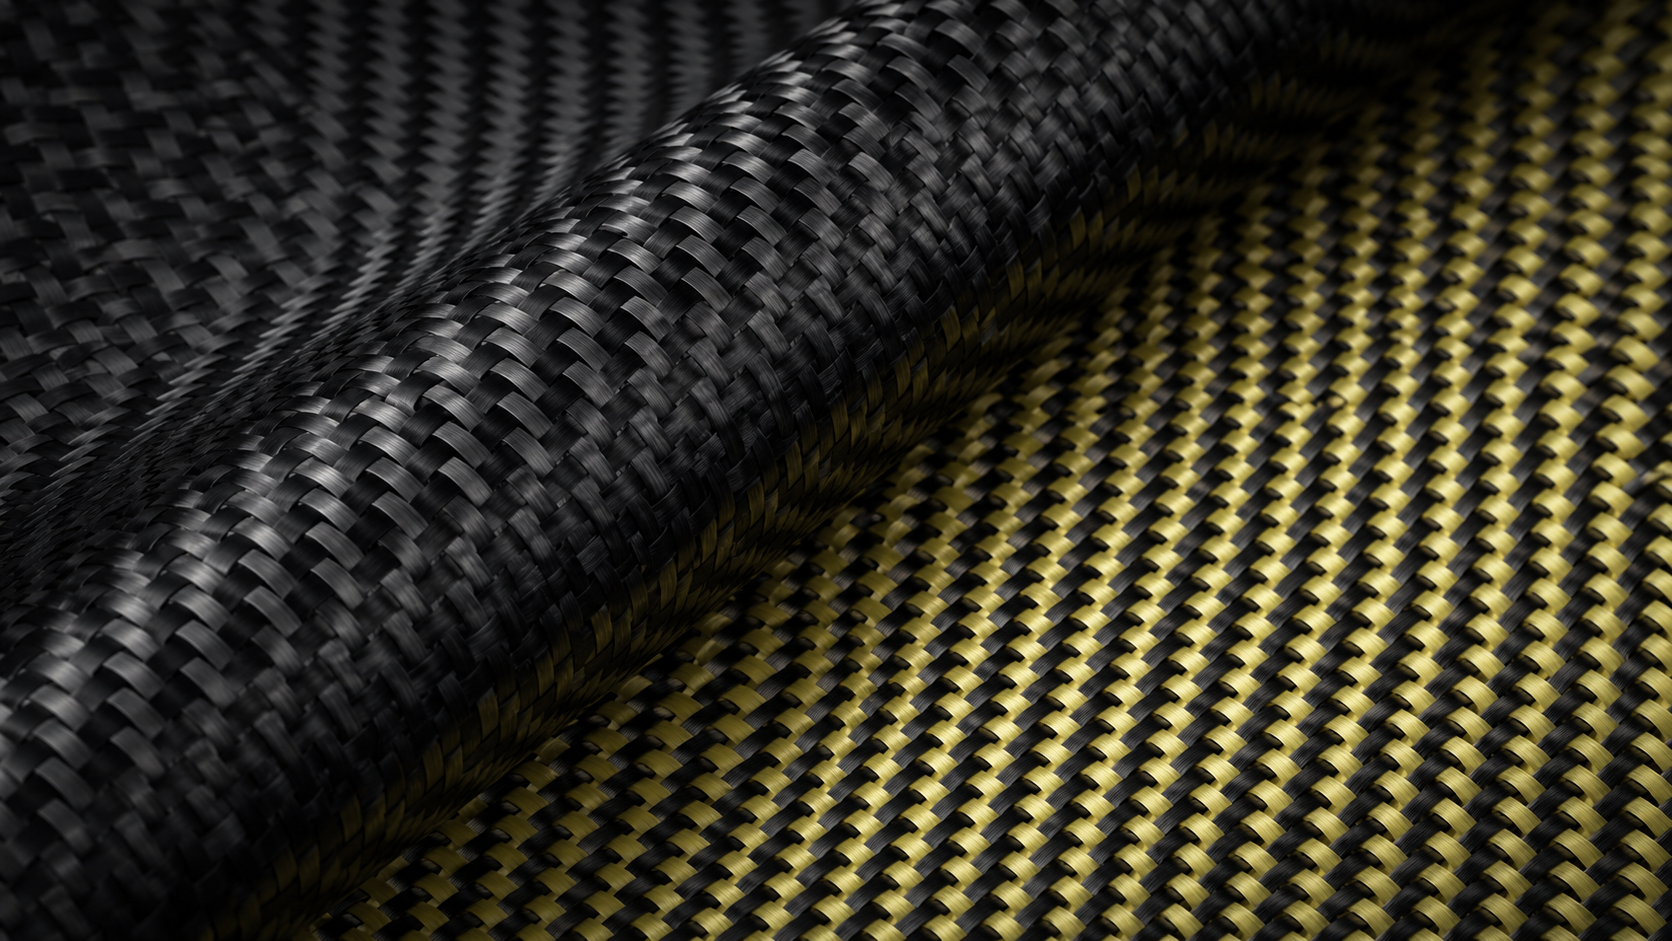
Both models use the same core build: multiple layers of 3K 2×2 twill weave carbon fiber, hand-laid and saturated with fire retardant resin. That weave pattern is not an accident. The 2×2 twill gives the laminate directional flexibility during layup. Once cured, it locks in structural rigidity. Plain weave construction does not hold up as well under combined torsional and impact loads — this layup handles both.
What the Construction Delivers
The interior Cormat liner handles two jobs at once. First, it absorbs rock strike energy before it reaches the outer skin. Second, it protects the gloss carbon finish on the exterior. The surface stays looking fresh out of the mold because nothing has physically disturbed the structure underneath.
Every unit ships as a matched pair with individual serial numbers. NHRA and IHRA certification comes standard across the full line — no tiers, no upgrades needed.
Before you start trimming, check the video documentation. It covers fitting procedures and tire clearance sizing in full detail. That’s worth watching first.
Tools & Materials Required Before Installation
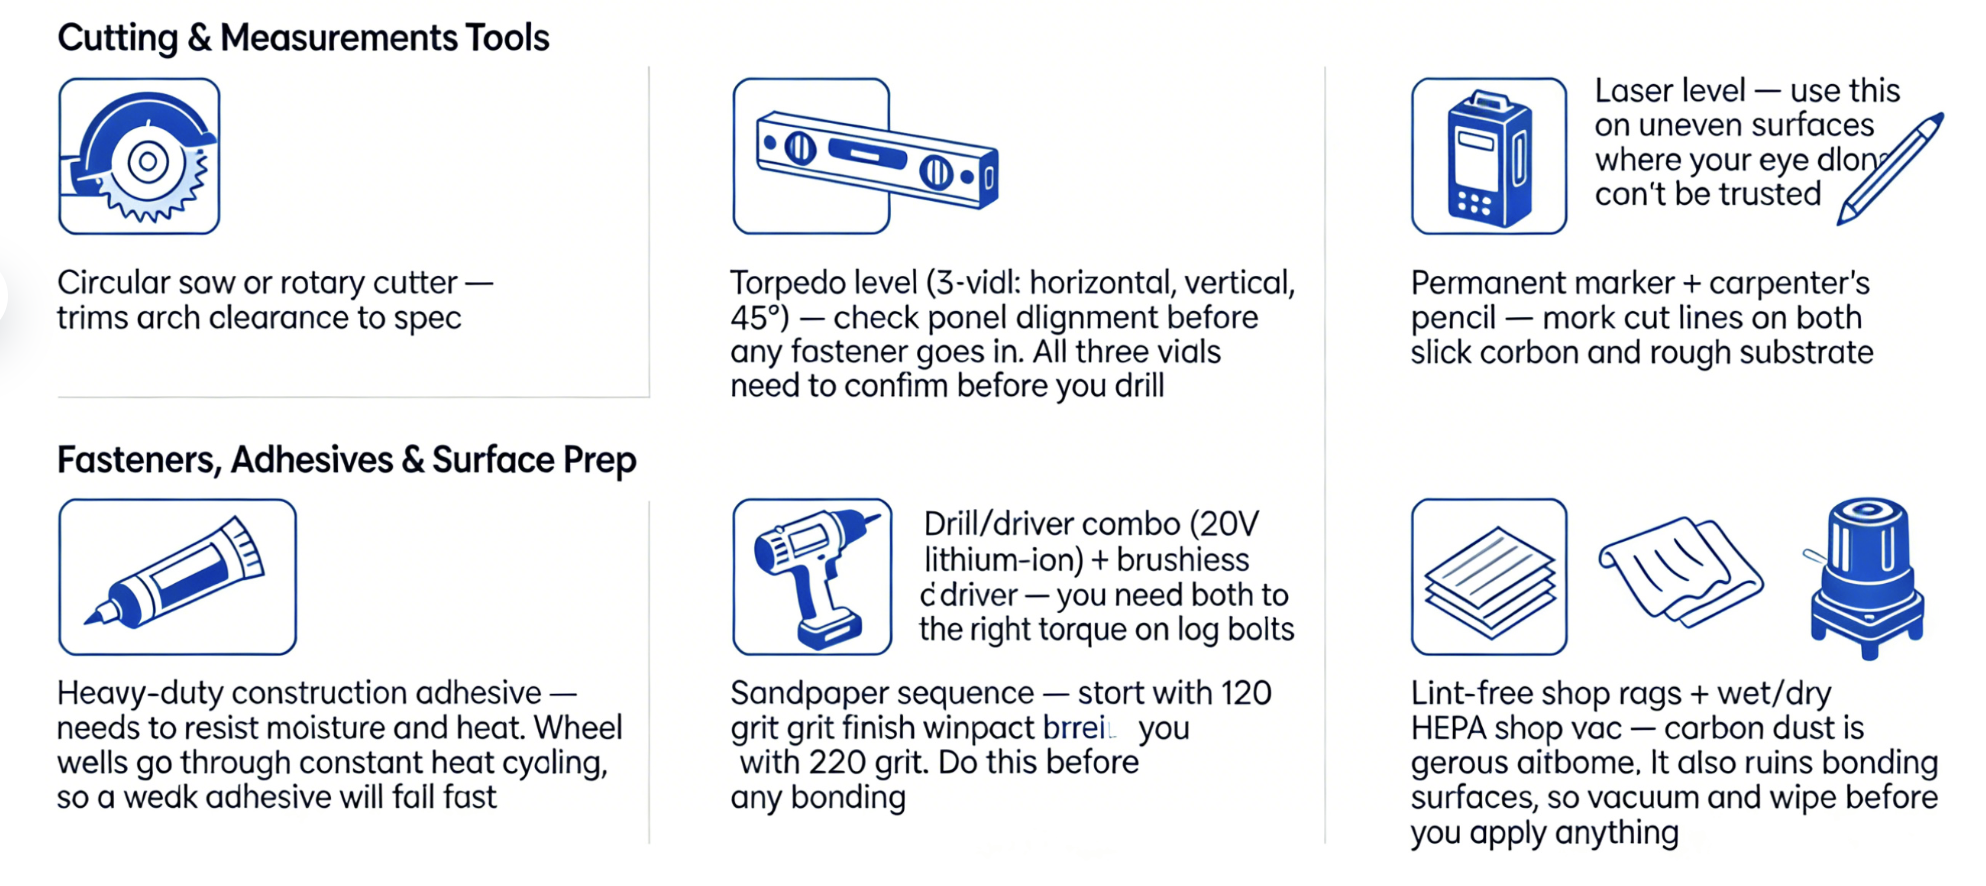
A bad installation costs more than the part. You lose time, deal with fitment issues, and sometimes damage the panel itself. Get everything ready before you touch the tub.
Cutting & Measurement Tools
-
Circular saw or rotary cutter — trims arch clearance to spec
-
Torpedo level (3-vial: horizontal, vertical, 45°) — check panel alignment before any fastener goes in. All three vials need to confirm before you drill
-
Laser level — use this on uneven surfaces where your eye alone can’t be trusted
-
Permanent marker + carpenter’s pencil — mark cut lines on both slick carbon and rough substrate
Fasteners, Adhesives & Surface Prep
-
Heavy-duty construction adhesive — needs to resist moisture and heat. Wheel wells go through constant heat cycling, so a weak adhesive will fail fast
-
Drill/driver combo (20V lithium-ion) + brushless impact driver — you need both to hit the right torque on lag bolts
-
Sandpaper sequence — start with 120 grit, finish with 220 grit. Do this before any bonding
-
Lint-free shop rags + wet/dry HEPA shop vac — carbon dust is dangerous airborne. It also ruins bonding surfaces, so vacuum and wipe before you apply anything
Clean surfaces bond. Dirty ones don’t — no matter what the adhesive label says.
Step-by-Step Carbon Fiber Wheel Tub Installation Guide
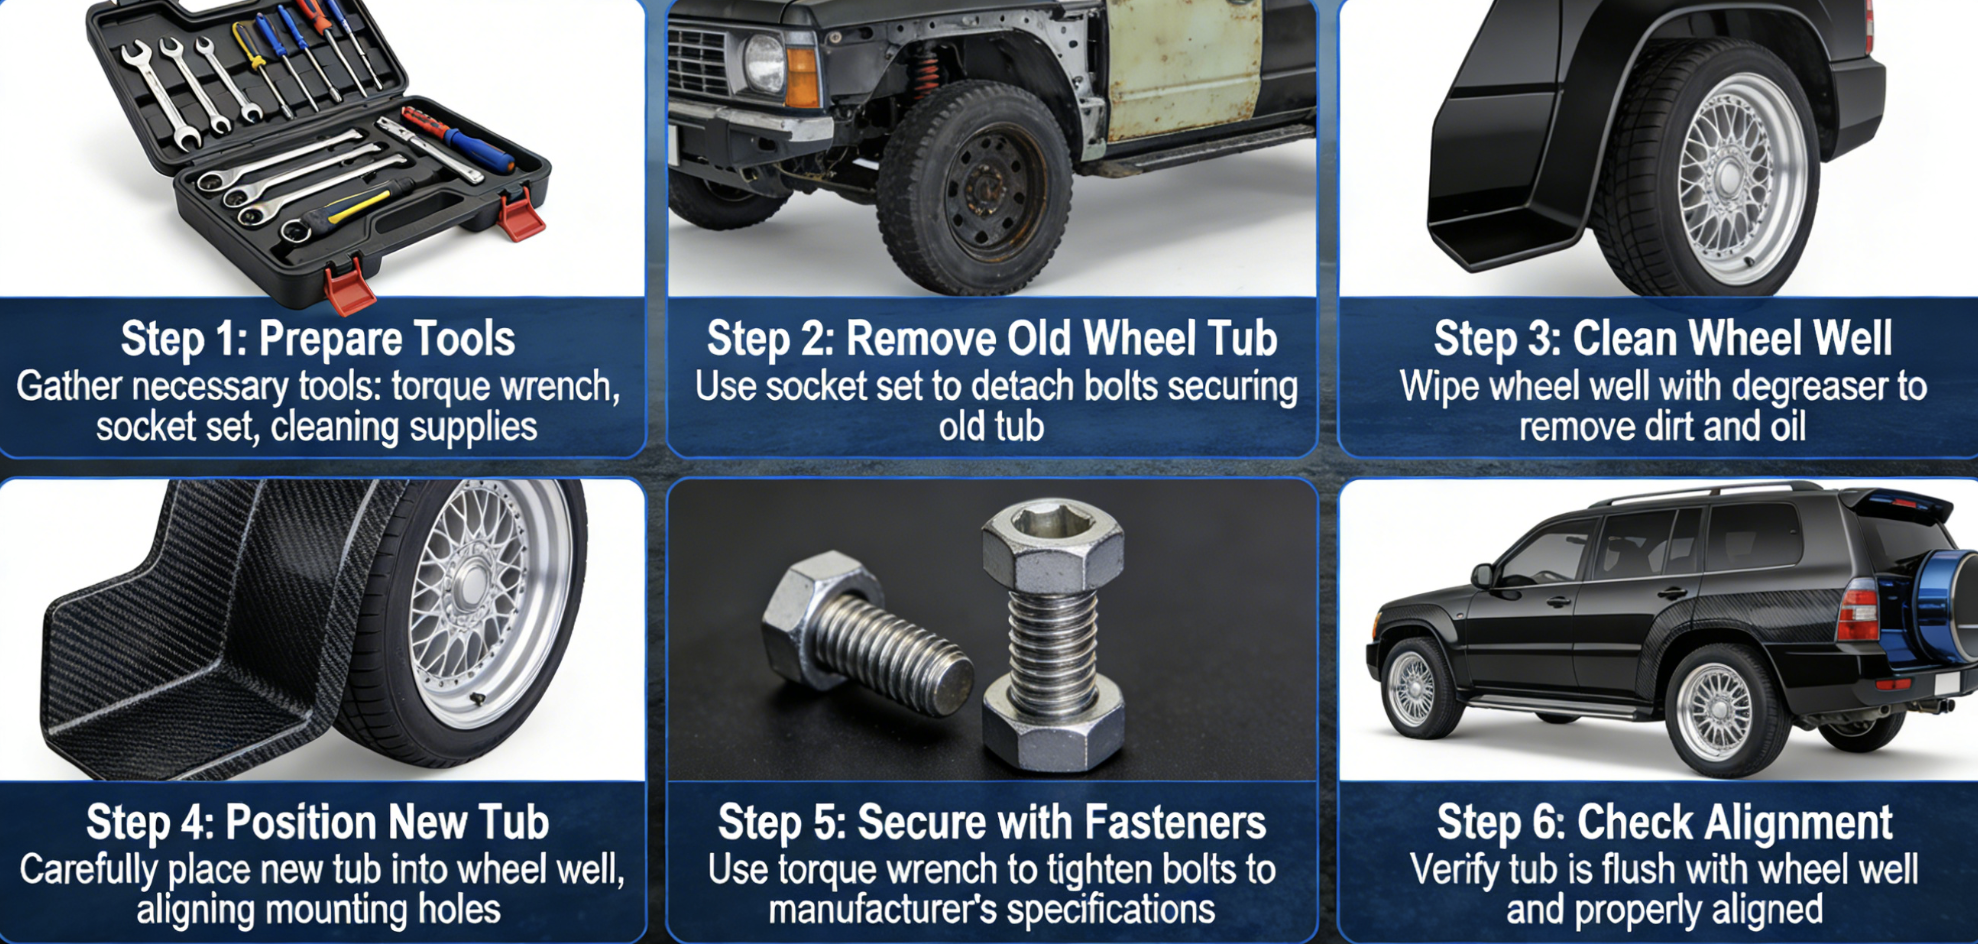
Done right, a carbon fiber wheel tub installation is one of the cleanest upgrades a race build can get. Done wrong, it’s an expensive panel that never sits flush, never seals tight, and rattles loose at the worst moment. The difference comes down to process — and the sequence matters more than most builders expect.
Work through each step in order. Don’t skip ahead.
Step 1: Build Your Template First
Use cardboard or rigid foam. Fabricate a template that maps the carbon fiber wheel tub against your chassis rails and shock towers. Do this before any cut touches metal or carbon.
Position the tub forward from the rear bumper. Mark your quarter panel profile cut lines. Check wheelie bar tunnel clearance — pay close attention to the gap from flange to quarter panel edge. Too tight? Slice small relief angles into the flange. This relaxes the material and opens the fit without losing structural strength.
The template step isn’t optional. It’s where bad fitment gets caught early — before it costs you real money.
Step 2: Cut the Metal Arch — with Margin
Cut the existing metal wheel arch, but leave a 5–8mm trim allowance. Don’t go to final dimension on the first pass. Place your clecos or rivets. You’ll find about 1/8 inch (3mm) of positional movement in the tub. Account for that before final trimming.
After cutting, treat every exposed metal edge right away. Apply seam sealer or panel bond to stop rust from forming. Weld any trim pieces back to frame tubes. Cut the rear bumper profile to match the tub opening, then extend it up to the wheelie bar top.
Unsealed edges will corrode. That’s a structural problem hiding behind a cosmetic one.
Step 3: Position and Fix the Tub
This step takes two hands and patience. Squeeze the tub sides inward. Insert at an angle with the axle housing already in position, then release. The tub expands into the opening on its own.
Hold position with tape or clecos — outside the quarter panel, inside the tubes — while you confirm alignment.
Rivet spacing:
– Main section: every 1.5–2 inches (38–50mm)
– Tube sections: 1–3 rivets per section (2 on the frame rail, 1 near the shock bar is a solid starting point)
– Keep a minimum 1/8 inch gap to smaller tubes — this prevents cracking under load
For adhesive, tape the tub into position first. Then run panel bond or seam sealer around the entire perimeter — skip across the taped sections. Let the adhesive cure fully before peeling tape. Lap the flange over the tub using #6-32 screws or quarter-turn fasteners. Add a flat carbon top sheet to lock in extra rigidity.
Step 4: Seal the Joints, Finish the Edges
Tub secured? Run a full bead of panel bond around every tub-to-body joint. No gaps. This isn’t about looks. Water that gets into the seam works its way under the carbon fiber fender liner, degrades the bond, and speeds up delamination. Seal it all.
Exposed carbon edges need resin sealing too. Weld a scallop strip to the tube, then trim post-fit for a flush finish. For the trunk area, use two side pieces and a flat carbon cap to close out the wheelie bar tunnel. Route the parachute tube underneath the tub.
Step 5: Inspect Before You Drive
Three checks. All three are required.
-
Steering clearance — turn the wheels through full travel. Confirm zero contact between the tub, housing, and tire at any point in the arc
-
Shock compression gap — check for a minimum 1/8 inch clearance between the shock and the nearest tube at full compression
-
48-hour re-torque — after the first road session, go back through every fastener. Panel bond and rivets settle a bit under real load. Even spacing keeps the carbon fiber wheel tub locked in place over time
One missed fastener won’t fail the tub on the spot. But it starts a chain — and prepreg carbon fiber structural panels don’t handle fatigue the way steel does. Check everything before you roll.
Carbon Fiber Wheel Cover Installation: Key Differences from Wheel Tubs
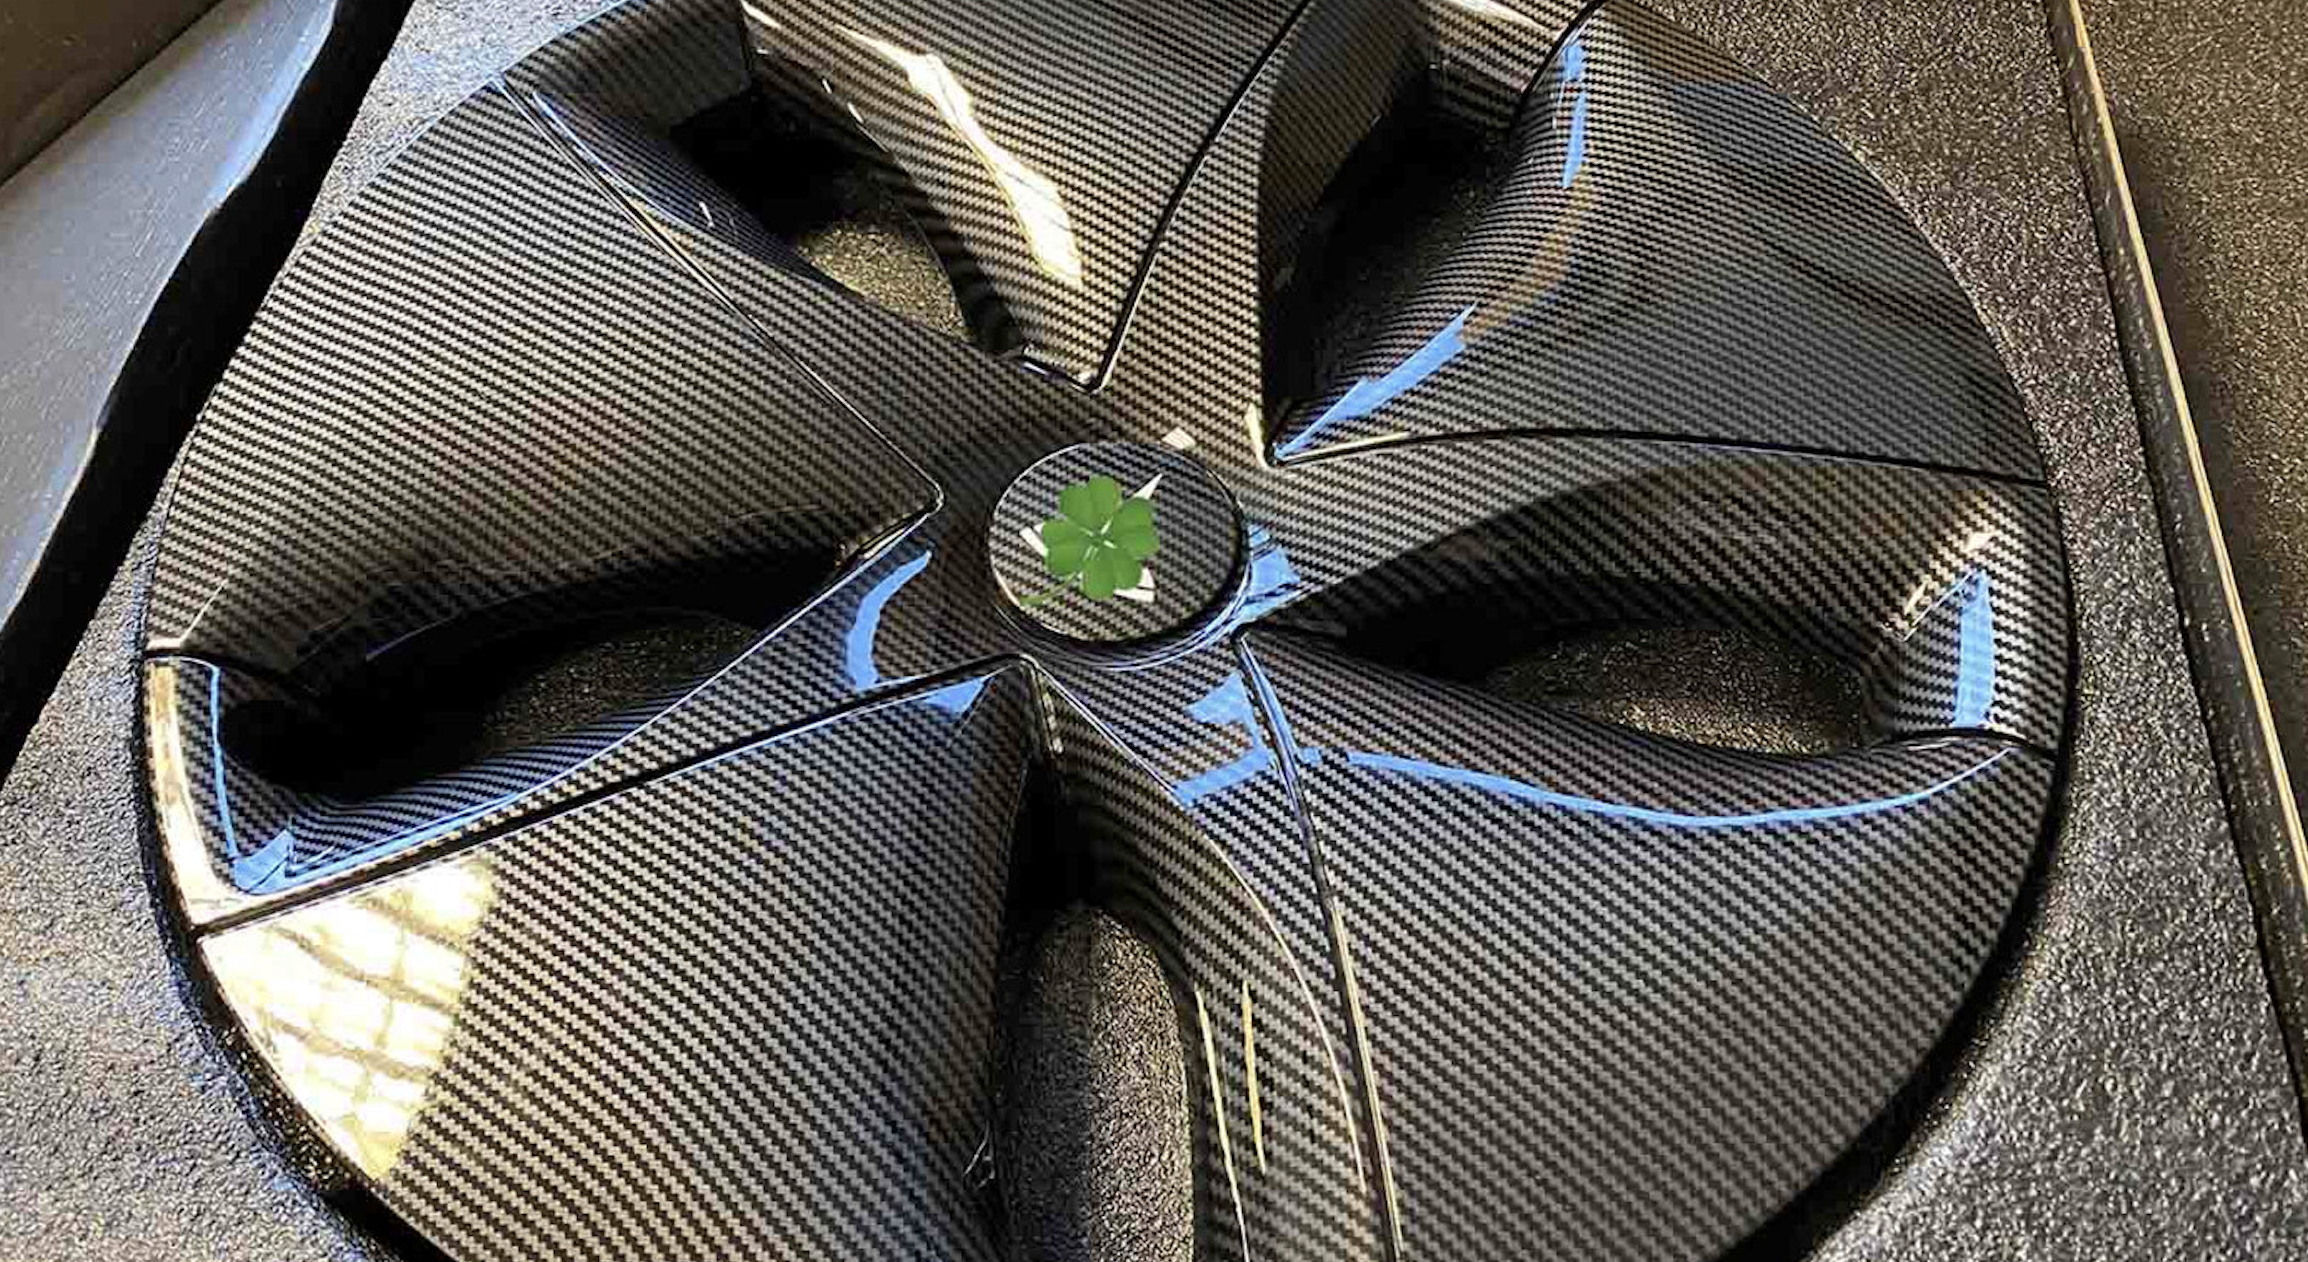
Wheel covers and wheel tubs share a material. That’s where the similarity ends.
A carbon fiber wheel cover is non-structural. It weighs 0.5–1 kg per unit, ships flat, and installs in under ten minutes. A full carbon fiber wheel tub runs 5–10 kg, demands trim cycles, and ties up a builder for one to two hours minimum. Different tools. Different tolerances. Different stakes.
Three Fixation Methods — Pick the Right One
Snap-fit is the default for OEM-style hubs. Five to ten clips per cover, two to five minutes per install, zero residue on removal. Need frequent access to the wheel well? This is your method.
Magnetic covers use neodymium magnets — four to eight per unit. They generate 10–20N of retention force and work well on aluminum or steel rims. Align, press, done. They pull clean after 500+ removal cycles without scratching the rim surface.
Adhesive is the precision option for carbon rims. You get two to four strips of 3M VHB tape per cover, a full 24-hour cure window, and a heat gun at 80°C to reverse it. Expect 10–20% residue risk. Don’t rush the cure.
|
Fixation |
Install Time |
Removability |
Durability Cycles |
Cost (USD) |
|---|---|---|---|---|
|
Snap-fit |
2–5 min |
100% |
1,000+ |
$20–50 |
|
Magnetic |
3–7 min |
100% |
500+ |
$50–100 |
|
Adhesive |
5–10 min + 24h |
70% |
200–500 |
$30–70 |
Installing Both Together: Sequence Matters
Covers go on before the tub flats. Bulk interference is the reason — seat the cover on the hub first, then bolt the tub panels around it.
The sequence:
-
Mount the tub inner shell with 2–4 clecos to hold position
-
Template flat carbon pieces on the tub step with a 1-inch inset radius, trim to quarter panel profile
-
Install the cover on the hub — snap or magnetic on the outer face — and confirm 0.5–1 inch overlap inset against the tub edge
-
Bolt the tub flats to the shell; resolve any overlap conflict with a 2–3mm clearance gap or slotted clips
Got a conflict between the tub flange and cover edge? Pre-trim the flange 5–10mm and run a 1mm silicone bead through the contact zone. Then torque the bolts to 10–15 Nm once the cover is fully seated.
Two Errors That Catch First-Time Installers
Alignment deviation — covers landing 2–5mm off — is the most common mistake. Here’s the fix:
– Apply a heat gun at 60°C for 30 seconds to soften the adhesive or snap retention
– Realign using a three-point laser level
– Re-secure to within 1mm tolerance
Thermal expansion lift is trickier to spot. A 50°C temperature delta can push the cover face out by 0.5mm. The fix is straightforward:
– Leave 1.5–2mm expansion gaps per 300mm of edge length
– Use a low-expansion resin with a CTE below 5×10⁻⁶/°C
– Seal all edges with silicone filler
First-install error rate sits at 15% without a template. A cardboard mockup drops that to 2%. The math speaks for itself.
Common Installation Mistakes & How to Avoid Them

Fifteen minutes of carelessness can turn a $975 panel into scrap. These mistakes happen on real builds — not in theory. Experienced hands make them too, usually by moving too fast or trusting feel over process.
Cutting Without a Template
Builders skip the cardboard mockup because it feels like extra work. It isn’t. That mockup catches a misaligned arch cut before the rotary blade ever touches carbon. With a proper template, first-install error rate drops from 15% to 2%. That number alone settles the argument.
Over-Torquing Fasteners
Carbon fiber structural panels are not sheet metal. Crank a bolt past spec on a carbon fiber wheel tub and you get no warning. You get a crack — one that spreads without any sign until the panel fails under load. Torque cover fasteners to 10–15 Nm. Use a torque wrench, not feel.
Skipping the 48-Hour Re-Torque
Panel bond and rivets settle after the first real session. Skip the re-torque check and those sections that started tight will come loose. Go back through every fastener. It takes ten minutes. It’s non-negotiable.
Sealing Gaps as an Afterthought
An unsealed tub-to-body joint doesn’t stay dry. Water gets into the seam, works under the carbon fiber fender liner, and eats away at the bond from below. You won’t spot the damage until it’s already structural. Run panel bond around every joint before the build leaves the shop.
Ignoring Thermal Expansion Gaps
A 50°C temperature swing pushes cover edges outward by 0.5mm. On a tight fit, that means lift, buzz, or bond failure by mid-season. Leave 1.5–2mm expansion clearance per 300mm of edge length. Use a low-expansion resin with a CTE below 5×10⁻⁶/°C. The gap looks small. The problem it prevents is not.
Strength Testing & Performance Benchmarks for Carbon Fiber Wheel Tubs
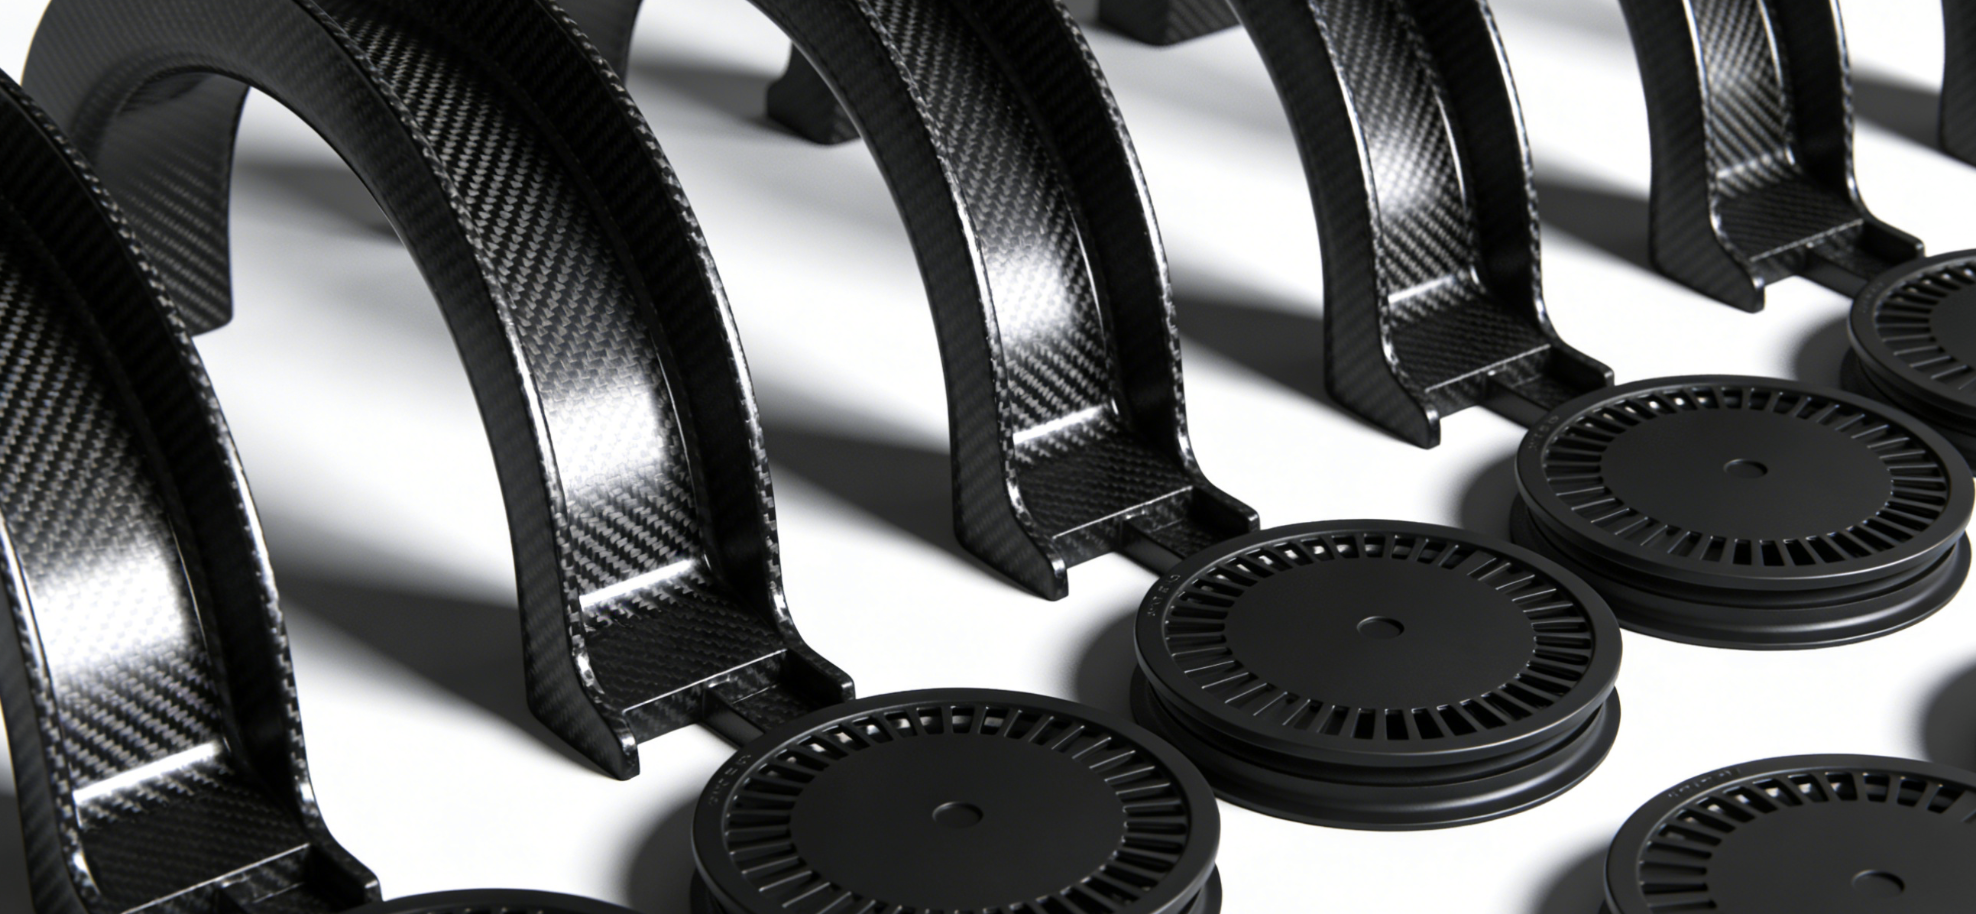
Numbers don’t lie on a test rig — and the numbers behind carbon fiber wheel tubs are worth knowing before you spec a build.
SAE J3204 is the governing standard. It covers hybrid composite wheels and sets the baseline for fatigue, impact, and bond integrity. Under that spec, adhesive bonds must hold to 250 psi without failure. That’s not a soft target. That’s the point where structural confidence starts.
What the Tests Measure
Radial stiffness must hit a minimum of 300 N/mm under a 490 N load. Lateral stiffness sits at 10 N/mm for the rim and 30 N/mm for rear-drive wheel assemblies. These aren’t theoretical ceiling numbers — they’re the pass/fail line.
Drop-weight testing validates impact resistance. A 40–50 kg weight drops onto the sidewall or tire bed, simulating a curb strike or pothole hit. The pass mark at 48 J of impact energy: zero rim damage. No deformation. No cracking. Carbon fiber structural rigidity absorbs and spreads the load in a way fiberglass panels can’t match at the same weight.
Spoke hole pull tests go up to 300 kgf — no cracks, no bulges allowed. Fatigue cycling runs past 100,000 repetitions to catch micro-cracking that appears under sustained load.
How Carbon Holds Up After Impact
Post-impact compression testing is one area where carbon fiber needs more attention than steel or aluminum. After any major strike, the ASTM D7136 CAI protocol (Compression After Impact) confirms the panel hasn’t lost structural integrity below the surface. Carbon doesn’t dent the way aluminum does — so hidden damage is the real risk. X-ray inspection and bond leak-testing after a 250 psi load are both standard post-test steps.
The complete pair weighs ~11 lbs. That keeps it within current FIA and NHRA compliance windows. Both bodies require composite impact and fatigue validation across the full assembly — not just individual parts.
The benchmark that matters most? An 11 lb pair that passes 48 J impact with zero damage. Steel and aluminum can’t match that at the same mass.
Vehicle Compatibility Guide: Which Cars Fit 2026 Carbon Fiber Wheel Tubs
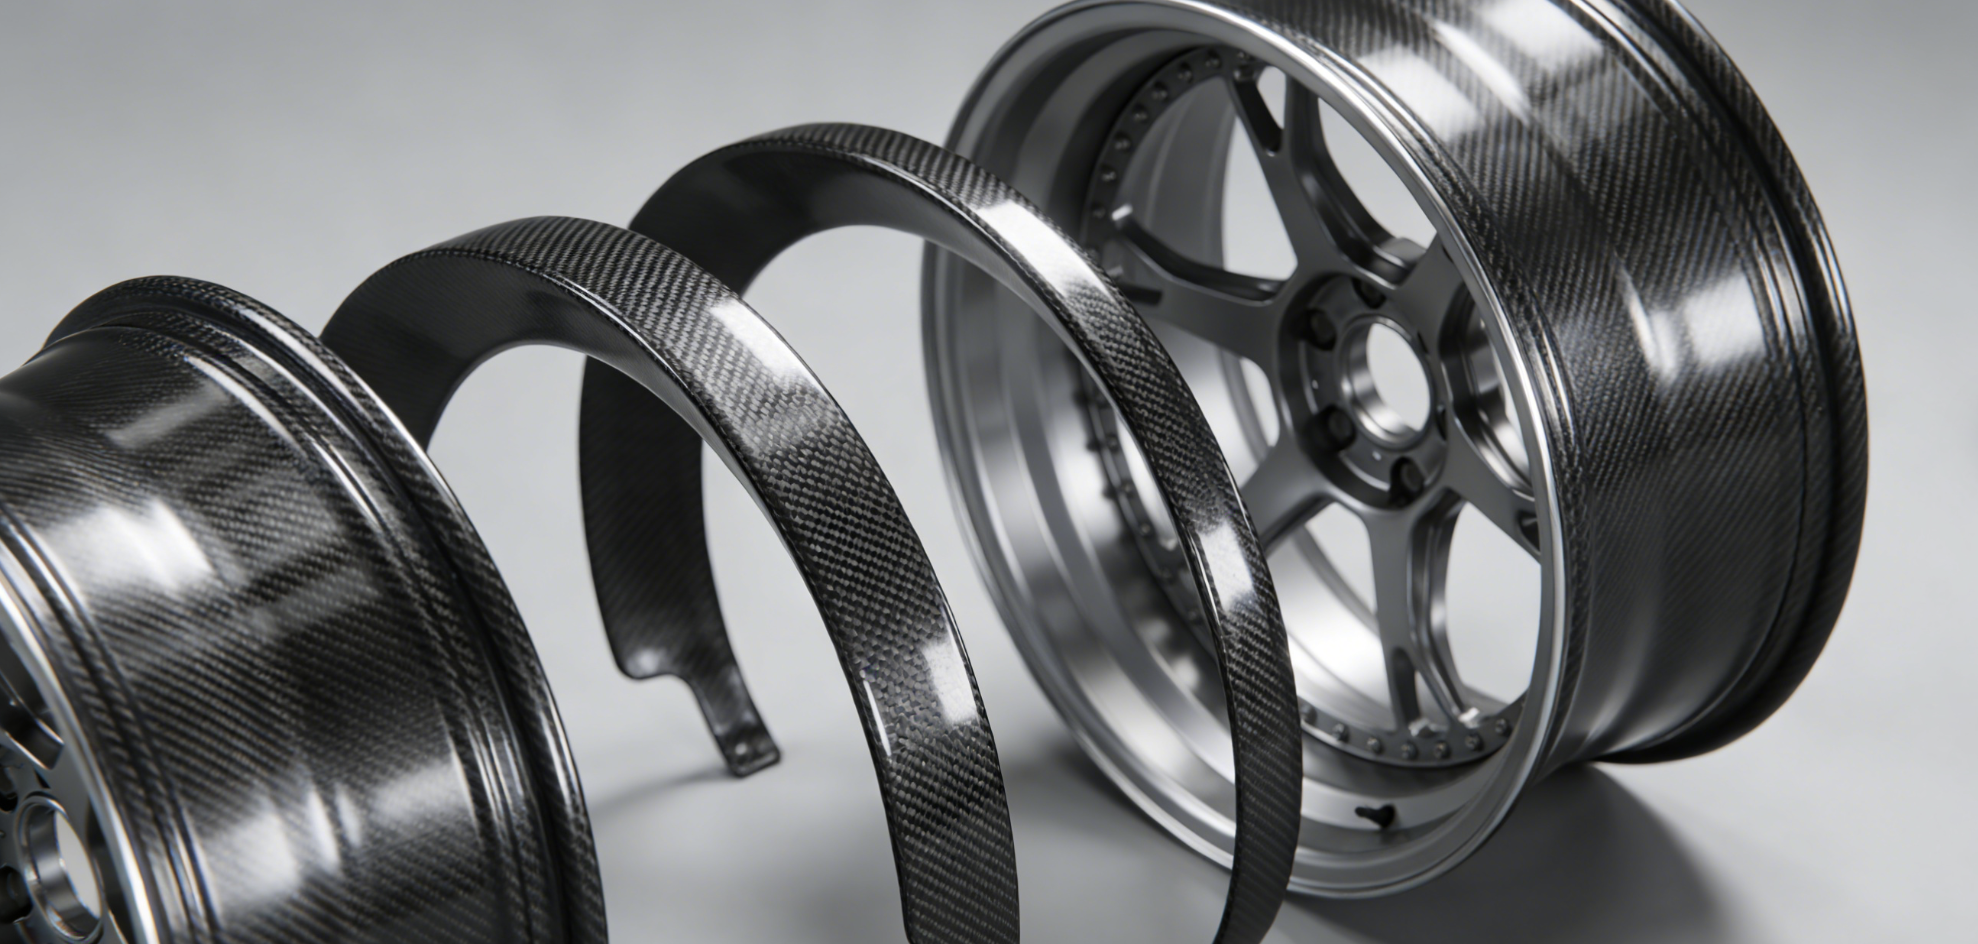
Fitment isn’t guesswork — it’s math. The right carbon fiber wheel tub starts with your tire size, not your car model.
Tim McAmis Performance Parts builds five certified sizes. Each one matches a specific tire range:
|
Tub Size |
Width |
Weight |
Tire Range |
|---|---|---|---|
|
34″ |
28″ |
~9 lbs |
Radials up to 28″ tall |
|
40″ |
28″ |
8.5 lbs |
28–34″ (Outlaw 10.5/10.5W) |
|
44″ |
28″ |
9 lbs |
34.5–36″ slicks |
|
47″ |
26.5–27″ |
10–11 lbs / 7.5 lbs lightweight |
Pro Mod/Top Sportsman, 34.5–36″ with growth |
|
Quarter-Max 36″ |
24″ |
— |
Rear slick packages |
Platform Fit by Build Type
Late-model rear-wheel-drive platforms — Fox Body Mustang, S197, S550, fourth/fifth-gen Camaro — are a solid match for 34–40″ tubs. These handle 275–315mm radials without issue. Stock wheel wells max out around 12″ wide. Move up to 44–47″ once slicks and tire growth enter the picture.
Pro Mod and Top Sportsman drag chassis go straight to the 47″ standard. Thirty-six-inch slicks grow under load. Plan for 2–4 inches of extra clearance at speed.
The Growth Clearance Rule
Size to your tire’s maximum height plus growth — not its static diameter. A 36″ slick needs a 44–47″ tub to keep safe clearance under squat. Build in 1–2 inches of buffer. Get tire growth data from your manufacturer. Use their numbers, not guesses.
Between two sizes, take the larger tub. The 28″-wide shells trim down to fit any framerail or quarter panel width. Flexible corners fold into position and hold their shape. Going from a 44″ to a 47″ now costs far less than dealing with a tire strike later.
FAQ: Carbon Fiber Wheel Tubs & Covers — Top Questions Answered
Real questions from real builders. Here are the answers that matter.
Are carbon fiber wheel tubs legal for street use?
They’ll fit. But they’re not built for street use. Every unit in the 2026 lineup carries NHRA/IHRA certification and fire retardant resin. The design targets high-speed tire growth on a 34.5–36″ drag slick — not daily driving. The Cormat liner handles rock strikes well enough, but the geometry is pure race application. Run these on a dedicated race build only.
Does installation require realigning the suspension?
No. The tub attaches to inner quarter panels and framerails. It doesn’t touch suspension geometry at all. That said, verify tire clearance under squat after install. A tub mounted too high creates contact problems. That’s a measurement issue — not an alignment issue.
Can carbon fiber wheel tubs be painted or clear-coated?
Yes. Here’s the process:
-
Trim first
-
Post-cure the surface
-
Finish-sand
-
Apply four layers of high-quality UV-resistant clear coat
For areas near exhaust or burnout heat, use RDR-3350 high-temp resin — it holds up to 500°F. High-build primer followed by 400-grit wet sand gives you a show-quality finish.
Do these tubs conflict with roll cage setups?
No conflict. The tubs mount to the inner quarter structure. Their flexible design folds between framerails without issue. On Pro Mod and Top Sportsman builds, they run standard alongside full cage configurations. Bond them right, and they add rear body rigidity — they don’t compete with it.
Conclusion
Every gram matters. Every flex point matters. Every race lap matters.
The 2026 carbon fiber wheel tubs and covers aren’t just an upgrade. They’re a statement. You’ve stopped settling for parts that fail under pressure. These tubs go through autoclave-cured prepreg layup and precision-drilled mounting geometry. The result? A lighter, stiffer, faster build with fewer failure points under load.
You’ve seen the strength benchmarks. You’ve walked through the installation steps. You know the mistakes to avoid before they cost you a panel.
Now stop reading. Start building.
Contact HyperX Carbon – Your Trusted Chinese Carbon Fiber Partner
Ready to source high-performance carbon fiber materials or custom forged carbon fiber parts from China?
HyperX Carbon is a leading manufacturer with 20+ years of expertise, specializing in aerospace-grade forged carbon fiber, prepreg, carbon fiber tube, carbon fiber sheet, and lightweight carbon fiber automotive parts/carbon fiber drone components/carbon fiber medical components. We offer:
-
Stable supply chain with premium raw materials (Toray, Mitsubishi, Hengshen)
-
AS9100D certified production for aerospace & UAV applications
-
Rapid prototyping (5-8 weeks) and monthly capacity exceeding 180,000 parts
-
Competitive pricing with 15-18% cost savings on forged carbon solutions
-
Full customization: from T700/T1100G to ultra-high modulus grades
Whether you’re an eVTOL developer, automotive OEM, drone manufacturer, or medical device engineer, HyperX delivers consistent quality, batch-to-batch reliability, and reliable delivery.
Get in touch today for a free consultation, custom quote, or material sample.
📧 Email: [email protected]
🌐 Website: https://www.hyperxcarbon.com/
📞 Phone/WhatsApp: +86 15623270276 (English support available)
Let’s build your next lightweight innovation together – contact HyperX Carbon now and stay ahead in the low-altitude and advanced composites market.