A hairline crack on a carbon fiber wheel isn’t just a cosmetic annoyance — it’s a serious warning sign you shouldn’t ignore. Carbon fiber is remarkable material: incredibly light, rigid, and strong enough to handle forces that would bend aluminum. But damage it the wrong way, miss the wrong signal, or patch it with the wrong technique, and that same material becomes a danger moving at 40 mph under your feet.
The good news? Most carbon rim damage falls on a spectrum. You can learn to read where your wheel stands — from “completely safe to ride” to “don’t touch this bike until it’s fixed.” That’s a real, learnable skill.
This guide covers the full picture:
-
Carbon fiber wheel repair methods that hold up under real-world stress
-
Structural integrity checks you can do yourself
-
Brake track maintenance basics
-
The honest cost-versus-replace math that most shops skip over
How to Identify Carbon Fiber Wheel Damage Before It Becomes Dangerous
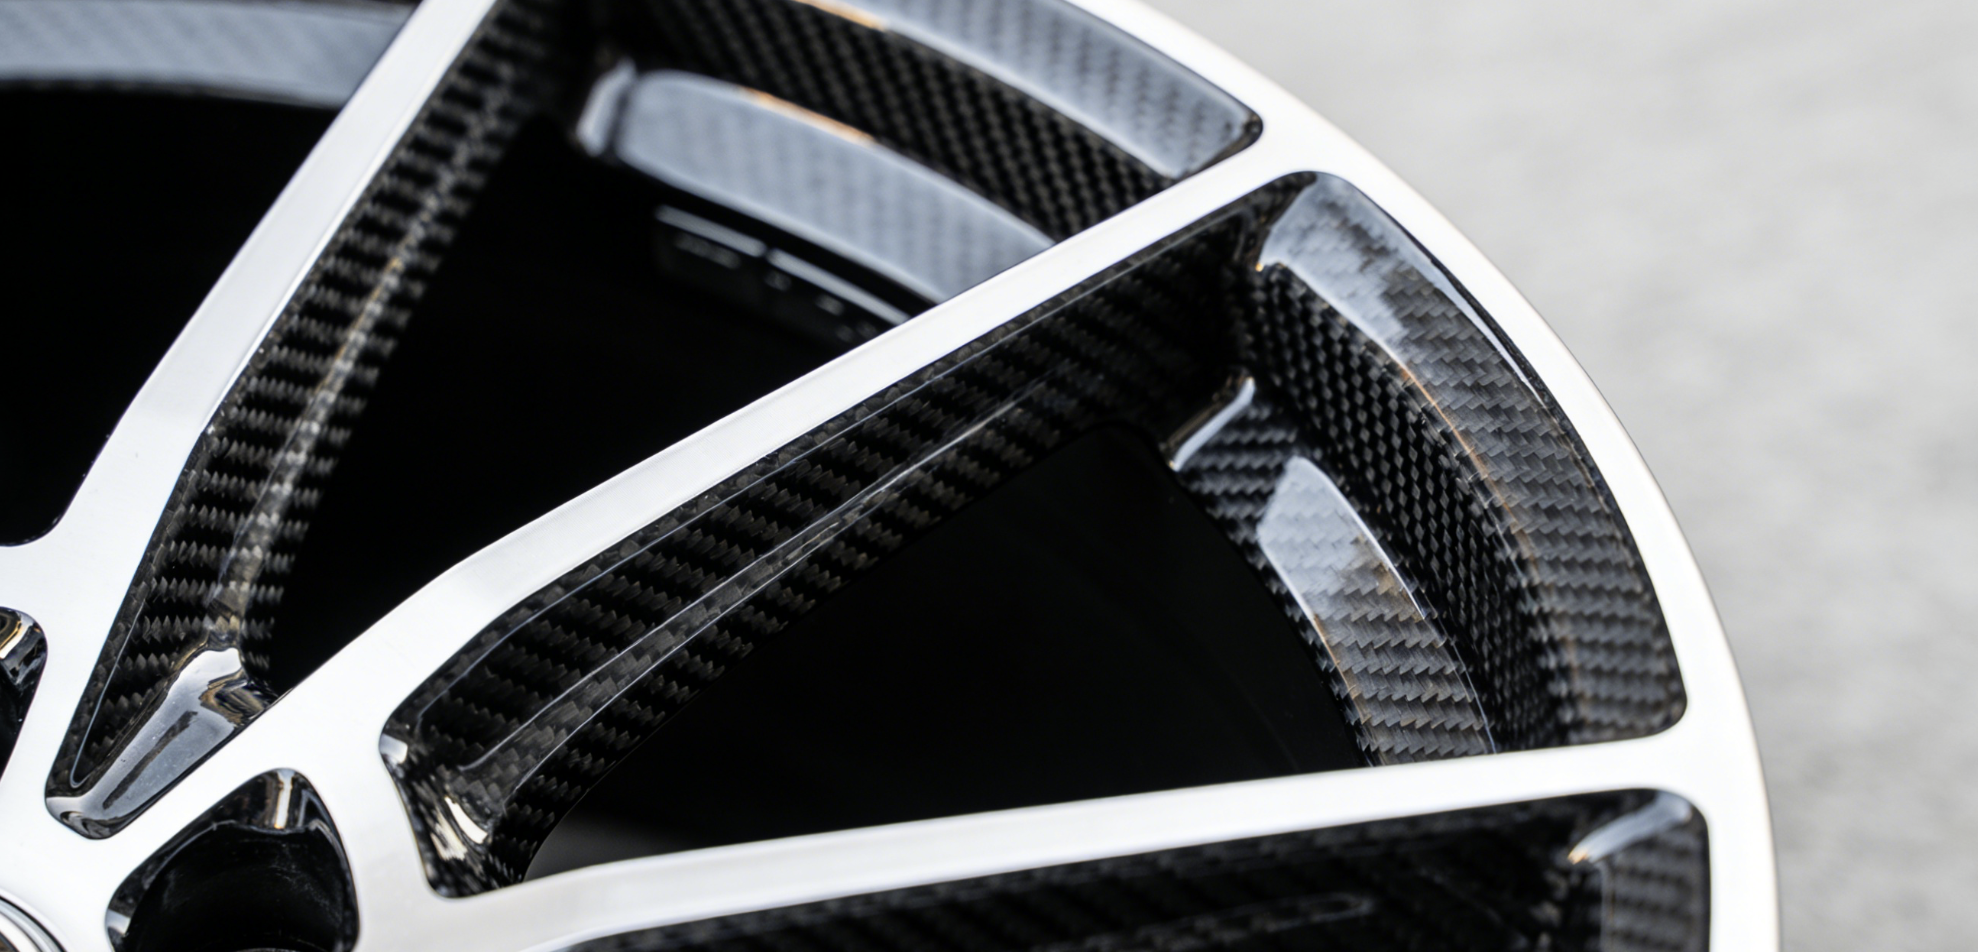
Carbon fiber wheels fail in quiet ways. Steel or aluminum bends, creaks, and warns you for weeks. Carbon fiber looks fine — right up until it doesn’t. That’s why inspection is a non-negotiable habit, not something you do occasionally.
Forty-five percent of carbon rim damage traces back to one violent moment: a pothole, a curb clip, a rogue rock. The rest builds over time — heat, spoke tension, micro-stress — until something gives. Both paths end the same way. Miss the signs, and you’re in trouble.
Here’s how to know what you’re actually dealing with.
The Four-Step Field Inspection
1. Check air retention right after any impact.
The tire won’t hold pressure? The wheel is done. Don’t overthink it — this single test filters out the worst cases fast.
2. Run a visual sweep of three critical zones:
– Spoke holes — Look for radial cracking from over-tensioning or fatigue
– Brake track — Bubbling, rippling, discoloration, or shiny patches all signal heat damage. Anything above 150°C softens the epoxy resin.
– Rim edges — Hairline cracks or layer separation mean carbon fiber delamination has started
3. Do the tap test.
Use a coin or plastic tool. Tap in a steady pattern around the entire rim. A healthy rim sounds clear and consistent. A dull, dead thud means internal delamination — voids where the layers have pulled apart. Your ears will catch what your eyes miss.
4. Use a bright light for hairline cracks.
Hold a flashlight at a low angle across the rim surface. Angle matters here. Stress fractures that are invisible under normal lighting show up clearly with a raking beam. Take your time on this step — small cracks are easy to miss at the wrong angle.
Surface Damage vs. Structural Damage — The Line That Matters
This distinction decides whether you ride or stop:
|
Damage Type |
What You See |
Safe to Ride? |
|---|---|---|
|
Surface only |
Clear coat cracks, minor scratches |
Yes, in most cases |
|
Structural |
Torn carbon weave, separated layers, deep resin cracks |
No. Stop riding. |
See the woven carbon fiber pattern disrupted? Layers lifting, gaps appearing, the matrix cracked open — that’s structural failure. No patch fixes it. No epoxy touch-up. No “I’ll check it next week.” The wheel comes off the bike. Full stop.
The physics are blunt: structural cracks in a carbon rim grow under load. A small fracture at rest turns into a full split at speed. There’s no middle ground here.
Carbon Fiber Wheel Structural Integrity Assessment: Is It Safe to Ride?
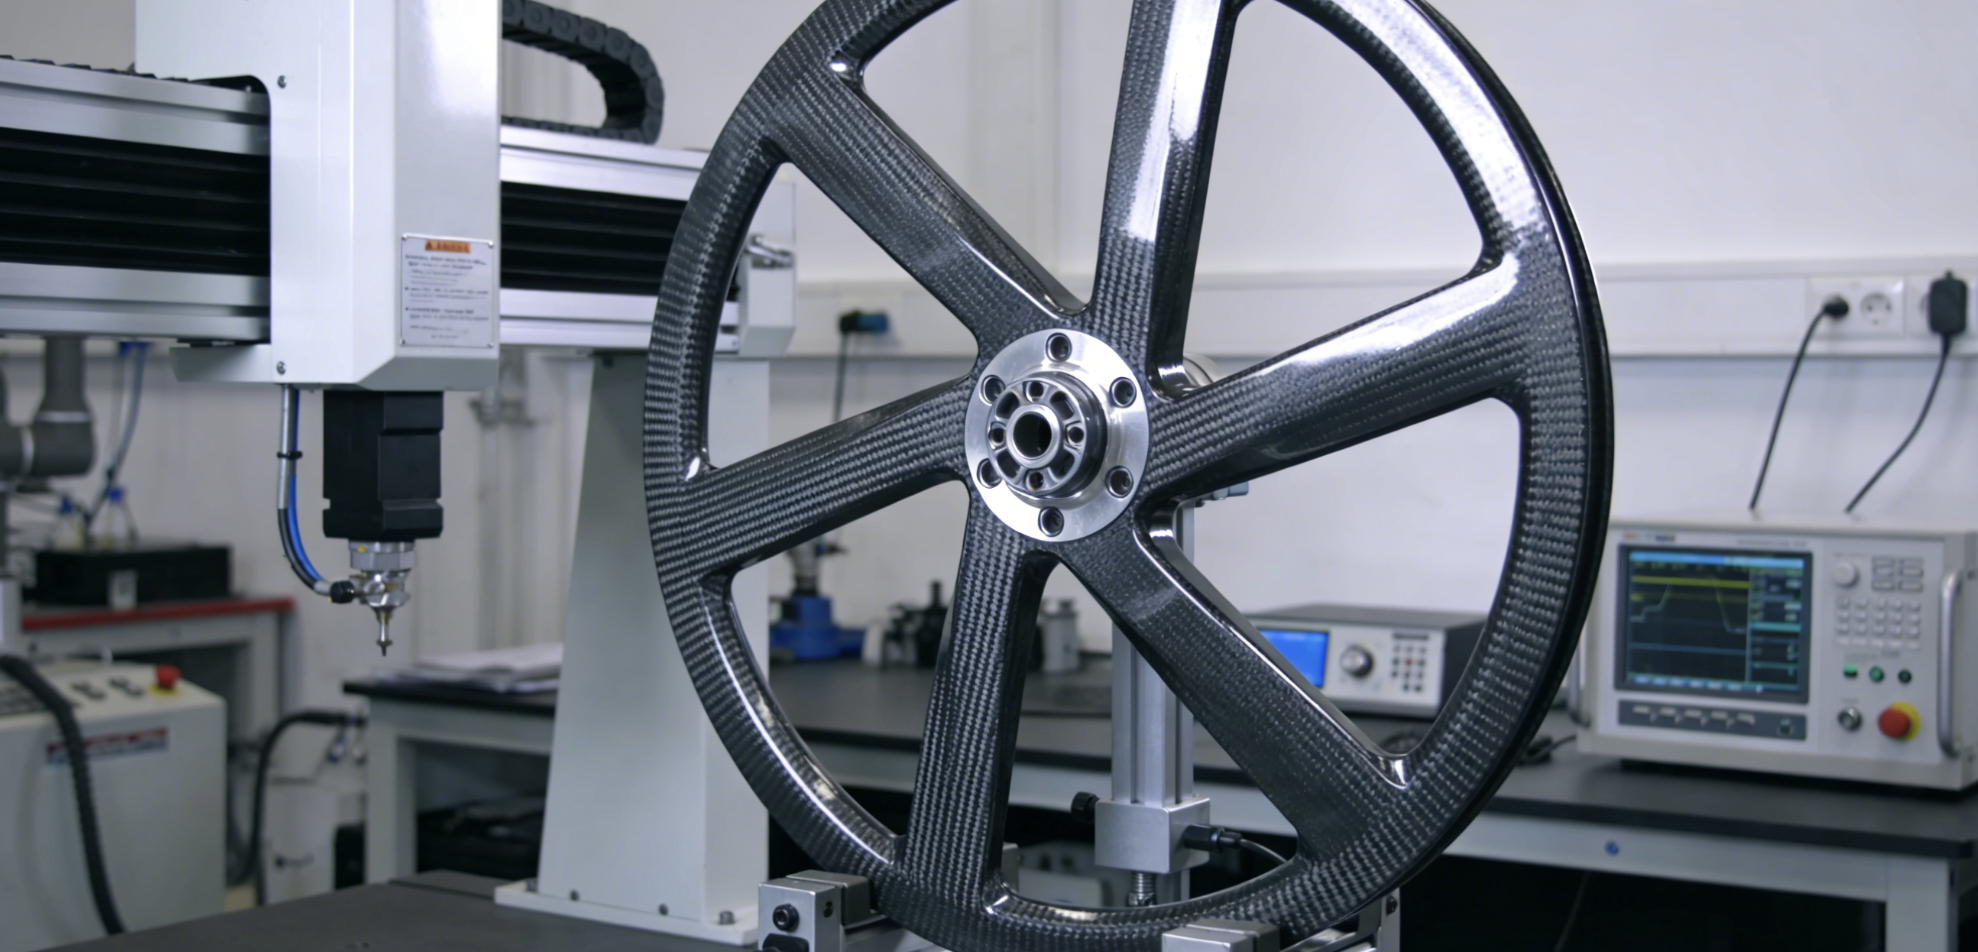
Here’s a number worth sitting with: 80% of carbon wheels that have kissed a curb carry micro-cracks invisible to the naked eye. Not “wheels that looked damaged.” Wheels that looked fine. That statistic alone should change how you think about the post-impact ride-or-don’t-ride decision.
So let’s build an actual decision framework — with real thresholds, not vibes.
The Hard Numbers That Make the Call For You
Two measurements do most of the work:
-
Crack length ≥ 1mm = stop riding, no exceptions. Not “monitor it.” Not “see how it feels tomorrow.” The wheel comes off.
-
Delamination area > 5–10% of rim surface = get a professional inspection right away. Past cosmetic bubbling? Plan on a replacement.
After any impact above 10 km/h — or any hit that left visible deformation — the wheel stays off the bike. It needs a tap test clearance at minimum before it goes back on. No exceptions.
The 5-Minute Pre-Ride Check (Do This Every Time)
Five steps. Five minutes. No excuses.
-
Visual Scan — Spin the wheel under a direct light. Look for cracks longer than 1mm, delamination bubbles larger than 1cm², or dents deeper than 2mm.
-
Tap Test — Flick the rim at 8 equally spaced points with a coin. Clear ring = healthy. Dull thud = internal delamination. Trust your ears.
-
Flex Test — Squeeze both brake pads against the rim and press with your thumb. Deflection over 2mm is a fail.
-
Wheel True Check — Watch for side-to-side wobble as you spin. More than 1mm of lateral movement means something structural is off.
-
Impact History — Be honest with yourself. Anything hit this wheel in the last 30 days without a proper clearance check? Stop here.
Track vs. Road: The Standards Are Different
Track riding and road riding put very different stress on the same wheel.
|
Aspect |
Track Use |
Road Use |
|---|---|---|
|
Peak Load |
3–5× bodyweight (150–200kg cornering force) |
1.5–2× bodyweight; pothole spikes to 4× |
|
Fatigue Rate |
10× higher cycle count |
Moderate |
|
Inspection Schedule |
Pre-session + every 50km; lab test every 3 months |
Visual check each month + after impacts; annual pro scan |
|
Safety Margin |
Minimum 1.5:1; replace at 20% deformation |
2:1 margin; acceptable below 10% deformation |
Track riders run with half the safety margin road riders get. That’s not a philosophy — that’s physics. Tighten your inspection schedule to match.
Advanced Inspection Tools Worth Knowing
Your eyes and a coin get you far. But better tools exist in 2026, and knowing which ones to use matters.
-
X-ray finds cracks smaller than 0.5mm hidden inside rim walls — the kind that pass every visual check. Tests run $200–500 and happen in professional labs. After a serious crash, that cost is worth it.
-
Portable ultrasound units are now common in bike shops. They scan for voids and delamination deeper than 2mm. Useful — but curved rim geometry creates accuracy issues. False positive rates sit around 15%, so operator skill matters a lot.
Neither tool replaces your 5-minute check each day. They back it up when the stakes are high enough to need certainty.
Safe DIY Carbon Rim Repair: What You Can and Cannot Fix at Home
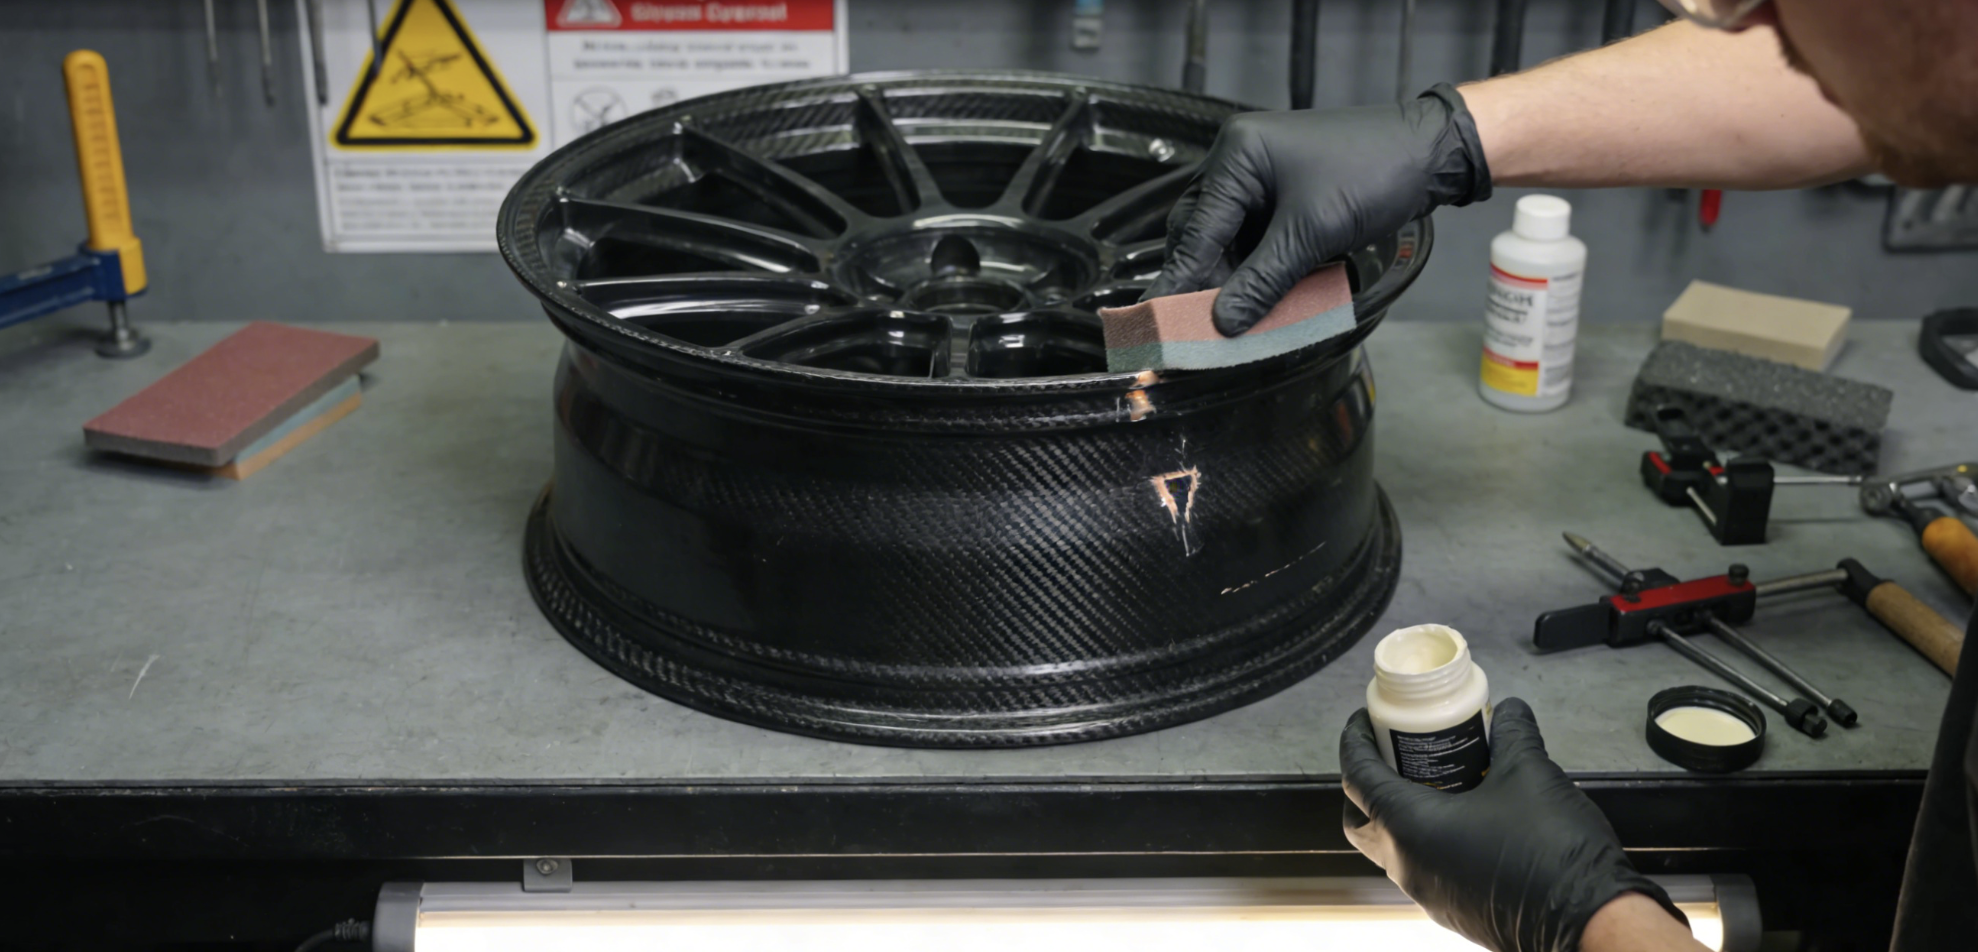
Here’s something most people won’t admit: finding a scratch on a $2,000 carbon rim triggers one of two bad reactions. Some panic and order a replacement they don’t need. Others grab whatever’s in the garage and start “fixing” something they should not touch.
Both are expensive mistakes. One costs money. The other costs safety.
Here’s the actual map of what belongs in which category.
The Short List of Things You Can Fix
DIY carbon rim repair has a narrow lane. It’s not wide. Don’t try to widen it.
What lives in the safe zone:
-
Surface scratches under 1mm deep — Clear coat damage, minor exposed carbon, cosmetic scuffs. These are real repairs you can complete at home with the right process.
-
Tubeless tape replacement — Manageable, but do it right. Clean the rim bed. Use plastic or rubber-guarded tools — no bare metal against the rim. Torque your valve nut to 10 Nm using Loctite 2701. Seal the nut-to-rim interface with silicone sealant. That torque spec isn’t a suggestion. It’s the line between a secure seal and a damaged rim hole.
-
Valve maintenance — Inspect the O-ring. Clean the valve hole and threads. Hand-start the nut before torquing. Make sure the valve sits straight. A crooked valve causes more damage than most people expect.
That’s the full list. Anything beyond this — skip straight to “call a professional.”
Surface Scratch Repair: The Step-by-Step That Works
Scratches that expose the carbon weave need a precise process. Shortcuts will cost you. Here’s how it goes:
1. Clean the damage zone first.
Blast debris out with compressed air. Wipe the area with a microfiber cloth and isopropyl alcohol. Let it dry, then reinspect. Dirt hiding under a scratch changes what you’re dealing with — entirely.
2. Apply epoxy the right way.
Use an epoxy resin rated compatible with carbon fiber impregnation resin. For any exposed weave area, cut a carbon patch to match. Align the weave direction with the existing fiber pattern. Apply a thin initial epoxy coat. Saturate the patch cloth on both surfaces. Overfill the area a little — the epoxy needs to dome above the original rim surface. You’ll sand it back down, but you can’t add material you didn’t put there.
3. Cure for the full 24 hours.
Not 12. Not “overnight, close enough.” Twenty-four hours. Wipe any drips right away with denatured alcohol during the cure window.
4. Sand in sequence. No skipping.
Mask adjacent areas with blue painter’s tape first. Then work through wet/dry sandpaper in strict grit order:
-
400 grit → bring the epoxy near-contour (stop before exact flush)
-
600 grit → refine the surface, keep it wet throughout
-
1000 → 1500 → 2000 → 3000 grit → each step removes the scratches from the last
Wipe clean between every grit change. Coarser particles left behind will ruin the step you just finished.
At 1500+ grit, look for a hazy match to the original wheel profile. That’s your finish line.
The Hard No List
This section matters more than the repair steps above.
These are not “advanced DIY.” They are not “risky but doable with care.” These are repairs that have injured and killed people. No amount of YouTube confidence changes the physics.
|
Damage Type |
Why It’s Off-Limits |
|---|---|
|
Any visible crack |
Cracks in carbon spread under load. A hairline at rest becomes a full split at speed. |
|
Dull tap test sound |
A dull sound means internal delamination — structural voids inside. Epoxy on the surface fixes nothing underneath. |
|
Deep gouges or large cracks |
The fiber structure is compromised. This is a professional or replacement decision. |
|
Post-crash trueness issues |
Lateral or roundness deviation after impact means the rim geometry is affected. That’s not a DIY fix. |
|
Heat delamination |
Brake overheating degrades the resin matrix through the layup. You can’t surface-patch that. |
One example worth naming: emergency trail repairs using superglue and sand filler packed into a crack. This technique shows up in certain cycling communities as a “get home” fix. It is not a fix. It’s a temporary plug on a structural failure. Riding on it at any real speed is flat-out dangerous.
The Toolkit That Won’t Wreck Your Rim
For any of the approved repairs above, stick to carbon-compatible materials:
-
Epoxy resin compatible with carbon fiber impregnation systems
-
Wet/dry sandpaper: 400, 600, 1000, 1500, 2000, 3000 grit
-
Cleaners: Isopropyl alcohol, pH-neutral soap, denatured alcohol, compressed air, microfiber towels
-
Loctite 2701 for valve threads; silicone sealant for the nut-to-rim seal
-
Torque wrench calibrated to 10 Nm — not a regular wrench, not “tight enough by feel”
-
Plastic, rubber, silicone, or Delrin-guarded tools for anything touching the rim bead — zero bare metal contact
One more number to keep in mind: never exceed 40–46 psi (2.8–3.2 bar) when seating a tubeless bead. Past that point, you’re not seating the bead — you’re stressing the rim structure.
The tools aren’t expensive. What separates a safe repair from a dangerous one is the discipline to use these tools, and nothing else.
Professional Carbon Fiber Wheel Structural Repair Process (2026 Standards)
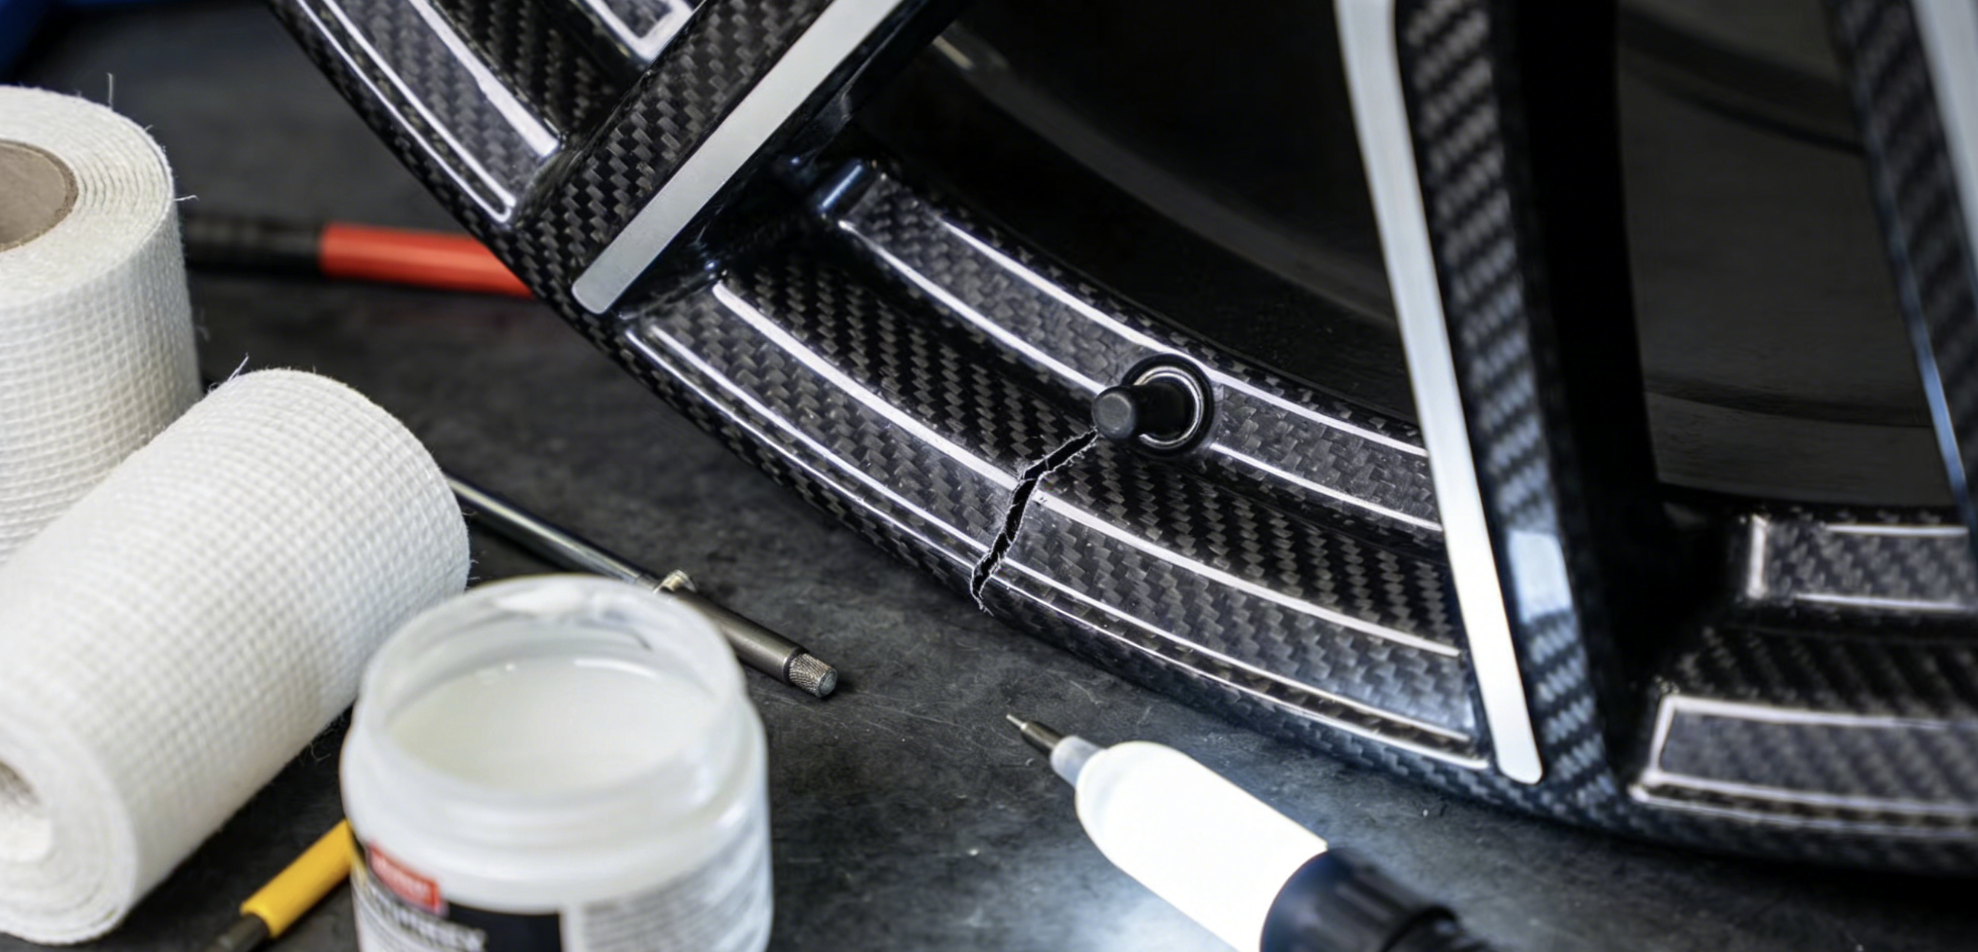
Structural carbon fiber repair is not a step above DIY. It’s a separate category — the gap between “done right” and “done wrong” is measured in load-bearing capacity, not looks.
A carbon rim that needs structural work follows a strict sequence. No shortcuts. No step reordering.
The 2026 structural repair sequence:
-
X-ray inspection — identifies exact crack depth and delamination boundaries before any material is touched
-
Damage stripping — a technician removes all compromised layers down to clean, intact fiber
-
Pre-preg layup — fresh carbon fiber and resin are built back up in zone-specific orientations
-
Controlled curing — temperature and pressure stay within tight tolerances from start to finish
-
Post-cure finishing — sanding, painting, and surface restoration bring the rim back to spec
Why Pre-Preg Layup Changes Everything
The 2026 professional standard uses aviation-grade epoxy pre-preg — fiber weight between 50–150gsm, built to FIA CC100 specification. This is a big step up from wet layup. With pre-preg, resin distribution is locked in at the factory. Nobody applies it by hand in variable conditions. That consistency produces predictable, repeatable performance under load.
Zone-specific fiber orientation plays a major role here too. Spoke beds get extra reinforcement layers aimed at high-tension cracking. Sidewalls are built for vibration absorption. This isn’t uniform layup — it’s engineered placement, zone by zone. The result: 20–30% reduction in flex compared to standard construction. Plus, automated curing cuts 90% of manufacturing defects — things like resin contamination and void formation.
What “Properly Repaired” Actually Means
A structural wheel repair must pass load testing before it touches a road. That means the wheel survives highway-level stress simulation with less than 5% strength loss compared to OEM spec — no flex, no snap, no audible stress. Anything short of that isn’t a repaired wheel. It’s a liability.
Cost-wise, structural repairs start at $1,000+, depending on damage extent. Cosmetic work — scratches, clear coat chips, surface resin fills — falls in the $200–800 range. That price gap exists for a reason. Structural repair demands certified pre-preg materials, a controlled curing environment, and documented post-repair load verification. Cosmetic work needs none of that.
Picking a repair service? Three things are non-negotiable: pre-preg certification, mandatory X-ray inspection for any structural work, and documented post-repair load testing. A shop that can’t confirm all three isn’t the right shop.
Carbon Wheel Repair vs. Replacement: The 2026 Decision Framework
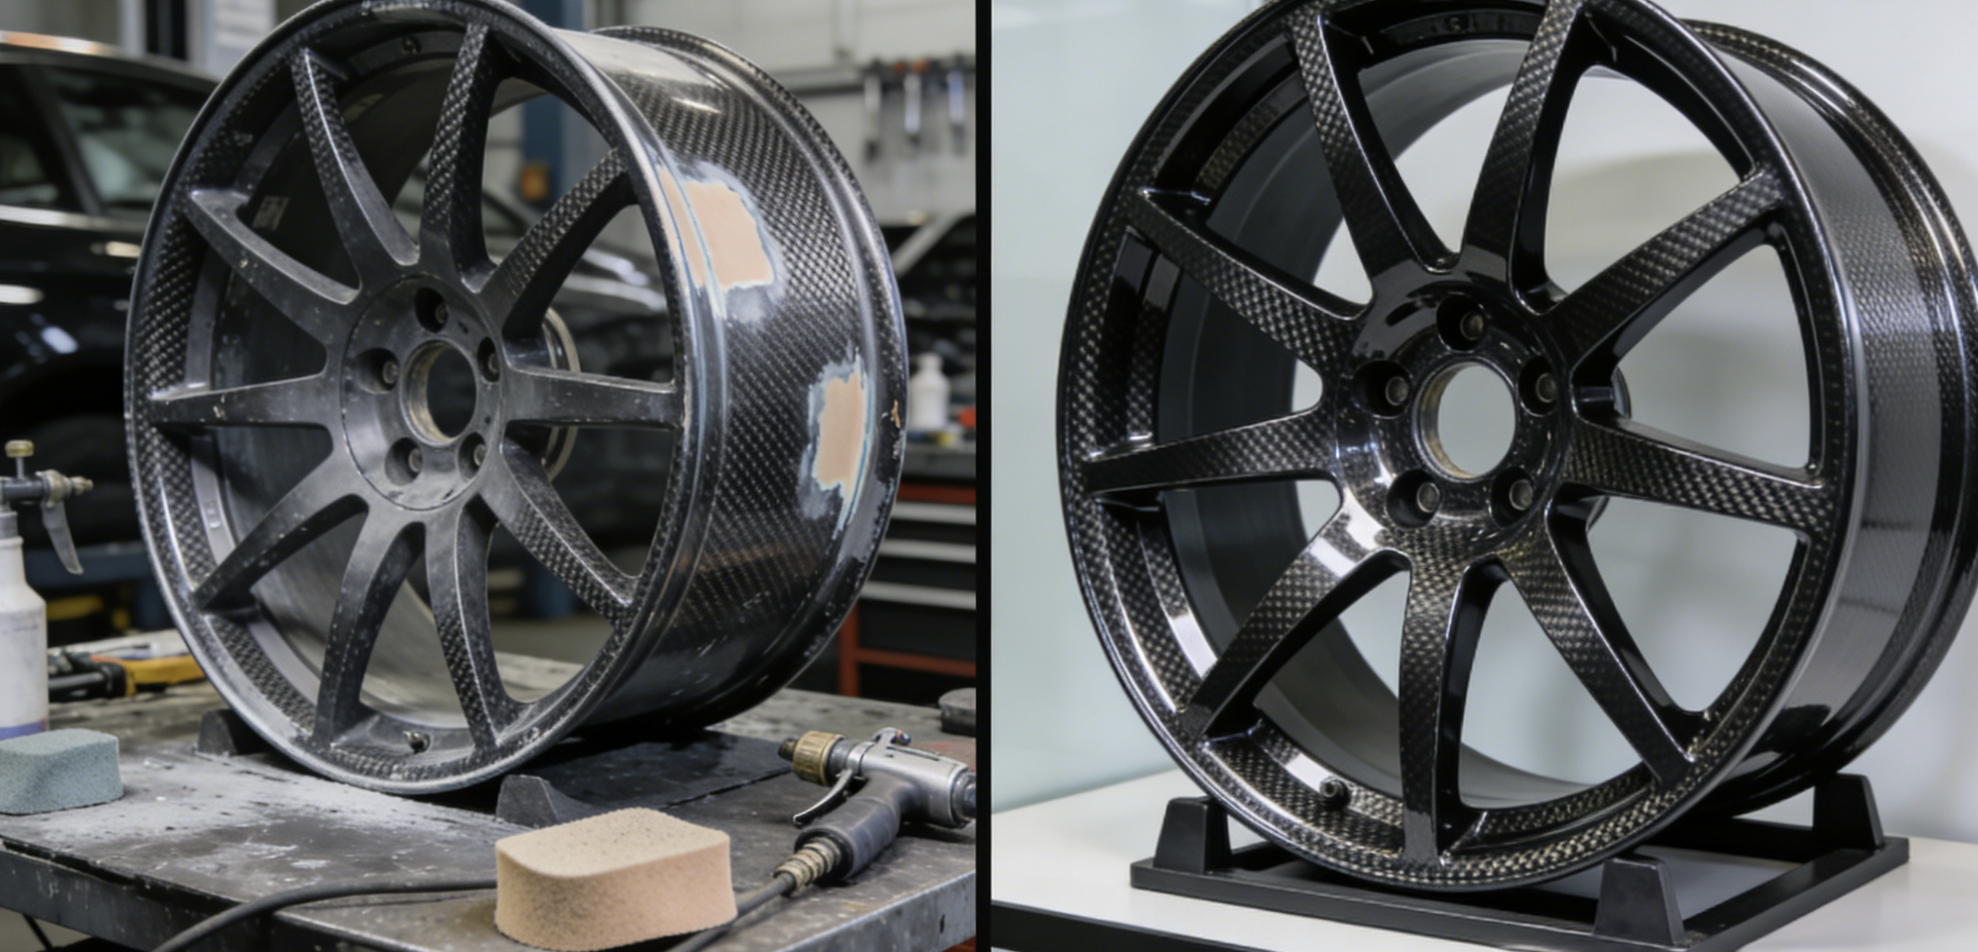
The math is colder than most people want to hear: 70% of structural carbon wheel damage has one correct answer, and it isn’t repair.
That’s not pessimism — it’s physics. Carbon fiber doesn’t negotiate. Aluminum bends and gives you options. Carbon holds strong, then fails all at once. That’s the whole reason the repair-vs-replace decision needs a real framework. Gut instinct won’t cut it.
The Damage-to-Decision Matrix
Not all damage lands in the same category. Here’s where each type falls:
|
Damage Type |
Repair Cost (vs. New Wheel) |
Post-Repair Safety Factor |
Call |
|---|---|---|---|
|
Clear coat / cosmetic |
5–10% |
0.9–1.0 (low risk) |
Repair |
|
Surface delamination |
20–40% |
0.6–0.8 (internal failure risk) |
Replace |
|
Impact crack under 5mm |
30–50% |
0.4–0.6 (abrupt failure risk) |
Replace |
|
Structural matrix damage |
Not possible |
0.0–0.3 (critical) |
Mandatory replace |
Focus on the safety factor column. Anything below 0.8 means the wheel carries real hidden risk — the kind that gives no warning before it fails.
The Break-Even Numbers
Here’s where ownership cost gets real:
-
$500 wheel: One repair averages $250. You hit break-even after a single incident. A second damage event makes replacement the cheaper call.
-
$2,000 wheel: Two repairs at $400–1,000 each puts you at 40–75% of new-wheel cost. After the second incident, you’re paying near-new prices for a wheel with unknown internal history.
-
$5,000 wheel: Cumulative repairs of $1,500–3,000 stay below replacement cost longer — but that only holds for cosmetic damage. Structural damage on a $5,000 wheel still means replacement.
The break-even rule: repair cost above 30% of new wheel price, and replacement wins on pure economics. Add structural uncertainty, and that threshold drops even lower.
The Mandatory Replacement Triggers
Some decisions aren’t judgment calls. These are hard stops:
-
Crack longer or deeper than 2mm — 100% failure probability within 500 miles. No exceptions.
-
High-energy impact above 10kJ — think pothole or curb at 30+ mph. Carbon shatters where aluminum dents. Get it inspected right away. Replacement is the likely outcome.
-
Brake track wear exceeding 0.5mm depth — safety factor drops below 0.7. The wear speeds up delamination from the inside out.
-
Wheel age over 3 years or 10,000 miles — mandatory non-destructive testing. Any issue found means replacement, not monitoring.
The Delamination Problem Nobody Talks About
Delamination needs its own warning label. 80–90% of delamination cases can’t be fixed safely. That’s not a gap in repair technology — it’s how carbon fiber breaks down at the structural level.
Delamination starts inside. The matrix separation spreads through layers that no surface patch can reach. Post-repair safety drops 40% on average. Hidden damage keeps spreading under whatever patch goes on top. A rim that looks fine after a minor strike can fail weeks later with zero warning. That’s not a rare edge case — it’s the standard failure pattern.
The Actual 2026 Decision Sequence
Step one: assess the damage with visual inspection plus ultrasonic scanning. Any crack beyond 2mm, stop there — the answer is replacement.
Step two: run the cost math. Repair cost above 30% of new-wheel price? Replacement wins.
Step three: check the safety factor. Anything below 0.8 means the wheel carries risk that no repair shop can wipe out. That risk stays in the wheel.
Step four: be honest about history. A wheel with two prior incidents carries cumulative internal fatigue. No single inspection catches all of it. Also, that lifetime warranty on your carbon rim? It almost never covers crash damage — which is the one situation you’d actually need it.
The framework itself is straightforward. The hard part is accepting that a $2,000 wheel with a 3mm crack has one diagnosis — scrap.
Carbon Fiber Wheel Maintenance Schedule: Daily, Weekly & Monthly Procedures
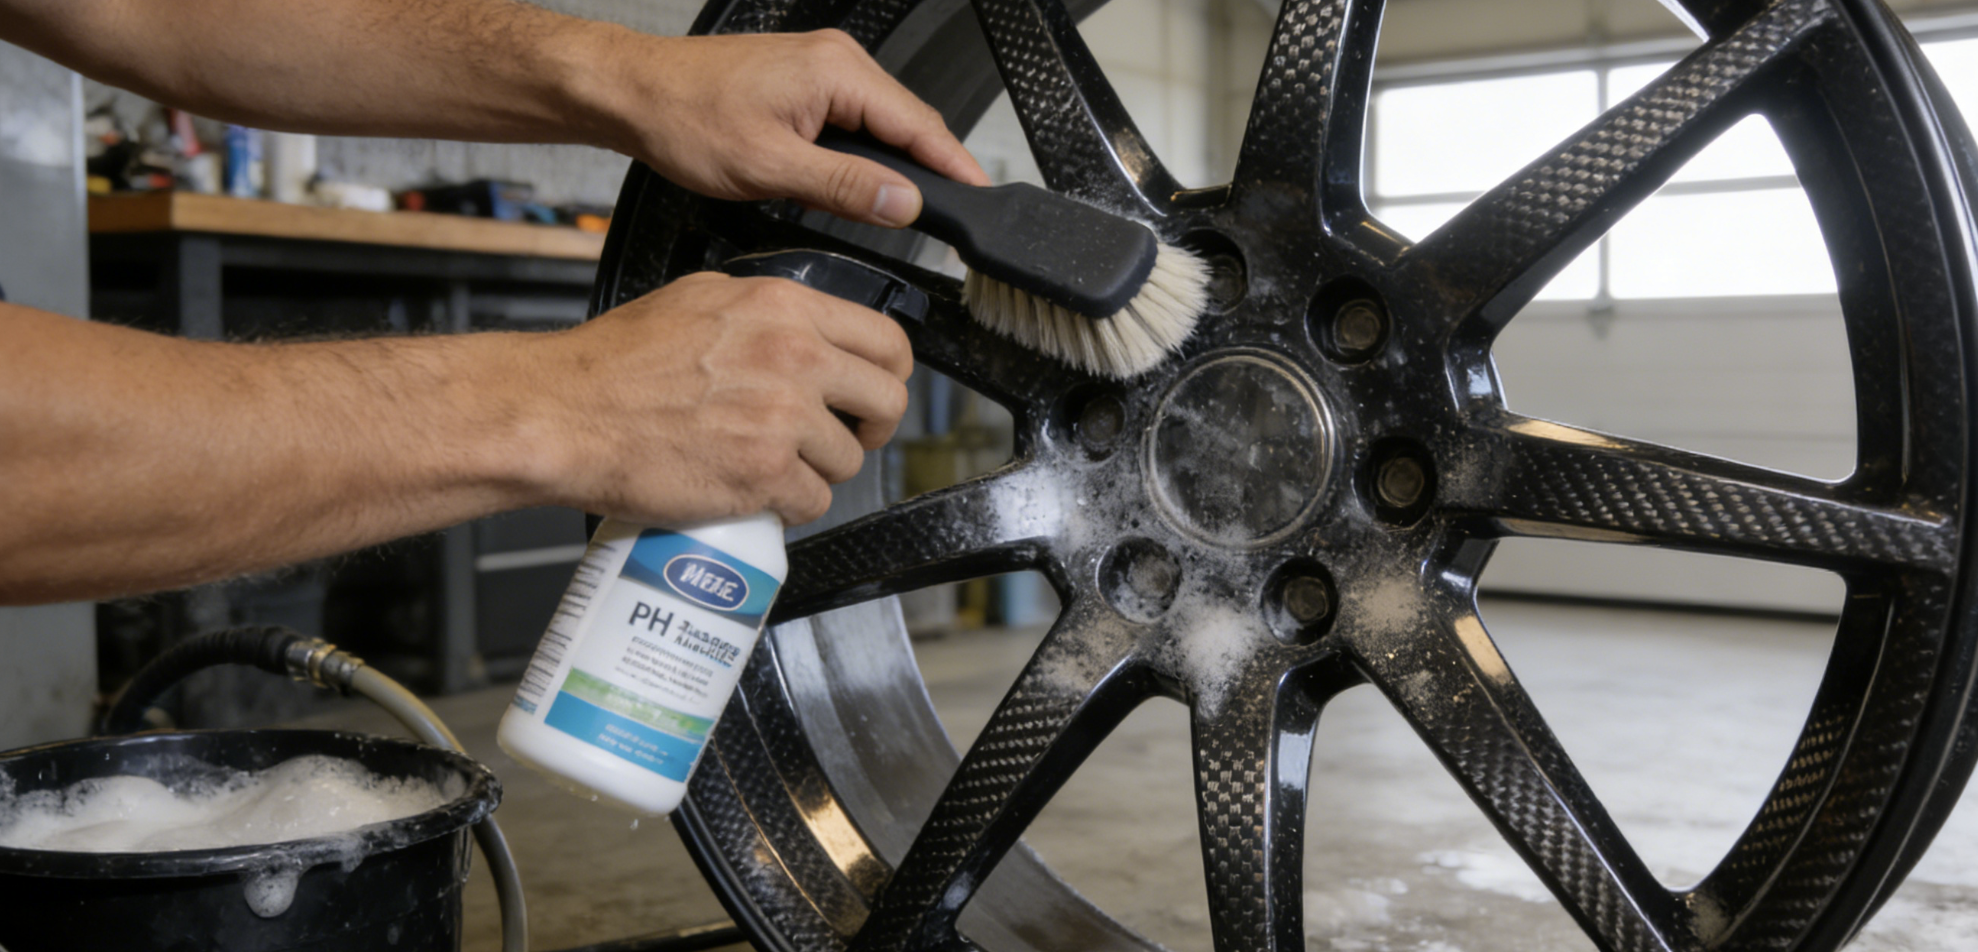
Most carbon wheel failures don’t arrive with a bang. They build up — one skipped wipe-down at a time, silently, out of sight. A solid maintenance schedule is what separates a wheel that runs a full decade from one that ends up as scrap by year three.
Here’s what that schedule looks like.
Daily (Post-Ride)
Every ride coats your rim’s most exposed surfaces with a mix of brake powder, road salt, mud, and grime. Leave that overnight, and it starts doing damage.
-
Wipe the rim down with a soft damp microfiber cloth — pay close attention to the brake track edges, where residue builds up most
-
Use warm water + pH-neutral detergent (basic dish soap works fine). Dry it off after — moisture trapped in crevices causes slow corrosion over time
-
Quick visual scan of the rim surface: cracks, scratches, anything lifting — do this after any impact
-
Check tire pressure (80–120 PSI based on your weight and terrain). Under-inflation makes the rim flex under load in ways it was never built to handle
Four minutes. Not negotiable.
Weekly (Deep Clean)
Do this every one to two weeks — or right after riding on sandy, urban, or salt-treated roads:
-
Use pH-neutral wheel cleaners with soft brushes or microfiber. Rinse with cool water
-
Hard no’s: acidic or alkaline cleaners, abrasive pads, steel wool, high-pressure water guns (they eat through the resin topcoat faster than you’d think), anything corrosive
-
Rotate Cush Drive rubber inserts a quarter-turn to spread wear across the surface
Monthly (Full Inspection)
This is where you catch the problems that will eventually destroy your wheel:
-
Spoke tension — check for uniformity, looseness, or deformation
-
Hub bearings — spin the wheel and listen. Abnormal noise or play means service now
-
Brake edges and discs — check flatness, wear depth, and runout. Measure the brake track
-
Full visual sweep — hairline cracks around spoke holes, resin chips, delamination bubbles, any carbon distortion. High-speed vibration or whistling? This is where you track it down
-
Lug nut torque — use a torque-limiting tool. Aluminum or titanium lugs need plastic collar protection to stop stress from building up at contact points
-
Valve stems — rubber or silicone-sealed only. No metal-to-carbon contact, ever
One more monthly task worth calling out on its own: check your brake pads. Run carbon-specific pads — aluminum alloy pads don’t work with carbon rims and will damage your rim edges. Clean the brake powder off the edges and check pad wear. Brake drag that goes on too long pushes rim temperatures past the point where the epoxy resin softens. That’s not something you monitor. That’s something you fix.
Protective Details That Compound Over Time
Done right, carbon wheels last 5–10 years. Done without care, that number falls fast — track conditions make it worse.
A few things that actually move the needle:
-
After a deep clean, apply a carbon-approved ceramic coating in the shade. Let it cure before your next ride. These coatings last 12–24 months and give real protection to the UV-resistant topcoat
-
Tire installation: use center-clamp machines. Going manual? Keep aggressive tire levers away from the rim edge
-
Tubeless setups: refill sealant on schedule. Check your seals each time
-
Storage: clean and dry, horizontal with padding, kept indoors — no stacking, no direct sun, no UV exposure
The wheel you wipe down after every ride, inspect each month, and store with care is the wheel that’s still solid in year eight. That’s not luck. That’s maintenance math.
Carbon Rim Scratch Removal & Brake Track Maintenance: Step-by-Step
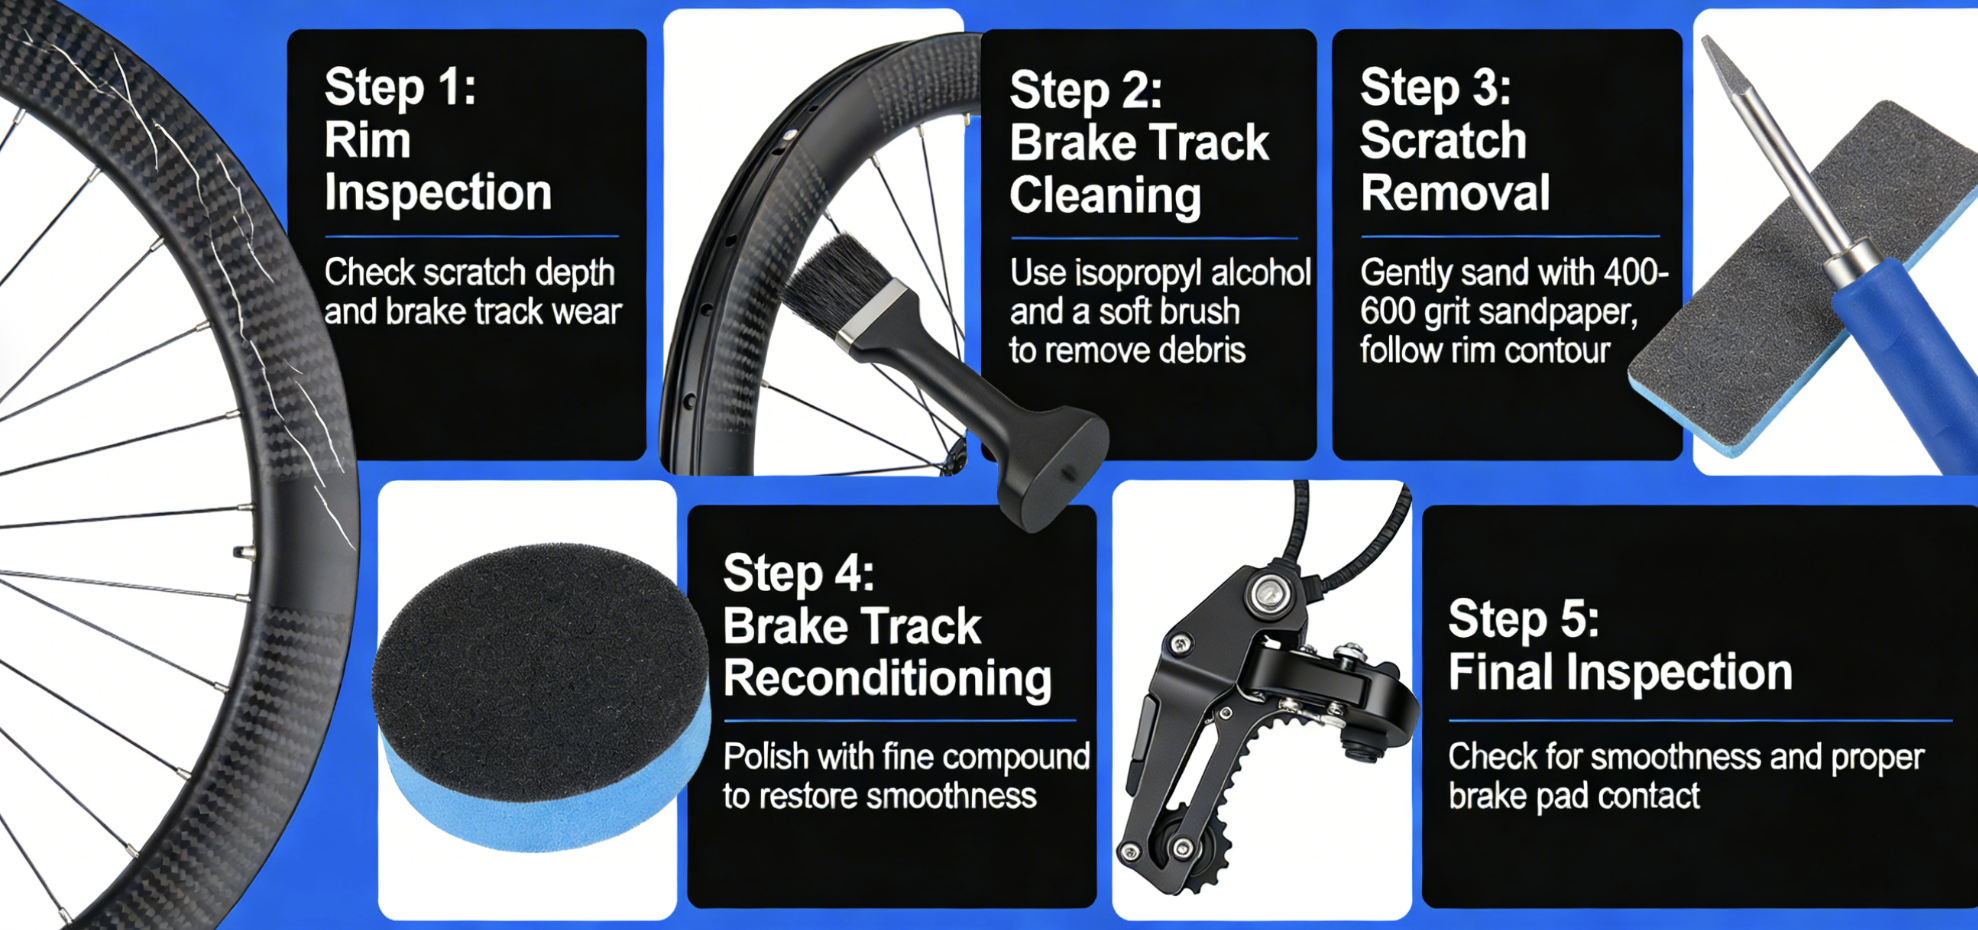
Scratches on a carbon rim fall into two very different categories. Which category yours falls into decides everything that comes next.
Universe A: clear coat damage, minor scuffs, surface carbon exposure. Annoying, fixable, and manageable at home.
Universe B: anything structural. Cracks, delamination, exposed weave with depth. That goes straight to a certified facility. No exceptions. No workarounds.
This section covers Universe A.
Surface Scratch Removal: The Exact Sequence
Step 1: Clean first, always.
Wipe the damaged area with a microfiber cloth and isopropyl alcohol. Let it dry before touching anything else. Hidden grit under a scratch can change your entire repair. Find it now, not midway through sanding.
Step 2: Sand in strict grit order.
Work through wet/dry sandpaper in steps:
-
400 grit → initial smoothing
-
800 grit → refine
-
1500 grit → match the wheel contour (aim for a hazy finish here, not shiny)
-
2000 grit → surface leveling
-
3000 grit → final smoothing
Wipe the surface clean between every grit change. Coarser particles left behind will undo the step you just finished. Don’t skip this.
Step 3: Polish.
Use a buffing compound on a pad. Work in circular motions across the full rim. Buff off the residue with a clean microfiber cloth until the surface shines.
Step 4: Seal it.
Put on a carbon-compatible clear coat. Let it cure before the wheel goes back on the bike. Rushing this step risks peeling later.
Brake Track Maintenance: The Overlooked Part
Most riders wipe their rims and call it done. The brake track gets ignored — until something goes wrong.
Here’s the sequence that works:
-
Rinse first. Hose off aluminum powder and brake dust before any cleaning product touches the surface. Scrubbing grit into carbon causes more damage than leaving it dirty.
-
Clean with pH-neutral products. Put on wheel cleaner, agitate with a soft-bristle brush, then rinse off. Follow up with a mild dish soap wipe using a soft sponge. Skip acidic cleaners. Skip abrasive pads.
-
Strip the clear coat before sanding. Put chemical stripper on with a sponge brush. Let it bubble for about an hour. Neutralize it, then scrub with an abrasive sponge. You need 100% clear coat removal before any sandpaper touches the brake track. A first pass might get you 80% — repeat it until it’s gone.
-
Sand the track in steps. Start with a 120 grit flat disk for the base. Move to 400 grit to clear out scratches. Finish with 600 → 1000 grit until scratches disappear and the surface shows a uniform sheen.
The verification step most people skip: run your fingertip across the repaired area. No ridges, no transitions, no texture variation. The surface should feel the same as the untouched sections on either side. You can still feel the repair? It needs another pass.
One hard rule for brake tracks: use carbon-specific brake pads. Aluminum alloy pads damage carbon rim edges no matter how careful your maintenance is. That damage builds up with every ride.
Carbon Fiber Wheel Storage, Transport & Long-Term Preservation
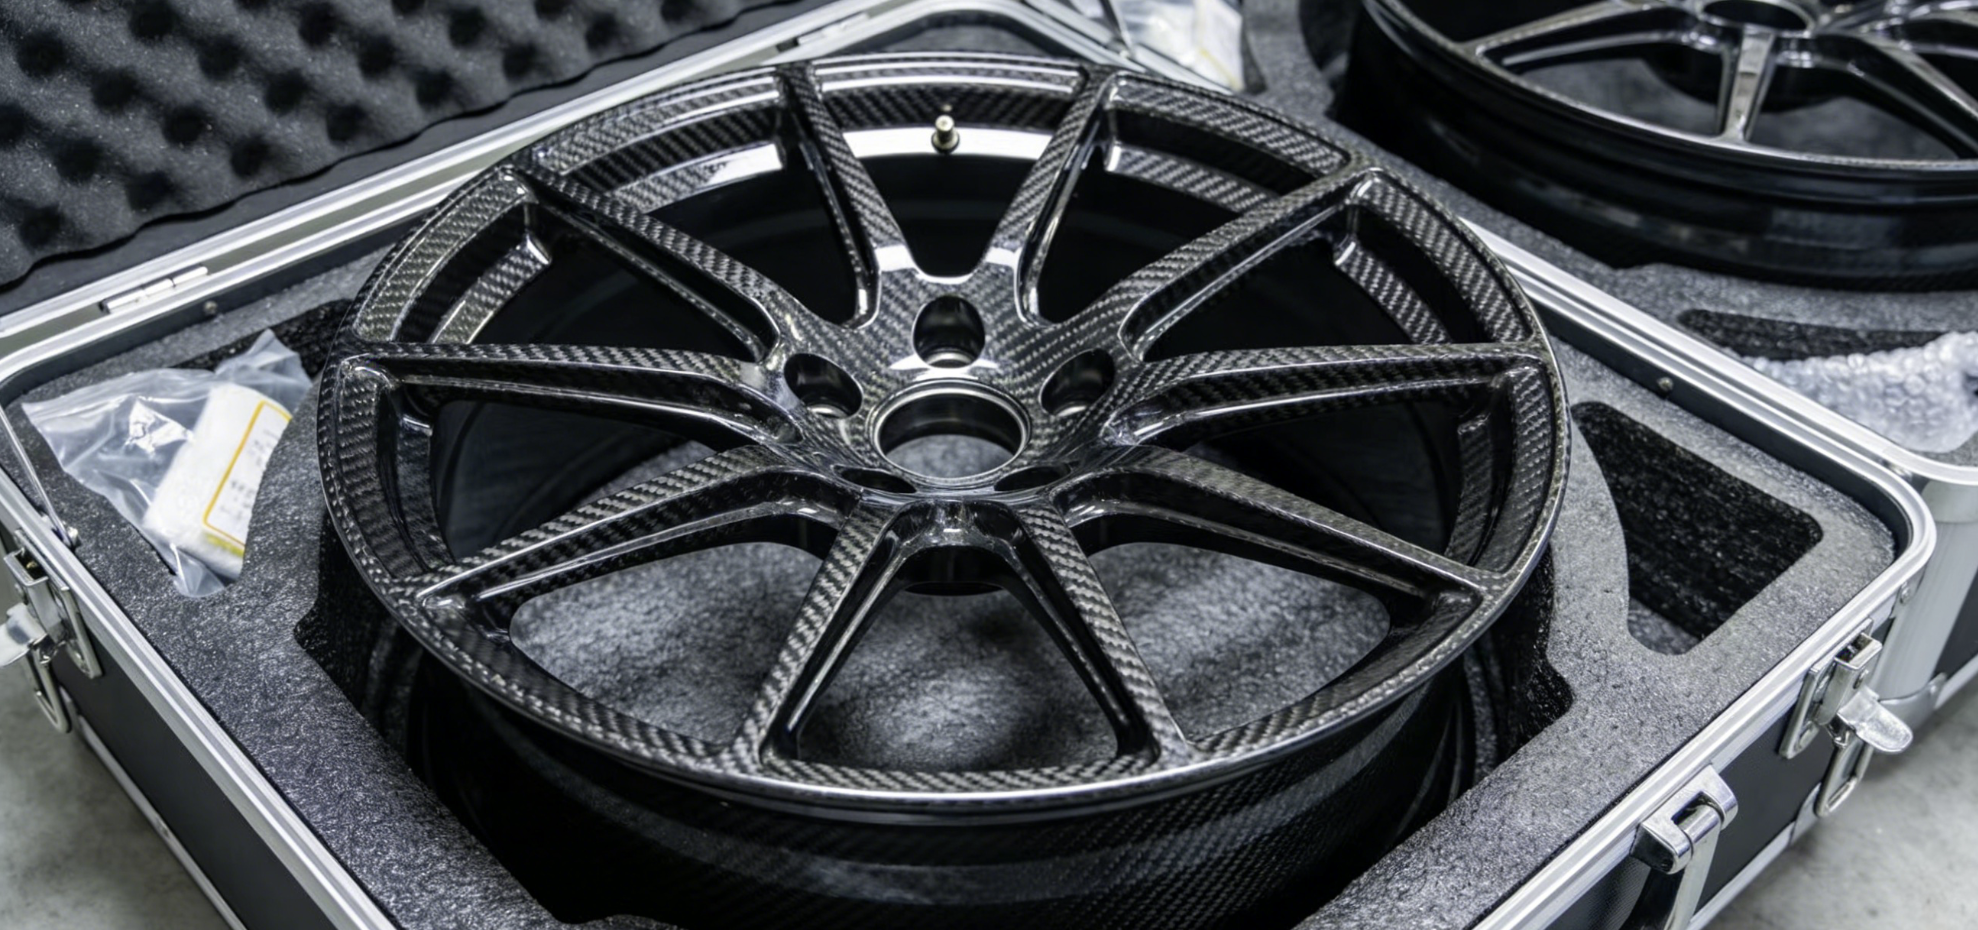
Storage feels boring — until your $2,000 rim warps in a garage corner after one hot summer. That’s the kind of boring that costs real money.
Carbon fiber has a quiet enemy: time plus bad conditions. UV exposure, temperature swings, and trapped moisture give no warning signs. They eat away at the epoxy resin bit by bit. One day the structural strength just isn’t there anymore. Good storage isn’t optional — it’s what separates a wheel that lasts 5+ years from one that starts breaking down by year two.
The environment numbers that matter:
– Temperature: 20–35°C
– Humidity: 40–80% RH
– Direct sunlight: zero
Push past these limits and the resin matrix starts losing its hold. Heat cycles are especially damaging. Repeated expansion and contraction breaks down the polymer bonding over time.
Before You Store: The Pre-Storage Checklist
Don’t just lean the wheel against a wall and walk away.
-
Clean and dry the wheel first. Get it fully dry — not just surface dry. Any moisture trapped inside a bag or case will cause slow damage for months.
-
Set tire pressure to moderate — not full, not flat. Full deflation causes sidewall creases and bead unseating. Full inflation puts stress on the rim that it doesn’t need during storage.
-
Position matters. Lay wheels horizontal with padding between them. Or hang them on padded rim hooks. For tubeless setups, put the valve at 6 o’clock. This keeps sealant pooled away from the valve core.
Wheels sitting on the ground? Rotate them every 2–3 weeks to stop flat spots from forming.
Transport Rules
Padded wheel bags exist for a reason — use them. Pull off the cassette and quick-release before packing. Pack everything tight so nothing shifts in transit. Stacking wheels with no padding between them will cause rim compression damage. It’s that simple.
Long-Term Tubeless Preservation
Tubeless sealant won’t last forever in storage. Check it every 3–6 months. Before you check, rotate the valve to 12 o’clock and park the wheel valve-side down. This spreads the sealant out evenly and stops the valve core from clogging up.
|
Item |
Best Position |
Key Prevention |
Tip |
|---|---|---|---|
|
Wheelset |
Upright/padded hang |
Rim compression |
No stacked gear on top |
|
Tires |
Weight off rim |
Flat spotting |
Rotate every 2–3 weeks |
|
Tubeless |
Valve at 6 o’clock |
Sealant clog |
Inspect every 3–6 months |
Store the wheel right in November, and it’ll be in solid shape come March. That’s not complicated. It just means following a plan instead of winging it.
Carbon Fiber Wheel Repair Cost Breakdown & FAQ
Let’s start with the numbers — that’s what you’re here for.
Cosmetic damage (curb rash, chips, surface scratches): $100–$250 per wheel. Structural damage (cracks, delamination, re-lamination): $400–$800+. Full replacement runs $1,500–$5,000 per set. The gap between “surface scratch” and “structural failure” is where your wallet takes the real hit.
|
Damage Type |
Cost Range |
|---|---|
|
Minor surface cracks |
$350–$450 |
|
Puncture / delamination |
$450–$600 |
|
Structural failure |
$600–$800+ |
|
Cosmetic restoration (paint match, clear coat) |
+$200 |
Location affects price too. West Coast and Northeast shops charge 20–50% more than Midwest shops. Shipping adds another $100–$200 on top.
The Most Common Questions, Answered
Can I ride on a cracked carbon rim?
Structural crack? No. Full stop. Carbon doesn’t flex and warn you — it holds, then snaps without notice. Surface cosmetic damage with no structural concern? Get a professional inspection first. Then decide.
Is DIY repair safe?
For surface scratches under 1mm, yes — with the right process and tools. For structural damage, no. DIY repair skips vacuum bonding, controlled curing, and post-repair stress testing. That failure risk is real, not theoretical.
How long does professional repair take?
Simple jobs: 3 days. Complex structural work: up to 3 weeks.
What should I look for in a repair shop?
Three things that aren’t optional:
– FAA-approved composites certification or ISO 9001
– Confirmed X-ray/NDT inspection capability
– Documented post-repair load testing to 2× rated capacity
No documentation? Find a different shop.
Does my warranty cover this?
For impact damage, probably not. Most manufacturer warranties cover production defects — not curb strikes or crash damage. Specialty carbon insurance policies are worth checking out. They run $500–$2,000 per year and cover up to $5,000 per set. Price one out if your wheels cost more than $2,000.
Conclusion
Here’s the uncomfortable truth about carbon fiber wheels: they’re not indestructible. But they’re not as fragile as most people think, either. The gap between a wheel that breaks apart mid-descent and one that lasts another decade often comes down to one thing — did you know what to look for before the ride? Not after the crash.
This guide leaves you with three things to take away: inspect often, repair with care, and never let wishful thinking replace a proper structural check. A surface scratch is a cosmetic issue. A hidden delamination is a countdown.
Your carbon fiber wheel story doesn’t end here — it picks up at your next pre-ride inspection. Run your fingers along those rims. Check the brake track. Look for the things that don’t want to be found.
Contact HyperX Carbon – Your Trusted Chinese Carbon Fiber Partner
Ready to source high-performance carbon fiber materials or custom forged carbon fiber parts from China?
HyperX Carbon is a leading manufacturer with 20+ years of expertise, specializing in aerospace-grade forged carbon fiber, prepreg, carbon fiber tube, carbon fiber sheet, and lightweight carbon fiber automotive parts/carbon fiber drone components/carbon fiber medical components. We offer:
-
Stable supply chain with premium raw materials (Toray, Mitsubishi, Hengshen)
-
AS9100D certified production for aerospace & UAV applications
-
Rapid prototyping (5-8 weeks) and monthly capacity exceeding 180,000 parts
-
Competitive pricing with 15-18% cost savings on forged carbon solutions
-
Full customization: from T700/T1100G to ultra-high modulus grades
Whether you’re an eVTOL developer, automotive OEM, drone manufacturer, or medical device engineer, HyperX delivers consistent quality, batch-to-batch reliability, and reliable delivery.
Get in touch today for a free consultation, custom quote, or material sample.
📧 Email: [email protected]
🌐 Website: https://www.hyperxcarbon.com/
📞 Phone/WhatsApp: +86 15623270276 (English support available)
Let’s build your next lightweight innovation together – contact HyperX Carbon now and stay ahead in the low-altitude and advanced composites market.