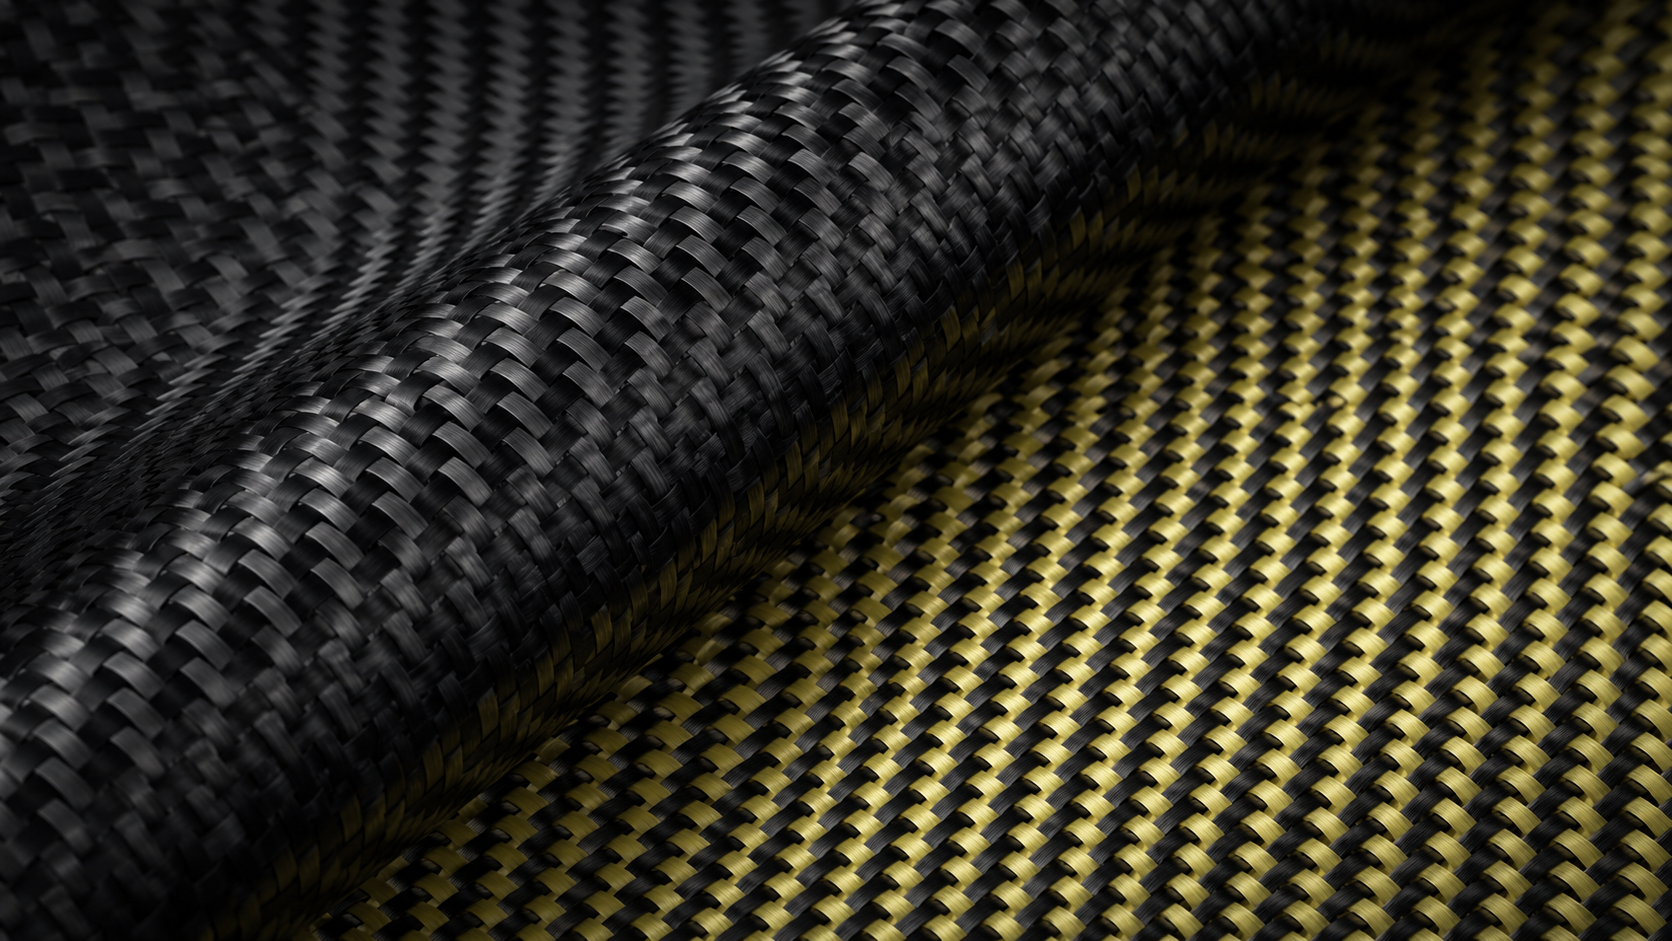
That carbon fiber hood in your garage wasn’t cheap. You might want to match it to your paint, fix a yellowing clear coat, or add a custom color without hiding that woven texture underneath. Either way, a rushed job can ruin it fast.
Here’s the good news: you can paint or clear coat a carbon fiber hood yourself. Done right, the finish looks just as clean as what comes out of a professional shop.
The difference between a flawless result and a peeling, fisheye-covered mess comes down to three things:
-
Proper surface preparation
-
The right materials
-
Understanding where carbon fiber acts differently than steel
This guide covers every step of that process.
Can You Paint or Clear Coat a Carbon Fiber Hood? (Key Facts First)
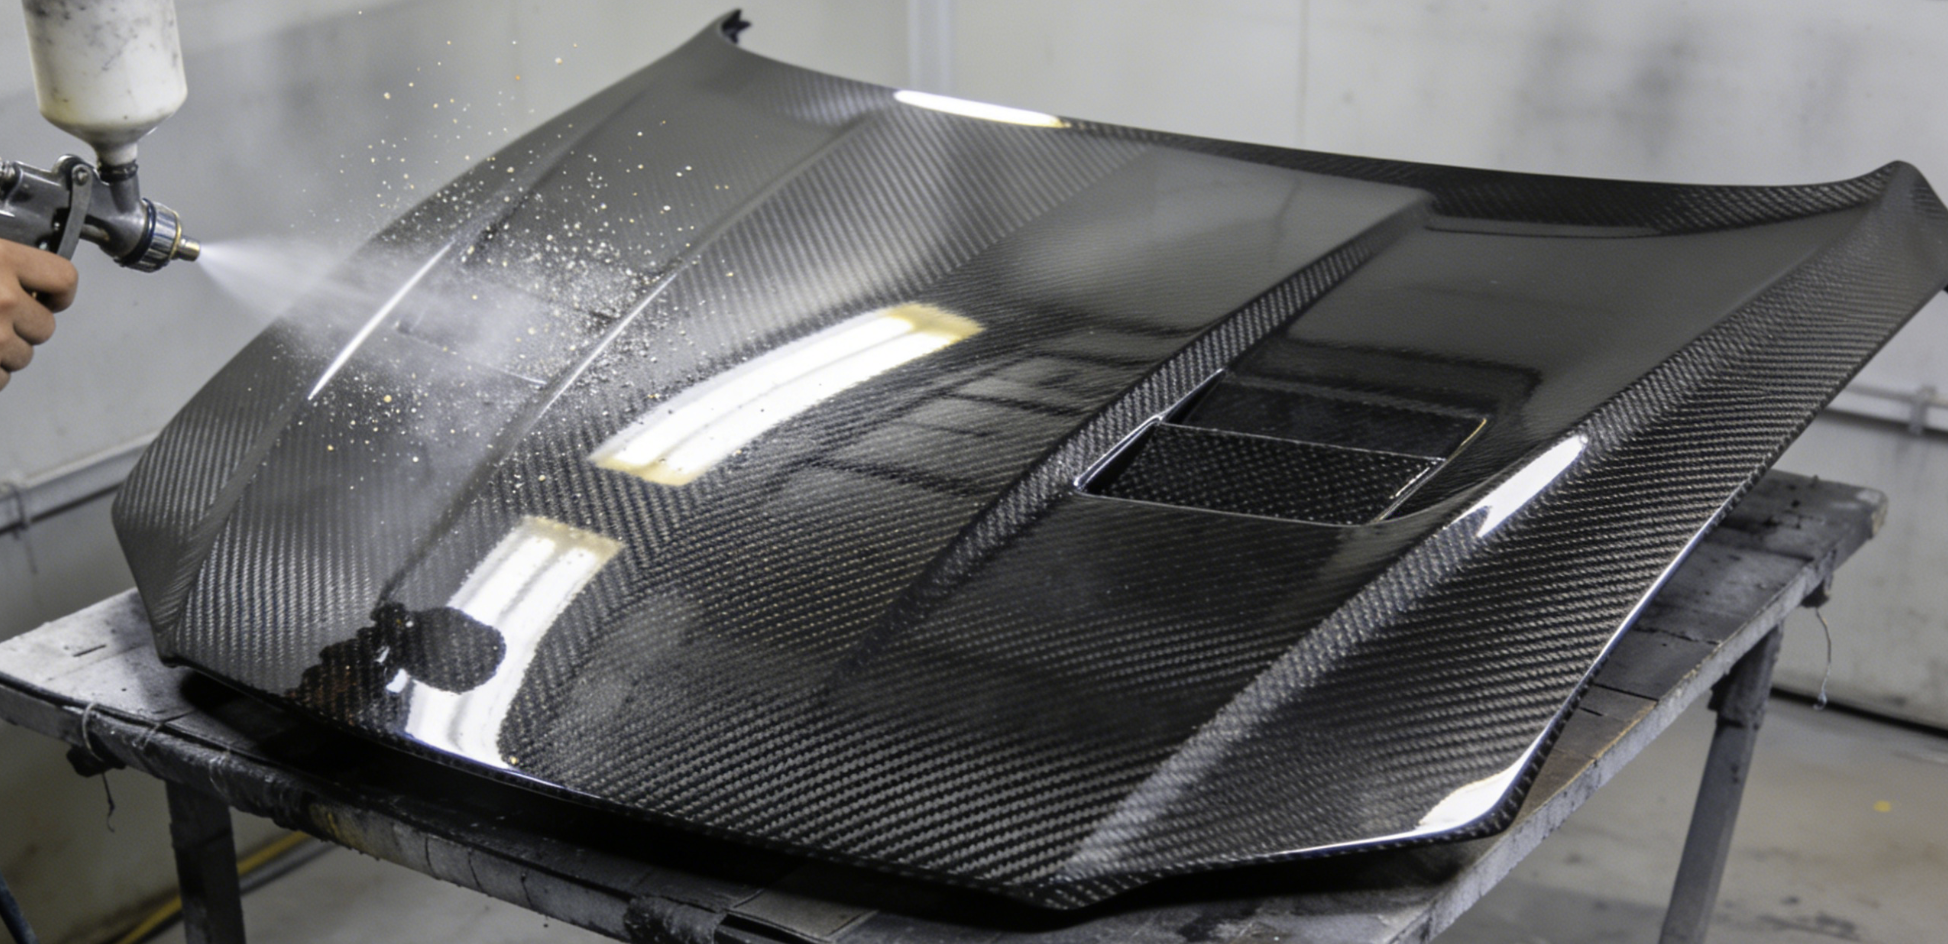
Carbon fiber behaves nothing like the steel it replaces — and that gap matters the moment you pick up a spray gun.
The resin beneath that woven surface is UV-sensitive and flexible. It expands at a different rate under engine heat. Use a rigid primer made for metal, and you’ll have cracks before the season ends.
Three finishing paths exist, each with a different outcome:
-
Solid paint — hides the weave, matches OEM bodywork
-
Tinted clear — keeps the weave visible with a color shift (think BMW M Performance ghost tint)
-
Clear coat only — protects and restores an existing finish without changing it
The material has one non-negotiable rule: epoxy-based primer or a composite adhesion promoter. Standard plastic or wood primers don’t bond to carbon fiber. They peel. On a hood worth $500 to $5,000+, that’s a costly mistake.
Nail the foundation, and the rest of the finish falls into place.
Full Paint vs. Clear Coat Only: Which Option Is Right for You?
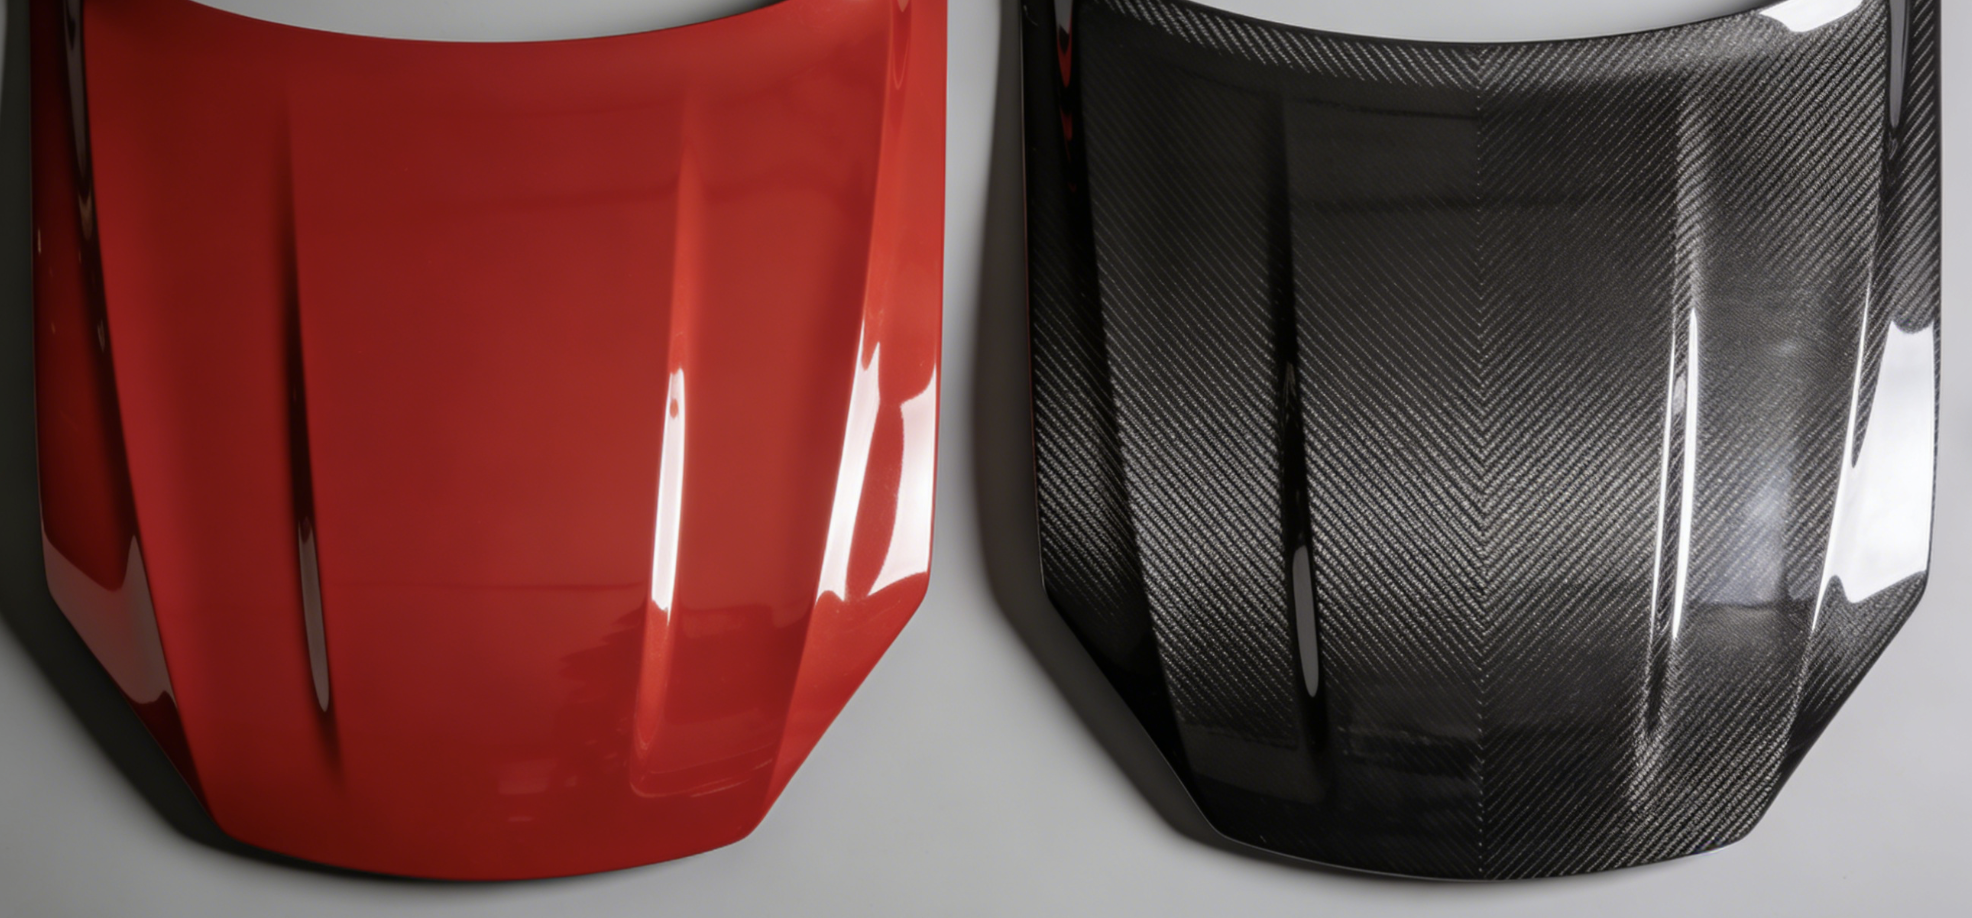
Two paths. Two different outcomes. The right one depends on what you want your hood to look like at the end.
Clear coat only keeps the carbon weave visible. You get UV protection and a fresh finish without touching the texture underneath. It’s the simpler job — fewer coats, no color matching, lower margin for error. Materials run around $270/gallon for a quality 2K clear with hardener.
Full paint covers the weave and matches your bodywork. Single-stage paint handles this well at $200/gallon — about 50% cheaper than a base-plus-clear setup. That setup can climb to $450+ in materials once you add activator and hardener.
Not ready to commit to either extreme? A third option exists: mask off the weave panels, spray paint the surrounding areas, then clear coat everything together. The texture stays where you want it. Color goes where you need it.
Here’s the quick breakdown:
|
Goal |
Best Option |
Approx. DIY Materials |
|---|---|---|
|
Protect texture, restore finish |
Clear coat only |
~$270/gal |
|
Match body color, hide weave |
Single-stage full paint |
~$200/gal |
|
Color + visible weave zones |
Hybrid mask method |
~$450 combined |
Professional shops charge $2,000–$5,000 for a mid-tier base-plus-clear job on a full vehicle. On a single hood, DIY cuts that number by a large margin — as long as the prep work is solid.
Tools and Materials You’ll Need (Complete Carbon Fiber Hood Paint Kit List)

Get this list wrong and the rest of the process fights you at every step.
Sanding supplies form the foundation of your kit:
-
500-grit discs for initial surface cutting
-
800-grit wet sandpaper for tight geometry
-
1500-grit and 3000-grit for final finishing passes
-
A disc sander with a soft interface pad (hard backing causes uneven pressure on curved panels)
-
A random orbit palm sander for flat sections
For primer and paint:
– 5L 2K epoxy-based filler primer
– UV-resistant clear coat — plan for 3–5 coats at 60μm dry film thickness
– A quality HVLP gun; the Devilbiss DV1 is the professional benchmark
Application essentials: mixing cups, wooden stir sticks, masking tape, and clean rags. Mix everything by weight — not by eye.
PPE is non-negotiable. Grab gloves, goggles, and a respirator rated for chemical fumes. No shortcuts here.
Most lists miss one item: Pai Cristal NW1 polishing compound. You’ll use it at the finish stage. It pulls out surface haze after the final clear coat cures.
Step 1: Surface Preparation — The Most Critical Step for Carbon Fiber Paint Adhesion
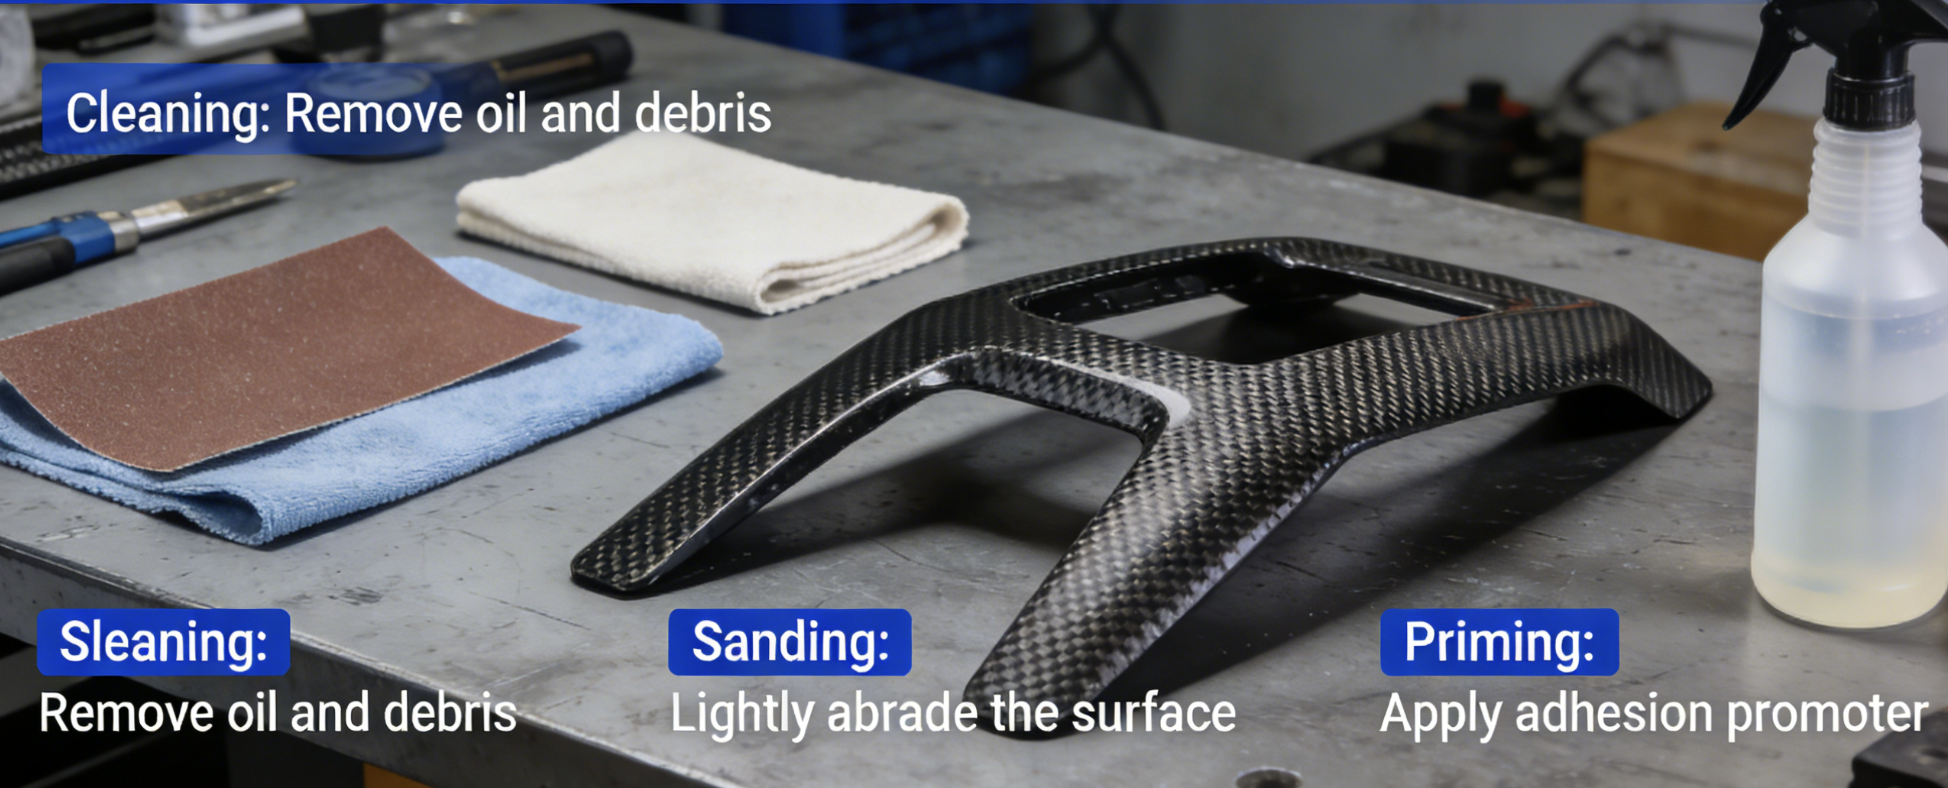
90% of carbon fiber paint failures come down to one thing: skipping the sanding step. Not bad clear coat. Not wrong primer. Just bare, unscuffed resin with nothing to grip onto.
The data is clear. Untreated carbon fiber panels drop to 0% adhesion retention after 1,000 hours of humidity exposure. Sanded panels hold at 85%, with an interfacial shear strength of 26.7 MPa — that’s a 164.8% improvement. The difference is all surface texture. Sanding pulls the contact angle down from 111.69° to 26.42°. That shift is what separates paint that sticks from paint that peels.
Here’s how to do it right.
Flat surfaces: Run a 500-grit disc sander with a soft interface pad attached. Hard backing puts uneven pressure on curved areas — the soft pad keeps contact consistent. Sand in circular motions, not straight lines. Circular patterns build uniform micro-roughness across the surface. This boosts adhesion by 20–30% over linear passes. It also cuts stress concentrations in the cured film.
Edges, vents, and tight geometry: Switch to 800-grit wet sandpaper with water. Tight spots need more control, not more force. For vents, use a Scotch-Brite pad in circular motions. Linear scratches in high-flex zones raise the clear coat cracking risk by 40%. Circular motion keeps the risk low.
Cleaning sequence (do not skip this order):
-
Wipe with degreaser using one-direction strokes — back-and-forth motion pushes contamination back onto the surface
-
Let the surface dry completely
-
Roll a tack cloth across the surface within 5–10 minutes of sanding — move it in one direction only
Dust and oil on the surface stay invisible until fisheyes show up under your clear coat. Clean it once. Clean it right.
Step 2: Applying Adhesion Promoter on Carbon Fiber Hood (Optional but Strongly Recommended)
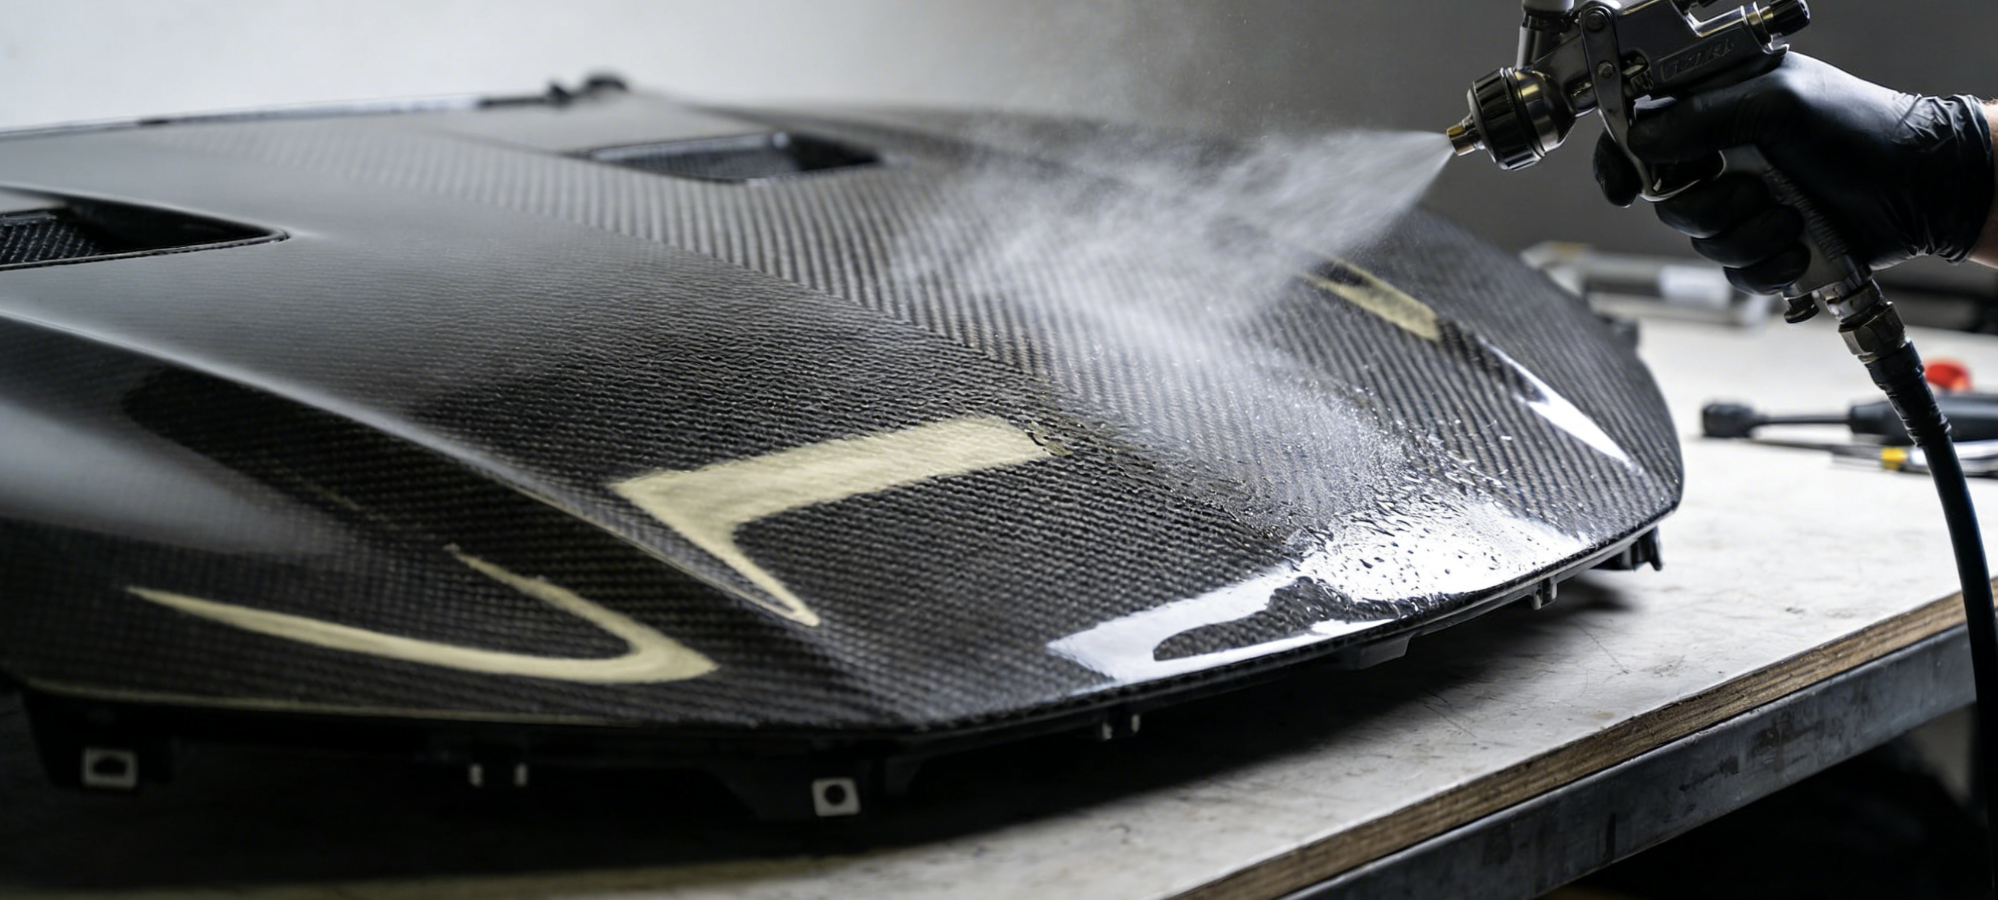
Carbon fiber has a surface energy problem. The resin is non-polar by nature — primer doesn’t grip it the same way it grips metal. Adhesion promoter fixes this by shifting the substrate’s polarity. Your primer gets a real surface to bond to.
Application is simple, but thin coats matter:
-
Spray 1–2 light, even passes across the full panel
-
Hit edges, vents, and openings first — these zones lose adhesion the quickest
-
Use fine line tape (3 mil) to mask vents before and after application
-
Wipe between coats with a tack cloth to pull micro-dust
Flash time: 30 minutes (Concept brand; check your TDS for others). Don’t rush it.
One hard rule: don’t over-apply. Too much promoter doesn’t improve adhesion — it kills it. Go too heavy? Let it dry out, sand it back, reclean the surface, and run the layer again from scratch.
After flash, move straight into your epoxy or urethane primer. That window closes faster than you’d expect.
Step 3: Masking Techniques for Exposed Carbon Fiber Pattern
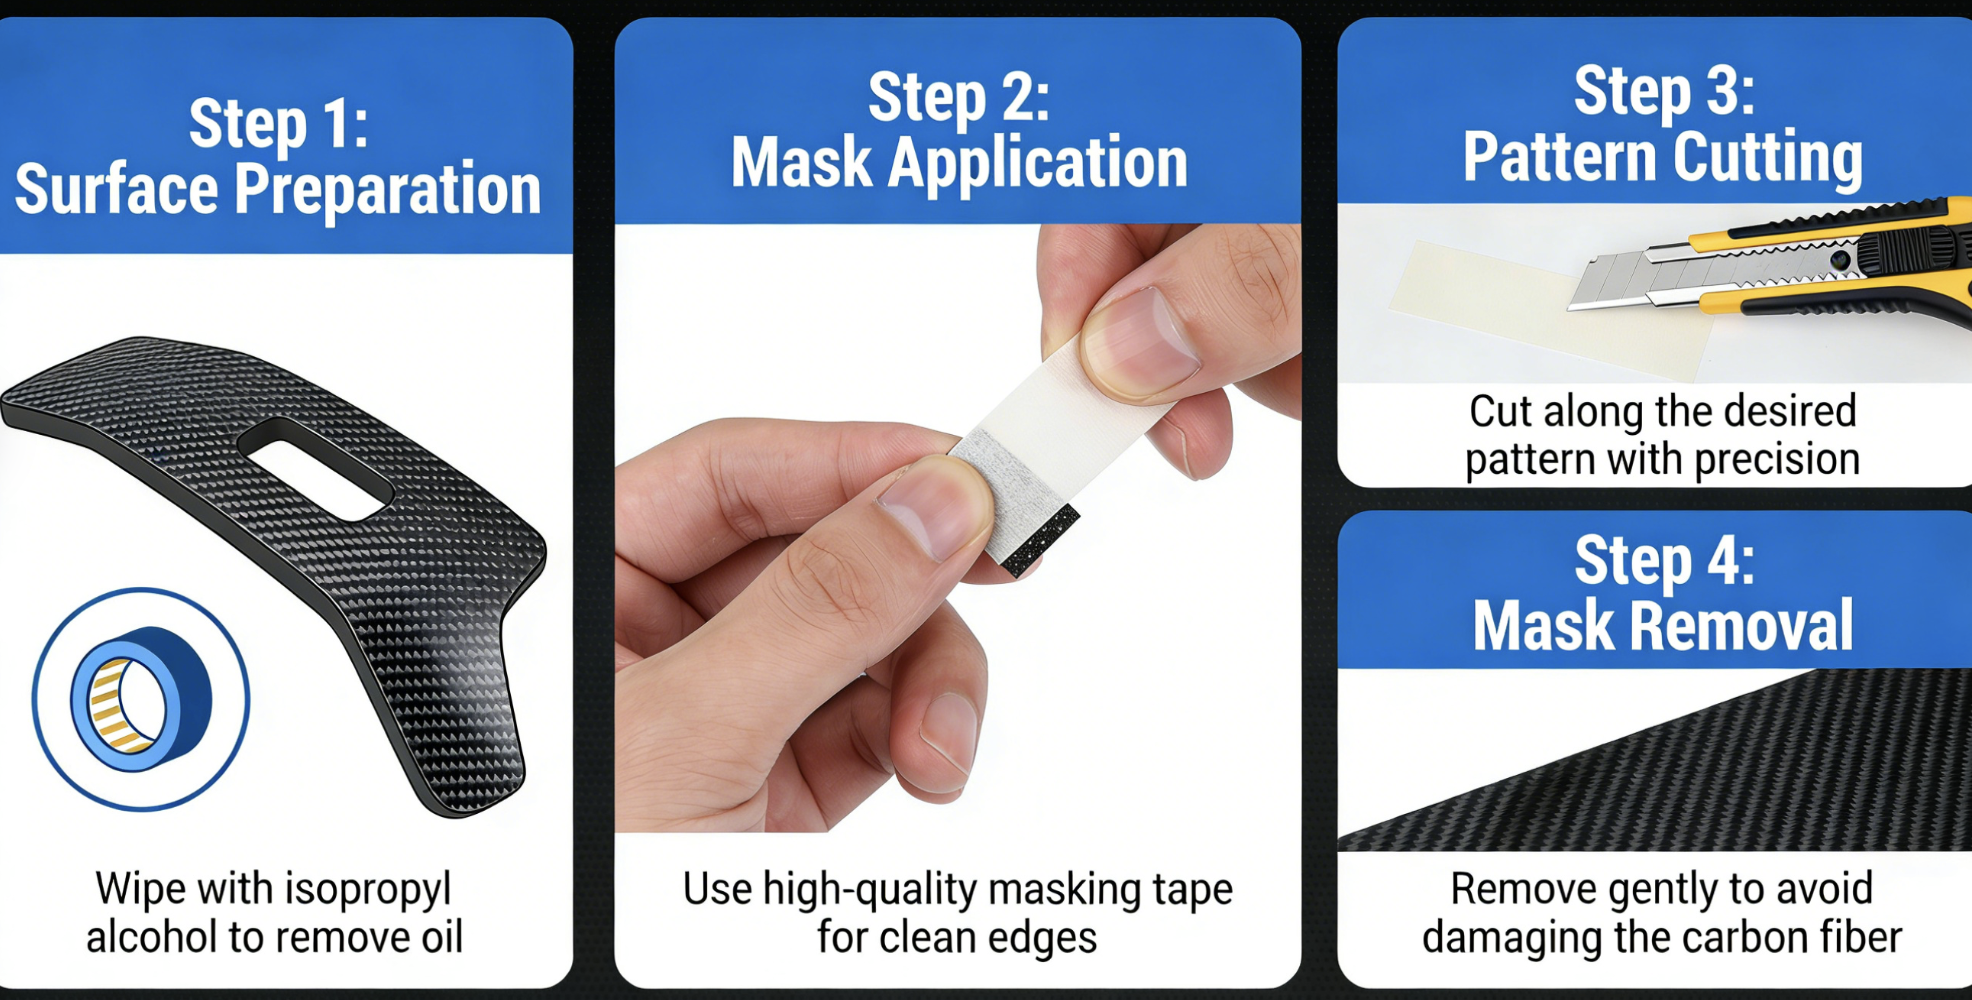
Masking is where most DIYers lose the carbon weave they were trying to protect in the first place.
The goal here is clean boundary lines — paint lands where you want it, the weave stays exposed where you don’t.
Start with fine line tape along ridges and vents. Use 1/4″–1/2″ blue painter’s tape. Press it hard into every edge. Loose tape lets paint bleed under. There’s no clean fix for that once the clear coat goes on.
For curves, make relief cuts every 1–2mm so the tape conforms without lifting. Gaps invite resin seep. Fill them with non-drying clay before you spray anything.
Tape removal timing matters. Pull blue painter’s tape at the epoxy tack-dry stage — about 1–2 hours in, before full cure. Pull too early and edges lift. Pull too late and the tape tears the surface.
Feather the boundary edge with a 0.5–1mm taper where carbon meets paint. Sharp lines catch the eye. A gradual transition disappears into the finish.
Step 4: Applying Base Coat on Carbon Fiber Hood

Environment controls the outcome before you ever pull the trigger. Keep your spray space at 20–25°C with 40–60% relative humidity. Above 70% RH, you get blushing and fisheyes. Below 30%, the paint dries mid-air and lands rough. No fancy booth? Hang plastic sheeting in your garage. Run a HEPA-filtered compressor. Put a dehumidifier in the corner. Dust causes defects in 80% of amateur paint jobs — a tack cloth pass every 15 minutes keeps that from being your problem.
Spray order matters more than most people realize. Start with edges and vents, not the flat panels. Hard-to-reach areas get thin, uneven coverage at the end. Hit them first — at 30 psi as a warm-up pass — and you get 20–30% better uniformity across the whole hood.
Once edges are done, move to the flat surfaces with these settings locked in:
-
Gun distance: 6–8 inches from surface
-
Travel speed: 12–18 inches per second
-
Overlap: 50% each pass
-
Pressure: 25–35 psi (1.3–1.4mm nozzle)
Thin coats win. Target 3–4 coats at 0.4–0.5 mils each, not two heavy wet ones. Flash 10 minutes between every coat — dropping to 5-minute flashes raises failure rates by 60%. Total dry film thickness should land at 1.5–2.0 mils.
To check coverage, hold a light at 45° and look for a uniform satin sheen with no stripe shadows or dry patches. A DFT gauge reading around 1.8 mils average (variance under 0.2 mils) confirms you’re ready to move forward.
Wait 30 minutes, then unmask and head straight into clear coat.
Step 5: Clear Coat Application — Protecting Your Carbon Fiber Hood from UV Damage
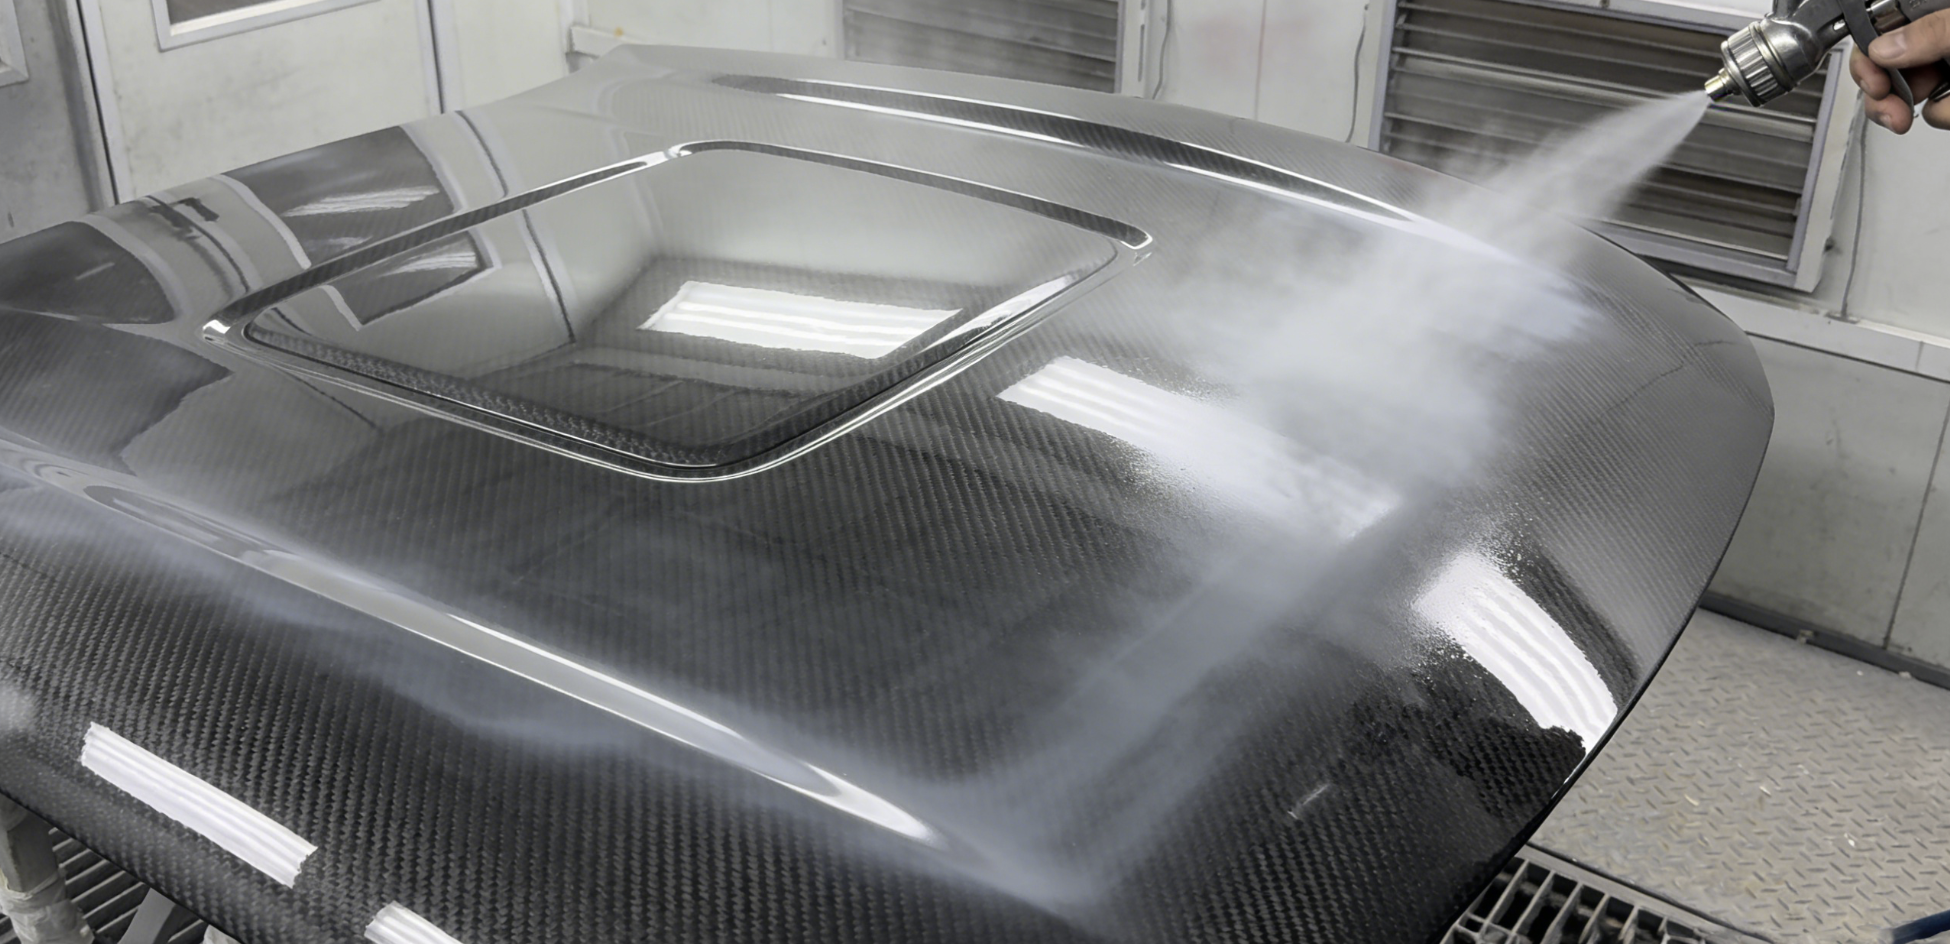
UV light is the slow killer of carbon fiber. Skip protection and the epoxy resin beneath that woven surface oxidizes — first yellowing, then clouding, then turning milky white. A clear coat with UV inhibitors stops that process cold.
This step is not optional. A hood with proper clear coat still looks sharp in three years. One without it gets stripped and redone.
How Many Coats You Need
The number depends on your goal:
-
2 coats — gives you a smooth, even surface. One can of SprayMax 2K Gloss (~$25) covers this with full wet coats.
-
3–4 heavy coats — the target for long-term durability and real UV protection depth.
Don’t stop at 2 coats. Go 3–4 if you want it to last.
Application Technique
Wet-sand the base coat with 600–800 grit before you spray. You’re scuffing for adhesion — not cutting material. Watch the surface close. Black residue showing up in the weave means you’ve gone too deep. Stop right there.
Spray settings:
– Nozzle distance: 6–8 inches from the surface
– Coat style: Full wet coats only — light, dry passes leave a matte, dusty finish that won’t buff out clean
– Pace: Don’t rush between passes. Runs form fast with 2K clear. Let each coat flash off before laying the next.
Wipe the surface with a tack cloth between every coat. Dust nibs trapped in the clear stay invisible until the final cure — and they’re a pain to fix once that happens.
Cover every exposed carbon area. Dry carbon fiber shrinks under the clear coat as it pulls moisture out. Spray right after sanding so the surface stays stable and the clear bonds tight.
One product worth the extra cost: House of Kolor Show Clear for high UV protection environments. For everyday builds, SprayMax 2K Gloss gets the job done at a fraction of the price.
Step 6: Wet Sanding and Polishing for a Mirror Finish
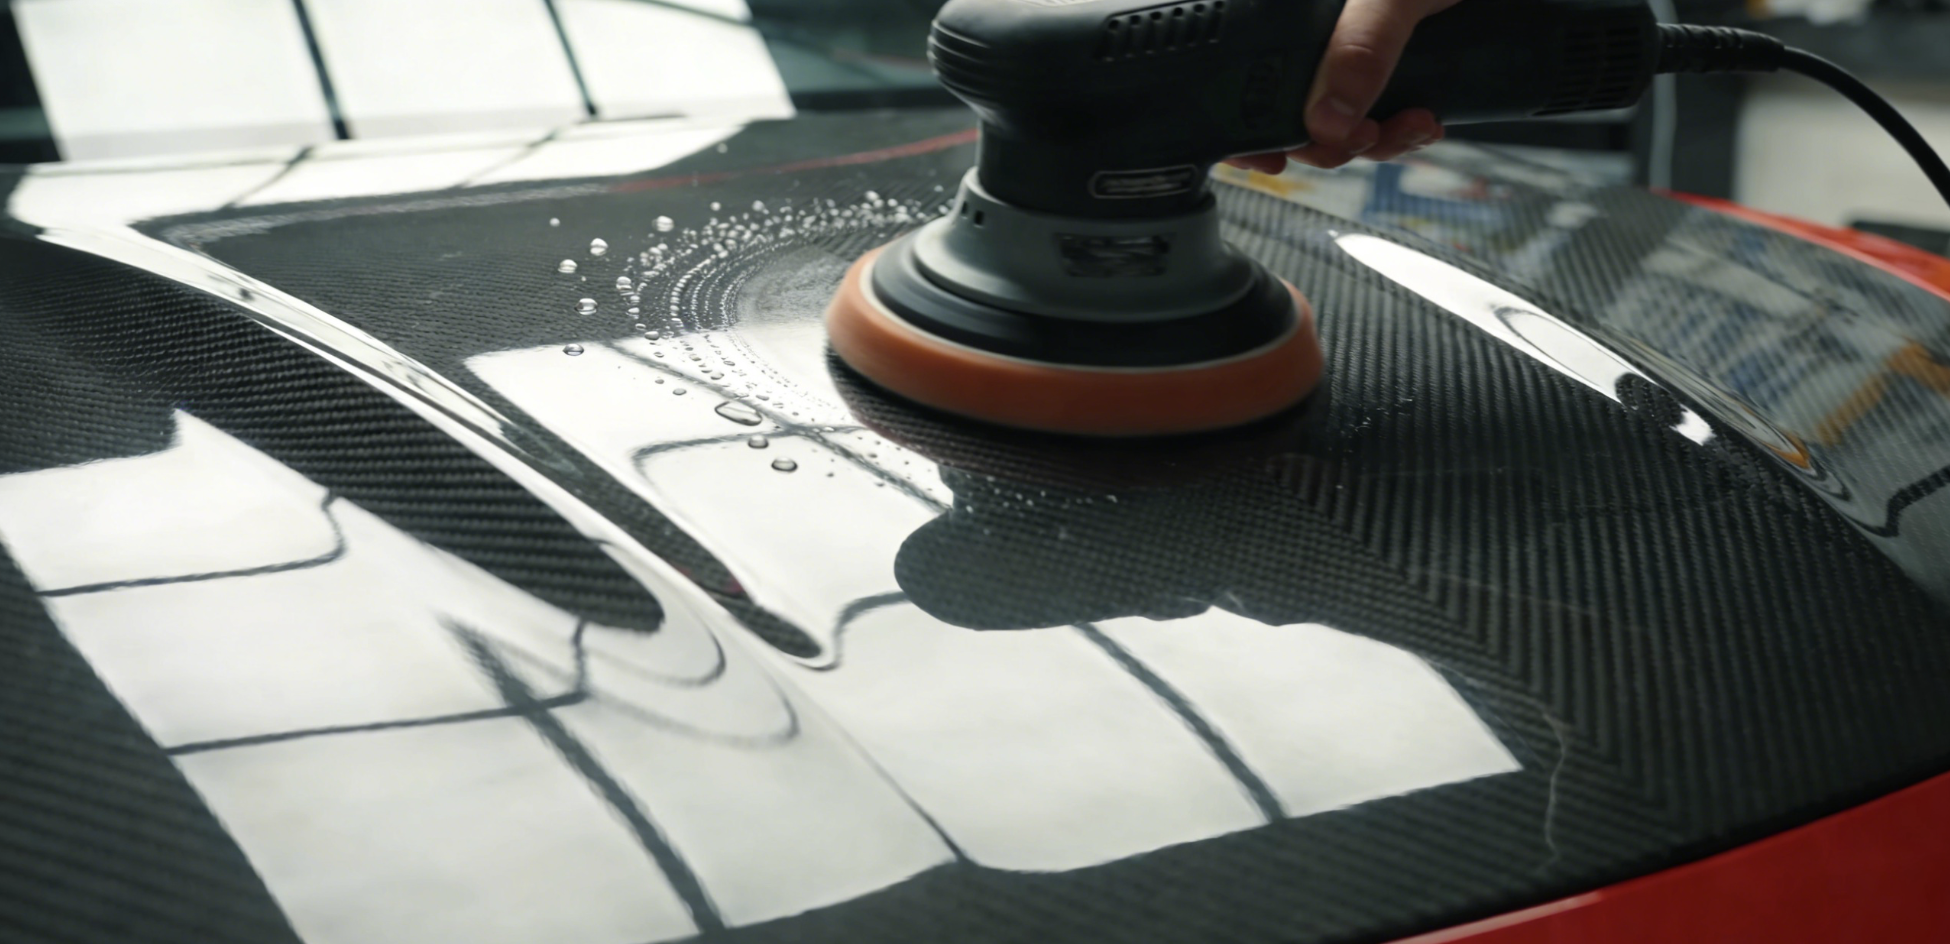
The clear coat is hard. Now the real finish work begins.
Wet sanding removes the orange peel texture and dust nibs trapped in your final clear coat layer. You want a surface so flat and even that light bounces off it in one clean, straight sheet — not scattered in a dozen directions.
Work through grits in order. Don’t skip steps.
Start at 1500-grit, move to 2000, finish at 3000. Sand in one direction. Rinse the surface between each grit change. Use plenty of water as lubricant and keep your pressure light and steady. At 3000-grit, you’re taking off almost no material. You’re cleaning up the scratch pattern, not cutting into the surface. One hard pass here and you’ll sand through to basecoat.
The fingernail test tells you when you’re done. Drag a nail across the surface. It catches — keep going. It glides — move to polish.
Polishing runs three stages:
-
Coarse (9μ diamond compound): Removes 3000-grit scratches. Use a machine buffer at 3,000 RPM max with light pressure. Let the pad do the work.
-
Mid (6μ compound): Change direction 90° from your coarse pass. That cross-pattern picks up scratches the first stage left behind.
-
Fine (3μ compound + polishing cloth): This is where the mirror appears. Finish with white polishing rouge on a loose single-stitched buff. Keep pressure low. Use slow, overlapping passes.
Use a pea-sized amount of compound per section — more product doesn’t mean better results. It means more cleanup and smeared residue in the weave.
Check your work in two light conditions:
-
Natural daylight for haze and distortion
-
A strong direct light held at 45° for scratch uniformity
A sharp, clean reflection means you’re done. Any remaining haze means another pass with 3μ compound.
Finish clean: warm soapy water, then chamois dry. Skip the terry cloth — it leaves micro-scratches in the finish you just spent an hour building.
Common Mistakes to Avoid When Painting Carbon Fiber Hoods
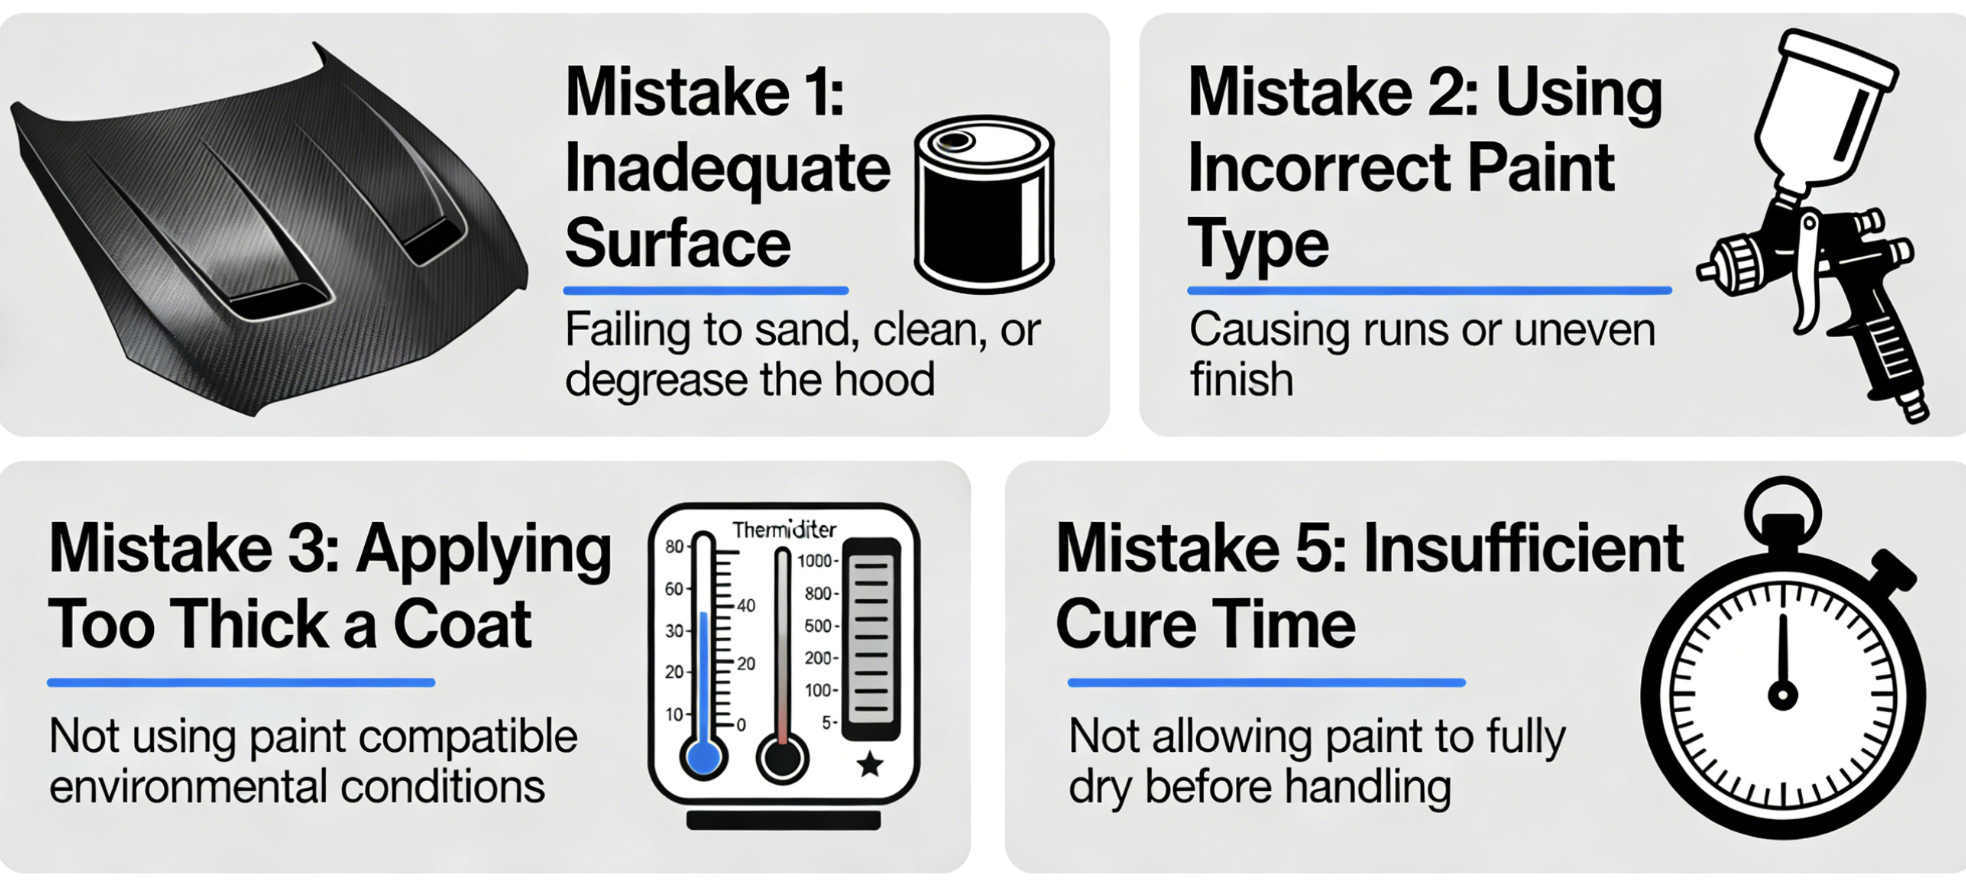
Most ruined carbon fiber hoods don’t fail at the spray stage. They fail three steps earlier — while the painter was rushing and never stopped to check.
Skipping primer or sanding is the fastest way to waste a hood. Carbon’s porous surface traps air voids. Paint over that, and delamination starts within weeks — not years. The fix: two coats of primer, sand, inspect, then add one or two more before your topcoat.
Skipping the tack cloth is the second most common error. Carbon’s woven texture collects dust and stray brush hairs. Those particles embed in wet paint and leave pinholes. Use rollers or squeegees instead of brushes. Wipe with a tack cloth before every single coat.
Going too thick on primer or clear coat causes its own problems. More than three or four primer coats traps voids and creates bubbles along the hood’s curves. Use thin coats through an HVLP gun — not heavy flooding passes.
Wrong solvent or no adhesion promoter brings oxidation back in one to two weeks after polishing. Carbon fiber has no oxide layer like metal does. Without a promoter, paint has nothing real to bond to. It peels. It flakes. And there’s no shortcut around it.
Temperature and humidity off by even a little leaves tacky resin that won’t cure. Target 70°F and 50% relative humidity. Mix your resin at the exact specified ratio — 3:1 or 4:1 depending on your system. Time each stage to the spec sheet, not by feel.
One thing carbon fiber doesn’t need that metal does: body filler. Skip it. Scuff the surface to preserve the weave — a light pass is all it takes. UV-resistant clear coat is mandatory. Without it, yellowing isn’t a risk. It’s a schedule.
FAQ: Carbon Fiber Hood Paint and Clear Coat Questions Answered
These questions come up every time someone picks up a spray can for the first time and stares at a $1,500 hood.
Can you paint directly onto carbon fiber without prep?
No. Clean the surface first. Then scuff it with 400-grit sandpaper and apply primer. Paint needs all three steps to bond. Skip any one of them and you’ll see fisheyes and peeling within weeks.
Will paint hide the carbon weave?
Solid basecoat? Yes — the weave disappears under full coverage. Tinted or gloss clear coat? The texture stays visible and pops harder under the gloss layer. Two to four thin coats at 6–8 inches keeps that look intact.
How long does clear coat last?
A quality 2K urethane clear with UV inhibitors holds for 5+ years. Full cure hits at 24 hours (at 20°C). Got surface scratches? Repolish them out. Minor damage doesn’t call for a full recoat.
What’s the real DIY cost?
– SprayMax 2K clear: ~$25/can (1–2 cans per hood)
– Basecoat and reducer: $50–$100
– Sandpaper and clay bar: ~$20
– Total: $100–$200
Spray gun rental runs $20/day if you don’t own one.
Hood turning yellow? Here’s the fix:
Wet-sand the faded area. Start at 1500 grit and work up to 3000. Wipe the surface clean. Then lay down 2–3 coats of UV-stable 2K clear — FANTOM CX or House of Kolor Show Clear both do the job well. Test a small section first before you commit to the full panel.
Conclusion
Here’s the truth about painting a carbon fiber hood: the process isn’t complicated — but it punishes shortcuts hard.
Nail your surface prep. Respect the sanding grits. Apply your clear coat in thin, deliberate layers. Do those three things right, and you’ll walk away with a finish that rivals professional bodywork at a fraction of the cost. Skip any of them, and you’re staring at peeling paint on a very expensive piece of carbon fiber.
Laying down a full color coat to match your build? Or refreshing a failing UV clear coat to protect that signature weave? Either way, the steps in this guide give you everything you need to get it right the first time.
Ready to put it into practice? Grab your materials, work in a clean space, and take it one coat at a time.
Still hunting for a high-quality carbon fiber hood worth protecting? Explore HyperX Carbon’s lineup here.
Contact HyperX Carbon – Your Trusted Chinese Carbon Fiber Partner
Ready to source high-performance carbon fiber materials or custom forged carbon fiber parts from China?
HyperX Carbon is a leading manufacturer with 20+ years of expertise, specializing in aerospace-grade forged carbon fiber, prepreg, carbon fiber tube, carbon fiber sheet, and lightweight carbon fiber automotive parts/carbon fiber drone components/carbon fiber medical components. We offer:
-
Stable supply chain with premium raw materials (Toray, Mitsubishi, Hengshen)
-
AS9100D certified production for aerospace & UAV applications
-
Rapid prototyping (5-8 weeks) and monthly capacity exceeding 180,000 parts
-
Competitive pricing with 15-18% cost savings on forged carbon solutions
-
Full customization: from T700/T1100G to ultra-high modulus grades
Whether you’re an eVTOL developer, automotive OEM, drone manufacturer, or medical device engineer, HyperX delivers consistent quality, batch-to-batch reliability, and reliable delivery.
Get in touch today for a free consultation, custom quote, or material sample.
📧 Email: [email protected]
🌐 Website: https://www.hyperxcarbon.com/
📞 Phone/WhatsApp: +86 15623270276 (English support available)
Let’s build your next lightweight innovation together – contact HyperX Carbon now and stay ahead in the low-altitude and advanced composites market.