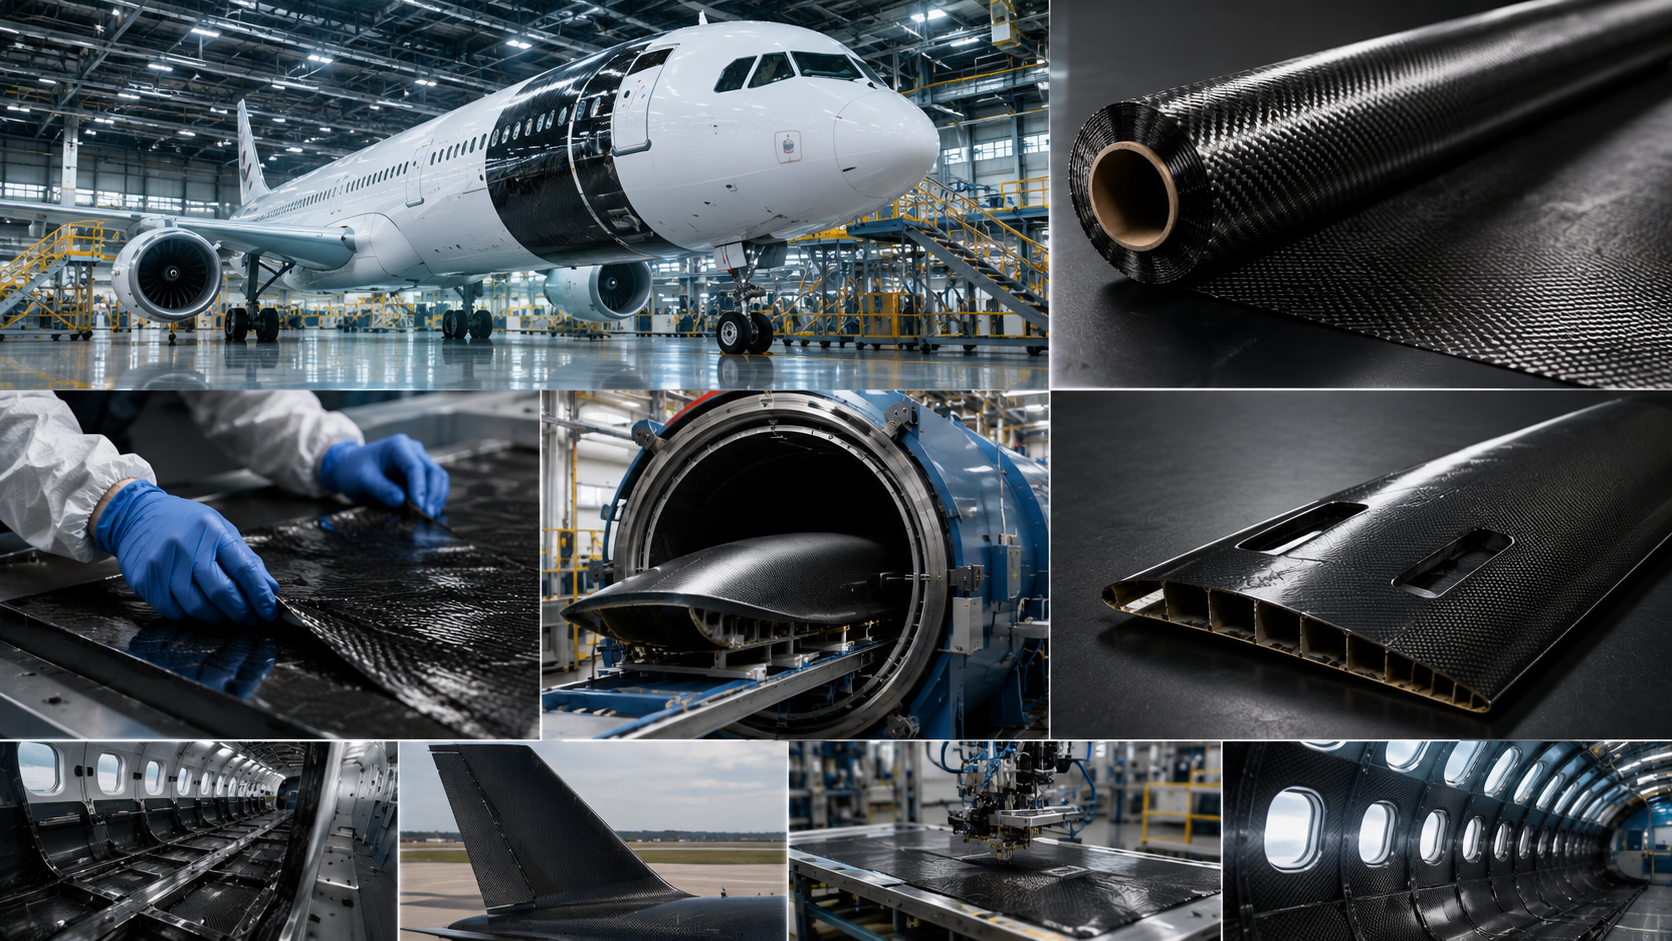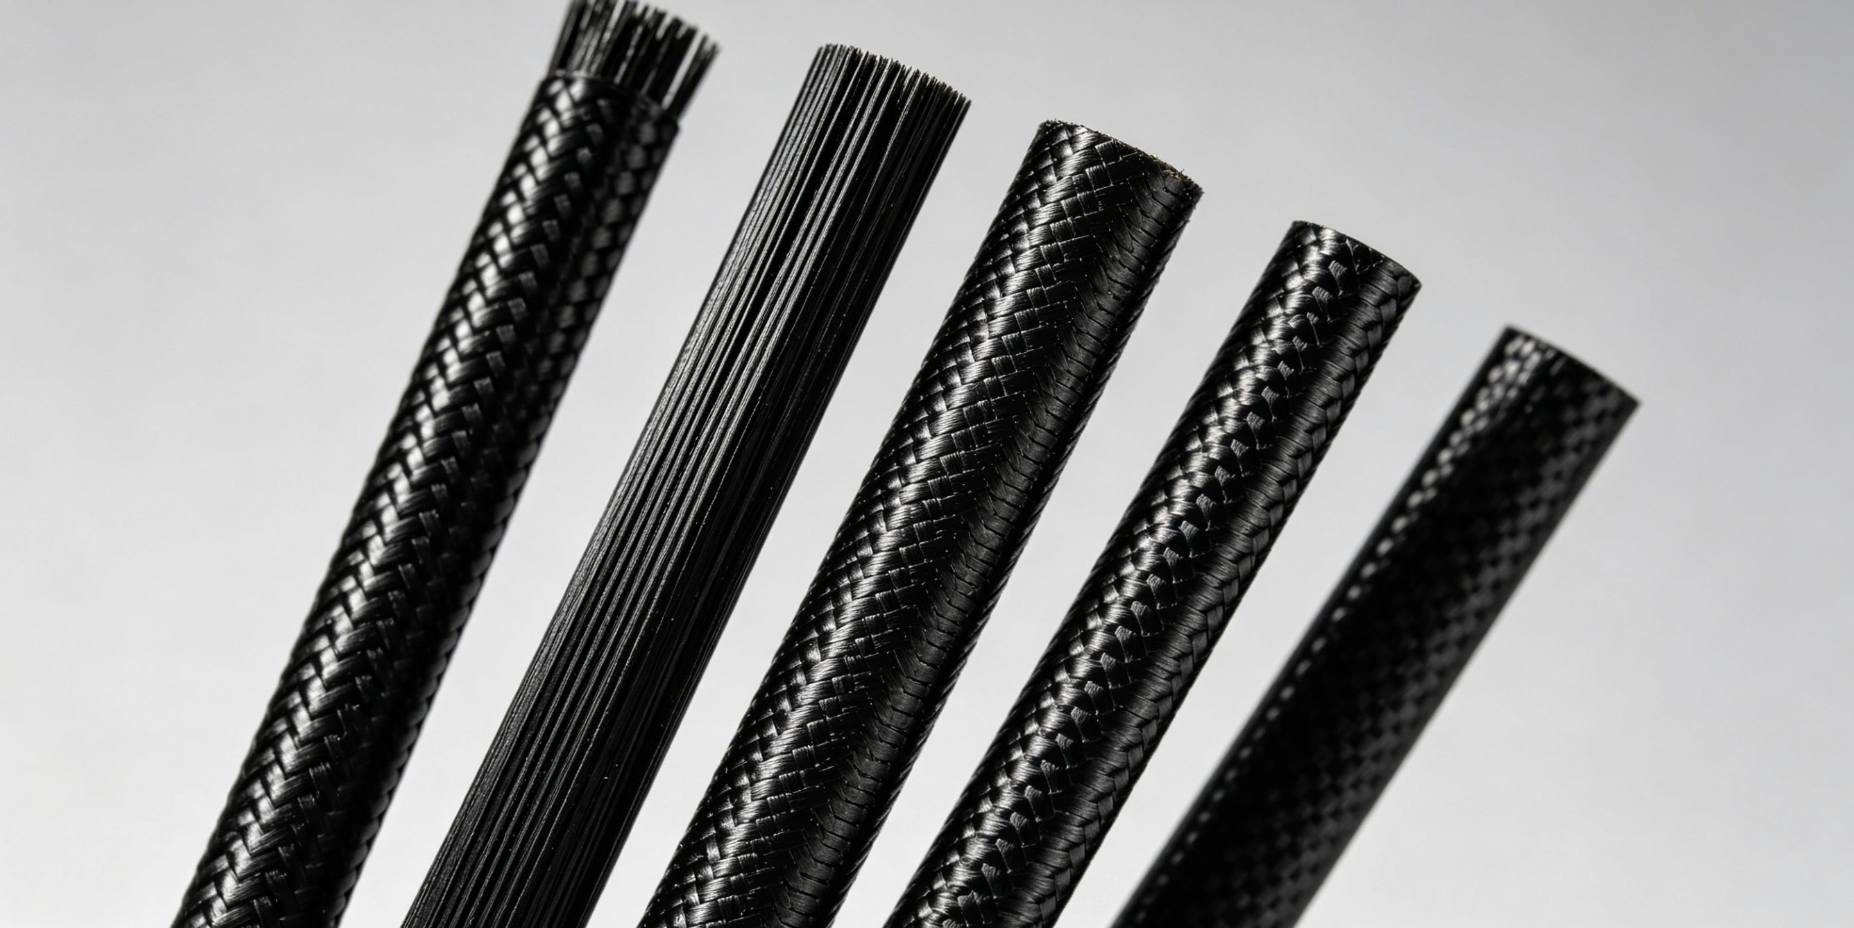
Carbon fiber parts that used to cost thousands of dollars from specialty shops? You can mold them yourself — and do it better than you think.
Shaping a front splitter for a track car. Fabricating a drone frame. Building a one-off aerospace component. All of these are more within reach than most of the industry lets on.
The catch: getting it right means understanding why each step exists. Not just following instructions without thinking. There’s a big difference between copying steps and knowing what those steps are doing.
This guide covers every stage of the process. You’ll start by picking the right woven fabric and mixing your epoxy resin. Then you’ll work through each layer, cure the part, and pull a clean finished piece from the mold. By the end, you’ll have the knowledge to go build something real.
What Is Carbon Fiber Molding and Why It Matters (Core Concepts)

Carbon fiber molding is a manufacturing process. It combines woven carbon fiber fabric with resin inside a shaped mold. Heat cures everything into one rigid, structural part.
The result is a component with a strength-to-weight ratio that metal can’t match.
Here’s what happens at the material level. Resin saturates each fiber layer. It bonds the plies together. Heat locks the geometry in place. The mold controls the shape. The fiber carries the load. The resin holds it all together.
Five core methods drive almost every carbon fiber part in production today:
-
Hand layup — low equipment cost, accessible entry point
-
Vacuum infusion — cleaner resin distribution, better void control
-
Prepreg + autoclave — aerospace-grade consolidation under heat and pressure
-
Compression molding — fast cycle times, high repeatability
-
Resin Transfer Molding (RTM) — ideal for complex geometries at volume
Each method serves a different use case. Pick the wrong one and you waste material, time, and money.
Why does this matter for you? Custom molded carbon parts outperform off-the-shelf alternatives. You control fiber orientation, ply count, and geometry. Those three variables decide real-world performance — and that’s where the advantage is.
Carbon Fiber Molding Methods Compared: Which Process Is Right for You

Five processes. Very different costs, skill levels, and output quality. Pick the wrong one and you don’t just slow down — you burn money and trash parts.
Here’s how they compare.
|
Process |
Ease (1-10) |
Cost Efficiency |
Finished Quality |
|---|---|---|---|
|
Wet Layup |
9 |
8 |
4 |
|
Vacuum Bagging |
7 |
7 |
8 |
|
Resin Infusion |
5 |
6 |
9 |
|
Compression Molding |
4 |
9 |
10 |
Match the Process to Your Current Level
Starting out? Wet layup is the right call. You brush on resin by hand. No vacuum equipment needed. Total entry cost sits around $350–$850. The quality ceiling is low — expect a softer surface and less structural strength. But you’ll get real hands-on feel for how carbon fiber behaves. That’s worth a lot early on.
Quality is the priority? Step up to vacuum bagging or resin infusion. Negative pressure pulls resin through the fiber stack. This cuts voids and pushes strength-to-weight ratios into a stronger category. Budget $600–$1,350 for vacuum bagging. Resin infusion runs $1,850–$2,600. It needs precise pressure control, but you get close to full, even resin coverage with very little waste.
Running volume? Compression molding changes the numbers. Cycle times drop below 10 minutes at 150 bar. Steel tooling costs hit $10,200–$32,500 upfront. Past 1,000 units, the per-part economics make that cost easy to justify.
One number worth keeping in mind: RTM and infusion processes use just 0.67 kg of carbon fiber per part. Prepreg autoclave methods use 1.10 kg. That’s a 39% drop in fiber use — a real cut in material cost and environmental impact.
Tools and Materials You Need Before You Start

Bad materials don’t lie. They show up in every bubble, every dry spot, every part that cracks on the first stress cycle. Before you touch a single sheet of carbon fiber fabric, get the right stuff on the table.
Carbon Fiber Fabric
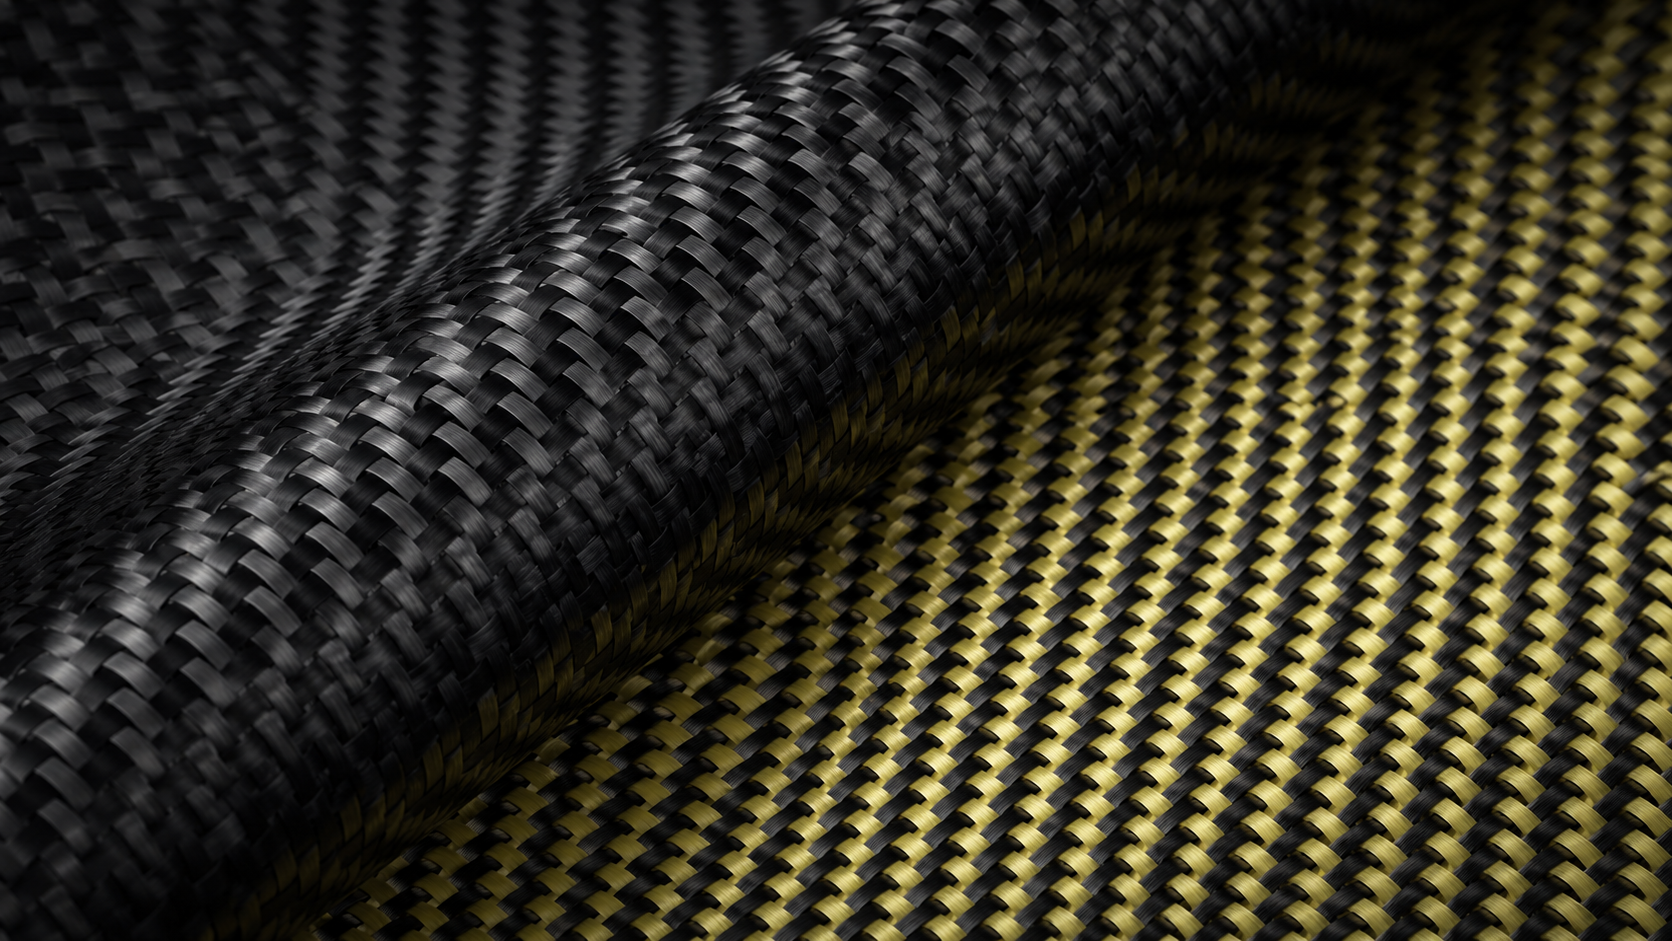
Start with a 3K 2×2 twill weave — it’s the workhorse of the molding world. It’s balanced, easy to shape, and lays into tight corners without a fight. For structural builds, a plain weave gives better mechanical stiffness. Unidirectional fabric is what you want when load needs to travel in one specific direction.
Resin System
A low-viscosity epoxy resin is the standard choice for wet layup and infusion work. Mix ratio matters more than most beginners expect. The target is 100:30 by weight (resin:hardener). Get this wrong and the part won’t cure all the way through. No amount of heat fixes a bad mix.
Mold Release Agent
Three coats minimum. Paste wax, PVA film, or a semi-permanent chemical release agent — each one fits a different situation. Your choice depends on the mold material and how many pulls you’re planning to run.
Supporting Materials
-
Peel ply — leaves a bondable surface texture
-
Vacuum bagging film + breather cloth — for infusion and bagging setups
-
Consumable mixing cups, brushes, rollers — budget for waste here
Safety Gear
Epoxy is a sensitizer. Nitrile gloves, safety glasses, and a respirator rated for organic vapors are not optional. They’re what keep you healthy and working long-term. Skip them once, and you risk building a sensitivity that ends your composites work for good.
Step 1 — Build or Select Your Master Pattern

The master pattern is the physical truth your mold is built from. Get it wrong here, and every part you pull inherits that mistake — for good.
Your pattern sets the exact shape of the finished carbon fiber component. Every scratch, every uneven surface, every soft edge goes straight into the mold cavity. So surface quality on the master isn’t a finishing detail. It’s the starting point for everything that follows.
Three materials work well for most builds:
-
EPS or PU foam — fast to shape, lightweight, good for testing geometry in the early stages
-
MDF — holds its dimensions well, cuts clean, sands without trouble
-
3D-printed thermoplastics (ABS, PC, ULTEM) — best for complex shapes, prints in under 24 hours, beats machined metal when you need to fix errors fast
Working from an existing part? Reverse molding works fine. Just measure for shrinkage before you lock in the geometry.
Sand the master surface to the best finish you can get. Then move on to the mold.
Step 2 — Construct the Carbon Fiber Mold (Tooling Mold)

The mold is not a container. It’s a precision instrument. Every surface, every edge, every tolerance on your finished part comes directly from this mold.
Start with your release agent. On a new pattern, six coats minimum. Space each coat 15 minutes apart. Let the final coat cure a full hour before any fiber goes down. Use a fresh lint-free cloth for every single application. One contaminated wipe from a prior cure cycle bonds your mold straight to your pattern. No fixing that.
The first coat carries specific weight: target 500 g/m², building up to 0.5mm thick. Let it reach B-stage — tacky but firm, not dry. That takes around five hours at 20°C. Too hard, and the next coat won’t bond. Too soft, and you’ve got a mess.
Once release is set, cut your carbon fiber fabric at 45° to the weave direction. This angle lets the material conform to curves and compound surfaces without resistance. Keep overlaps tight. Cut clean to reduce waste.
Then build your laminate stack:
-
Peel ply over the final carbon layer
-
Perforated release film on top
-
Breather cloth above that
-
Vacuum bag sealed over everything
Pull partial vacuum first. Let the film settle into corners before going full pressure. Hold full vacuum for 10 minutes as a leak test — any pressure loss tells you there’s a problem now, not after cure.
Full cure runs 12–24 hours, depending on temperature. Don’t rush it.
Step 3 — Cut and Prepare Carbon Fiber Fabric
Bad cuts in carbon fiber don’t warn you first. The sheet splinters, frays, and wastes real money before you’ve laid a single ply.
The rule that saves most beginners: match your tool to the thickness. For fabric at 0.5mm or under, a sharp razor blade or dedicated composites scissors gets the job done. Go thicker than that, and you need power tools. A jigsaw with a tungsten carbide blade handles curves well. An angle grinder is faster on straight lines — just respect the speed, because it has zero tolerance for mistakes.
For precision work, a CNC router with a 1/8″ solid carbide downcut bit is the standard choice. It runs at 10,000 RPM with feed rates between 60–75 inches per minute, adjusted by sheet thickness. This setup removes human error from the equation.
Two habits that protect every cut, no matter what tool you use:
-
Always cut wide of your marked line — leave extra material, then sand back to a clean edge
-
Support the sheet on wood or dense foam so the cut piece drops free rather than folding under
After cutting, run fine-grit sandpaper or a file along every edge. Then wipe the exposed fiber ends with a thin coat of epoxy. Skipping this step is a real problem — bare edges pull in moisture and break down the laminate from the inside out.
Step 4 — Apply Resin and Lay Up Carbon Fiber (Wet Layup Process)
The clock starts the moment you mix resin and hardener. You have about two hours before the mixture becomes unusable. Everything in this step happens inside that window.
Work in sequence: brush, roller, squeegee. Not in random order — that exact order. Brush the epoxy onto the dry ply first. The roller comes next. It presses out trapped air and drives resin through the weave. Then the squeegee finishes the pass. It spreads the mix flat and removes any excess.
The visual standard is specific. A well-saturated ply looks shiny and uniform — no white dry patches, no glossy puddles on the surface. The fiber turns translucent. That’s your sign that resin has gone all the way through.
Layer-by-Layer Procedure
-
Place the first dry carbon ply into the mold
-
Apply resin with a brush — work from center outward
-
Roll out bubbles right away; don’t let them sit
-
Squeegee off the excess before laying the next ply
-
Repeat for each layer — three plies is the standard baseline
-
Apply a final resin coat to the negative mold half before closing
Resin Ratio: Where Most Beginners Lose
Target 60% fiber to 40% resin by volume. Wet layup tends to run heavy — many first builds land at 50:50 or worse. That extra resin doesn’t add strength. It adds weight and creates voids.
Use the double-pot method to extend working time. Split your total mix across two separate containers. Pull from the second container only after the first is fully used. This keeps heat from building up inside the mix. Heat speeds up the cure and cuts into your working window.
Vacuum bagging after layup pulls out leftover air and excess resin at the same time. This pushes your fiber volume fraction into the 40–60% range. That’s where you see real strength-to-weight performance.
Step 5 — Vacuum Bagging for Superior Strength and Finish
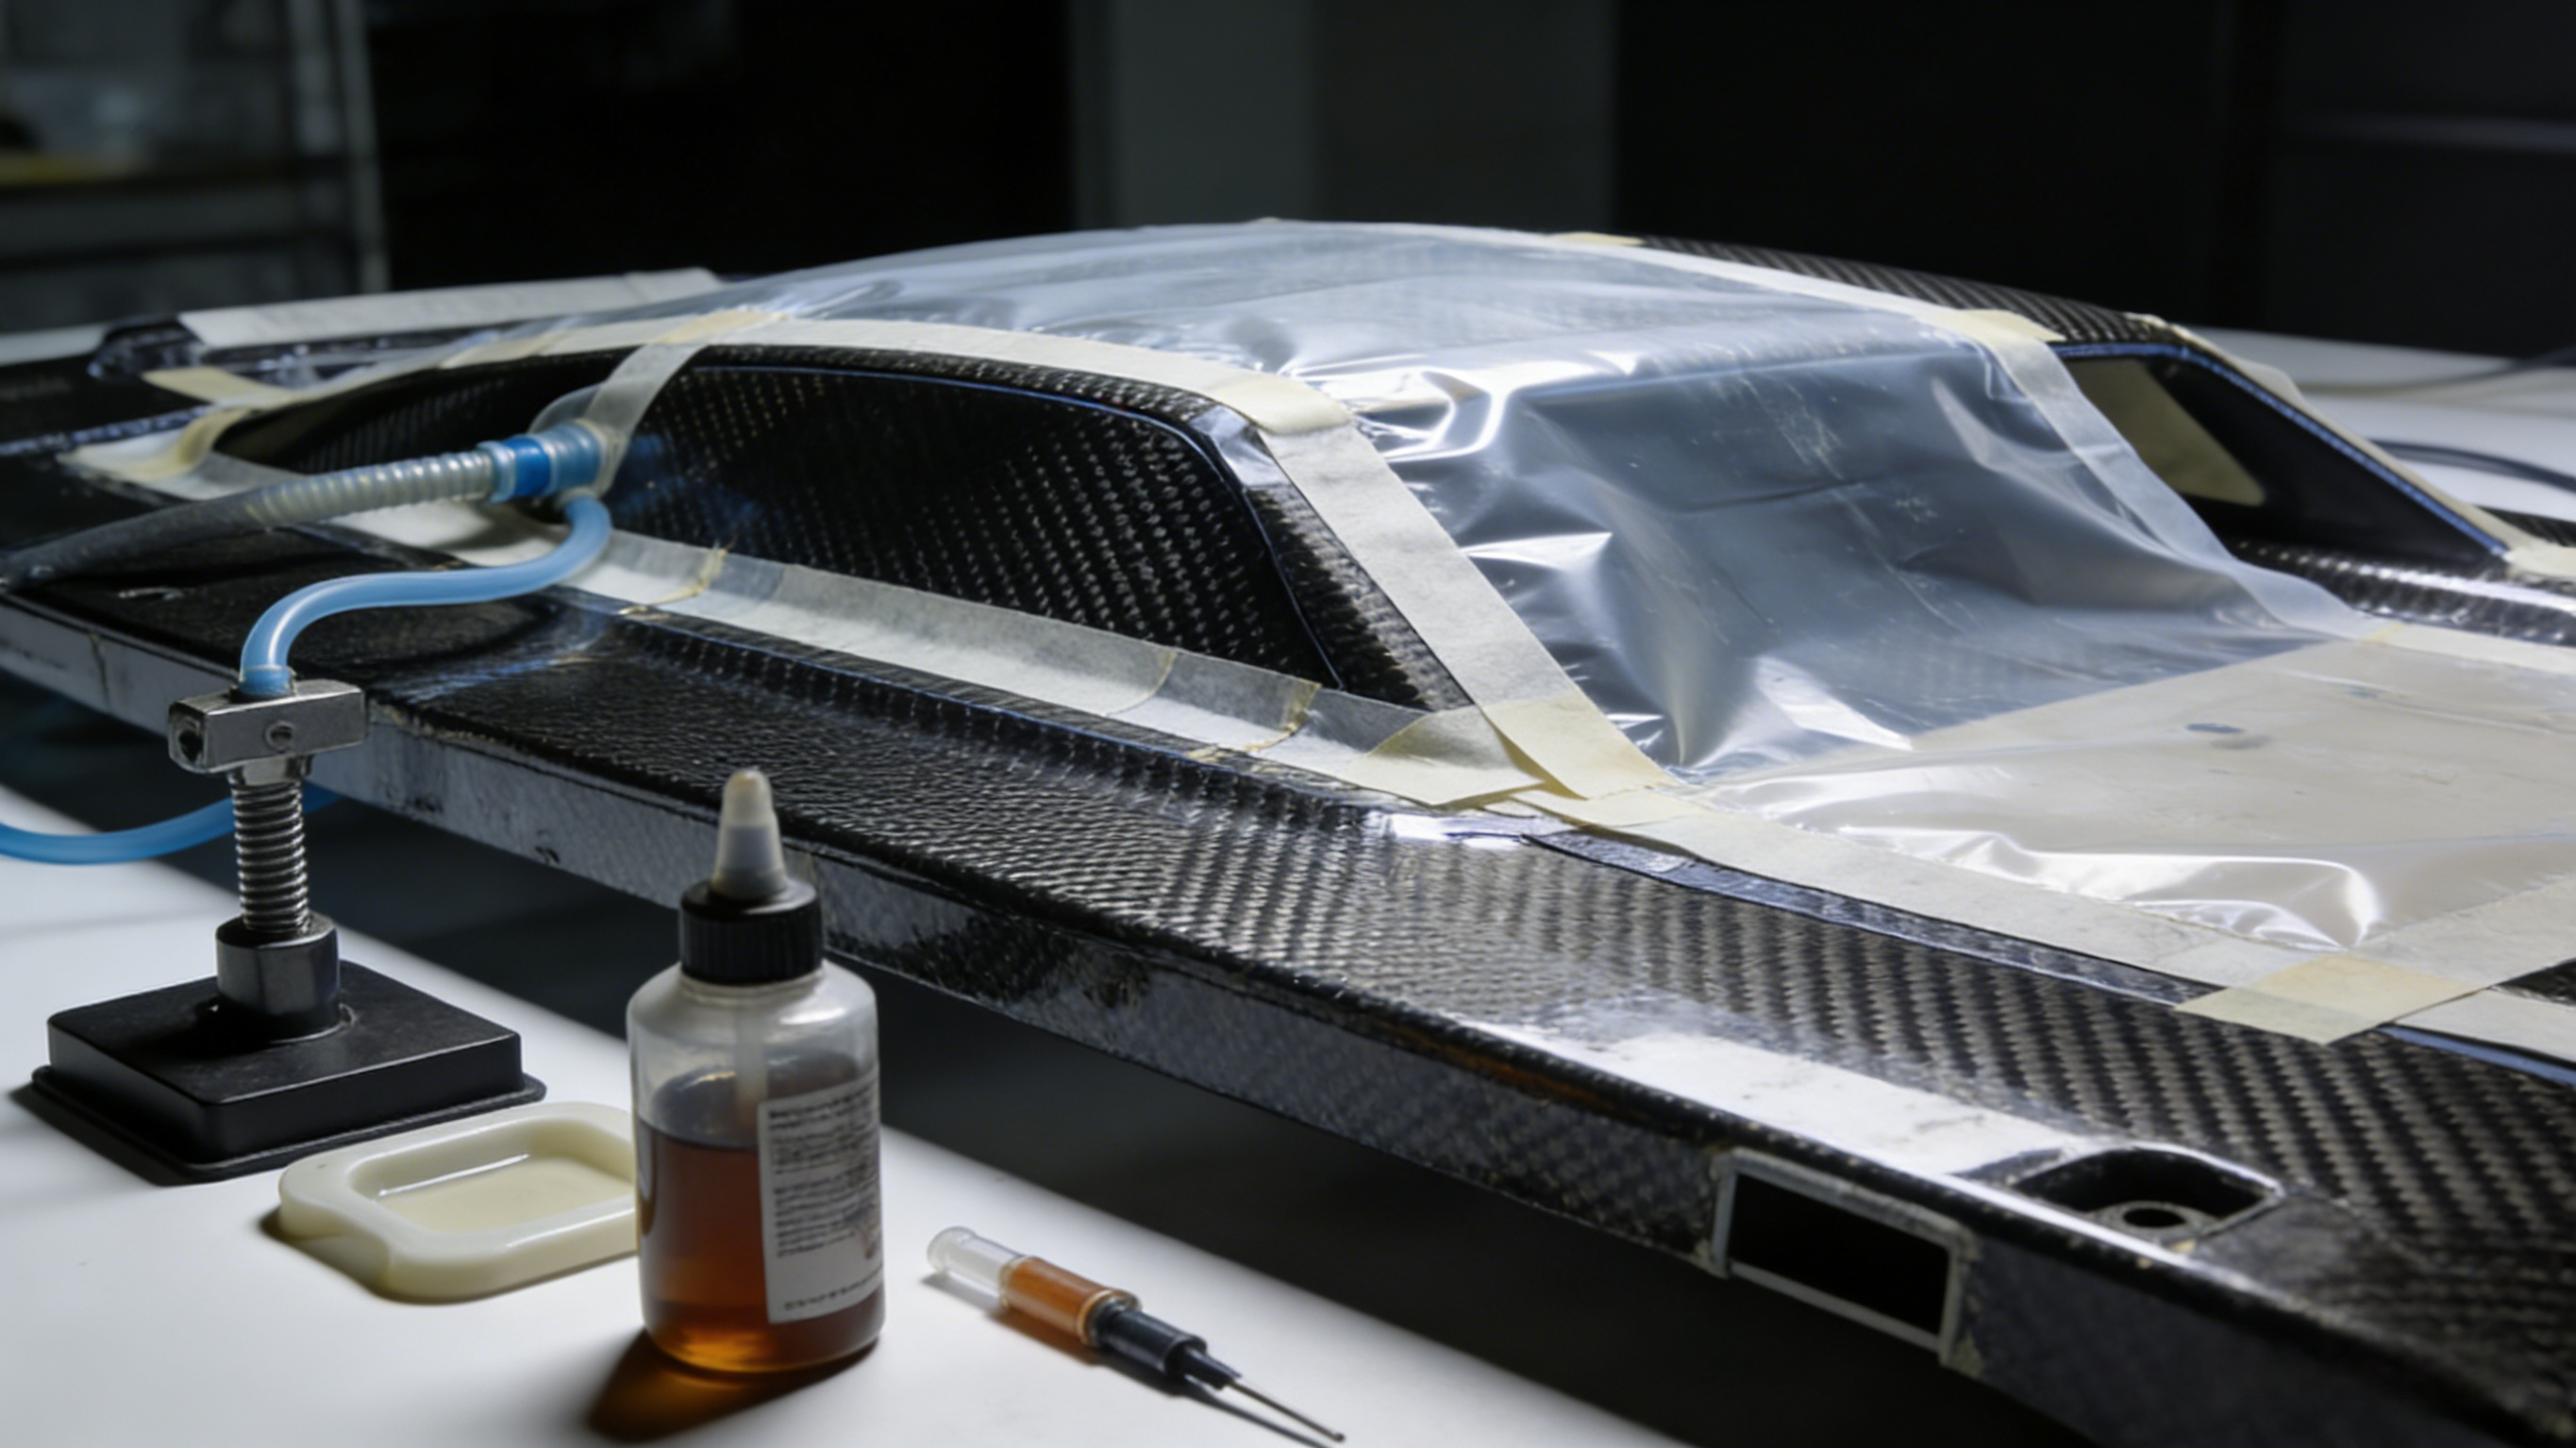
Atmospheric pressure is a free consolidation force — and most builders never use it.
That’s the core idea behind vacuum bagging. Seal the laminate under a film, pull the air out, and the atmosphere pushes down on every square inch of your part at 14.5 psi (1 bar). No mechanical press. No autoclave. Just physics doing the work.
The numbers tell the story. Atmospheric wet layup leaves 5–10% void content in your laminate. Vacuum bagging drops that to 1–2%. Fiber volume fraction climbs from the 40–50% range up to 55–65%. That’s a 70–80% reduction in voids — and you’ll see it in surface finish, stiffness, and structural integrity.
The Bag Stack — Layer by Layer
Every layer in the stack has a specific job. Don’t skip any of them.
-
Peel ply — place this onto the final carbon ply. It peels off clean after cure and leaves a bondable surface texture behind.
-
Perforated release film — sits over the peel ply. It lets excess resin bleed through while keeping the layers above clean.
-
Breather/bleeder fabric — use two layers here. It absorbs bled resin and spreads vacuum pressure across the whole part.
-
Vacuum bag film — cut it oversized. You need enough slack to conform into corners. A tight bag will bridge and cause problems.
-
Sealant tape — press and pleat around the perimeter. Pull the backing off in small sections as you work around the mold edge.
-
Vacuum port — place a small square of breather under the port fitting. This stops the bag from collapsing over the hose and blocking airflow.
Pulling Vacuum and Checking for Leaks
Target 25–28 inHg (85–95 kPa). A dual-stage pump handles this without strain. Once you hit pressure, watch the gauge for 10 minutes. A steady reading means a good seal. Any drop means you have a leak — find it before cure starts.
Watch these common failure points: sealant tape edges that weren’t pressed down hard enough, the vacuum port connection, and small bag tears from sharp mold edges. Run your hand along the seal line and listen for hissing. Spray soapy water over suspect areas. Bubbles show you right where air is escaping. Tape over problem spots and pull pressure again.
Hold vacuum through the entire cure cycle. Don’t walk away after the first check.
Step 6 — Curing: Time, Temperature, and Common Mistakes
The resin is in. The bag is sealed. Now the chemistry takes over — and this is where most good layups get ruined.
Epoxy cures best between 70–80°F (21–27°C). That’s substrate temperature, not air temperature. The surface your part sits on matters more than the room does. Every 10°C rise above 21°C doubles the cure rate. That sounds useful. But a thick batch can overheat, trap air, and leave you with bubbles locked into the laminate for good.
Room temperature cure runs 48–72 hours. Go past 72 hours and the part loses flexibility — it turns brittle. Pull it before 48 hours and tensile strength drops 20–50% below spec.
Post-cure in an oven changes things. Run a 50–100°C cycle for 60–120 minutes. This pushes further polymerization and raises the glass transition temperature. That matters a lot for any part that’ll face real heat in service.
Watch for These Failure Signs
-
Bubbles — the batch ran too hot; keep ambient below 75°F and mix smaller volumes
-
White blush spots — humidity above 60% RH reacts with the amine hardener; warm your components to 65–75°F before mixing
-
Warping — you demolded before full crosslinking; ramp temperature in 10°C steps, not sudden jumps
-
Sticky surface — curing below 18°C stops the reaction cold
Scratch the surface with a fingernail. No mark means cured. Any indent means wait.
Step 7 — Demolding, Trimming, and Surface Finishing

The part is cured. The hard science is done. What comes next decides whether you walk away proud — or start sanding and redoing the whole thing.
Demolding first. Use wedges, not force. Insert them at the parting line and work around the perimeter in small steps. Rougher mold surfaces need more force to release. Smoother tooling lets the part come out clean, every time. Build the mold right in Step 2, and this stage feels controlled — not like a fight.
Trim right away. Flash, runners, and parting-line excess come off now, while the material is still fresh. Use custom de-gating fixtures where you can. Need tight hole tolerances or tapped threads? Send those to a CNC machine. Molded-in precision for tight dimensions just isn’t reliable enough.
Surface finishing runs in stages:
-
Start with light sanding to knock off parting lines and minor blemishes
-
Move through abrasive grits in order — cutting first, then plowing, then sliding
-
Finish with buffing and a UV-protective clear coat
Surface finish is measured in microinches. Drop below 1–2 Ra, and a handheld profilometer loses accuracy — switch to a benchtop unit at that point. For production runs, check the finish after process changes, not after every single part.
Done right, this step doesn’t just clean up the part. It transforms it.
Troubleshooting: 8 Most Common Carbon Fiber Molding Problems

Something went wrong. The part came out of the mold and it’s not right. Don’t trash it and start over yet. Find out what went wrong first — every defect has a specific cause, and most are preventable the next time.
1. Voids and Porosity (Gas Bubbles)
Air got trapped in the laminate. Resin didn’t reach the fiber. Tensile strength drops 20–30% as stress builds around each void. Here’s how to fix it:
-
Keep resin viscosity under 500 cP
-
Vacuum bag above 90 kPa
-
Post-cure at 120–150°C for 2–4 hours
This pushes void content below 2% by volume.
2. Fiber Wrinkling (Bridging)
Fibers shift out of plane during layup. In parts thicker than 10mm, this cuts interlaminar shear strength by 15–25%. To prevent it:
-
Keep lay-up pressure under 0.5 MPa
-
Use caul plates
-
Pre-form dry fibers before infusion
Fiber alignment tolerance: stay within 1°.
3. Delamination (Layer Separation)
Three common causes:
-
Backing paper left between plies
-
Resin and fiber systems that don’t work together
-
Not enough pressure between layers
Defects deeper than 1mm go undetected more than 72% of the time. Damage hides until the part fails. Press at 0.1–0.2 MPa between each layer. Use epoxy systems that target 60% fiber volume.
4. Resin-Rich Areas
The fiber-to-resin ratio drifted past 60:40. Resin pockets above 5% volume cause matrix cracking and uneven surface color. To fix distribution:
-
Infuse at 1–2 cm/min
-
Run vacuum above 90 kPa
-
Add flow media to spread resin evenly
5. Surface Pinholes
Resin wasn’t degassed well enough before wet layup. Fix it with these steps:
-
Degas at 40–50°C for 10–15 minutes before you apply the resin
-
Ramp cure temperature at 1–2°C/min
-
Put peel ply on the final layer
6. Mold Sticking
Two or three coats of release agent won’t protect a new mold. Humidity above 60% RH makes it worse. Do this instead:
-
Put on three full coats of PVA or paste wax
-
Hold mold temperature at 60–80°C
-
Demold before dwell time goes past 5% of the cure cycle
7. Warping
Unbalanced lay-up schedules leave stress in the part during cool-down. Hot and wet conditions make it 20% worse. Compression failure strain also drops 7.5–12.9% under normal conditions. To avoid warping:
-
Run a symmetric lay-up sequence (±45/0/90)
-
Cure under 0.7 MPa
-
Cool at a steady 2°C/hour
8. Fiber Misalignment and Cracking
Gaps of 0.76–2.54mm between fiber runs cut strength by 9.5–27%. That’s a big loss from what looks like a small gap. To keep alignment tight:
-
Cut parallel to the fiber direction
-
Fill gaps with scrim cloth
-
Run a DIC strain inspection — target less than 1% waviness across the ply stack
Three variables cause most of these problems: materials selection, operator habits, and environment. Keep fiber volume between 55–65%. Work at 20–25°C with 40–60% RH. Never drag a sharp tool across a laid ply. Get those three right, and most defects won’t show up in the first place.
Carbon Fiber Molding Safety: Protecting Yourself During Fabrication

Carbon fiber doesn’t warn you. The dust is invisible. The fibers are microscopic. The damage builds up over time.
Cut, sand, or machine a carbon part — individual filaments break loose and go airborne. At diameters above 6 µm, they’re non-respirable. They won’t reach deep into your lungs. But they will embed in your skin. They’ll hit your eyes. They’ll irritate your throat. The effect is closer to fiberglass exposure than most people expect. Skin reactions often run worse.
The epoxy is its own problem. Sizing is the epoxy coating on raw fiber. It’s chemically active and causes irritation on direct contact. Burn cured carbon fiber and the smoke becomes carcinogenic. Don’t incinerate carbon fiber waste. Ever. Dispose of it at a permitted landfill, following your local regulations.
The minimum PPE stack for any cutting or sanding operation:
-
Nitrile gloves (not latex)
-
Safety goggles — not just glasses
-
A half-face respirator with organic vapor cartridges
-
Long sleeves and close-weave fabric that fibers can’t penetrate
Ventilation matters just as much as PPE. Local exhaust extraction right at the cutting source is the single most effective control you can put in place. With extraction running, measured machining exposures stay below 0.2 fibrils/mL over an 8-hour shift — that’s within safe working limits. Without it, the numbers climb fast.
Most shops miss this one: stray carbon filaments carry an electrical charge. Keep computers and exposed electronics out of the work area. Or seal them inside positive-pressure purged housings. One fiber across the wrong circuit board ends the workday in a hurry.
Read the SDS before you crack open the resin. That’s not a formality. It’s the fastest way to know what you’re dealing with.
Conclusion
Molding carbon fiber parts is equal parts science and craft — and now you have both.
You’ve covered every stage of the process. You pulled a clean master pattern, laid up your first ply of woven fabric, pulled vacuum, managed your cure cycle, and got a finished part out of the mold — surface finish intact. The skills stack. The first part is the hardest. By the tenth, it feels natural.
So what separates builders who get consistent, professional results from those stuck fixing the same air bubbles and delamination? Two things: quality materials, and knowing what you’re working with before you start.
Contact HyperX Carbon – Your Trusted Chinese Carbon Fiber Partner
Ready to source high-performance carbon fiber materials or custom forged carbon fiber parts from China?
HyperX Carbon is a leading manufacturer with 20+ years of expertise, specializing in aerospace-grade forged carbon fiber, prepreg, tubes, sheets, and lightweight automotive/drone/medical components. We offer:
-
Stable supply chain with premium raw materials (Toray, Mitsubishi, Hengshen)
-
AS9100D certified production for aerospace & UAV applications
-
Rapid prototyping (5-8 weeks) and monthly capacity exceeding 180,000 parts
-
Competitive pricing with 15-18% cost savings on forged carbon solutions
-
Full customization: from T700/T1100G to ultra-high modulus grades
Whether you’re an eVTOL developer, automotive OEM, drone manufacturer, or medical device engineer, HyperX delivers consistent quality, batch-to-batch reliability, and reliable delivery.
Get in touch today for a free consultation, custom quote, or material sample.
📧 Email: [email protected]
🌐 Website: https://www.hyperxcarbon.com/
📞 Phone/WhatsApp: +86 15623270276 (English support available)
Let’s build your next lightweight innovation together – contact HyperX Carbon now and stay ahead in the low-altitude and advanced composites market.