Carbon fiber hoods are unforgiving. Use the wrong product — something with ammonia, an abrasive compound, or even the wrong spray wax — and the clear coat clouds over on a part that cost you real money.
The frustrating part? Most generic car care advice wasn’t written with carbon fiber in mind. Following it is how a clean weave finish starts yellowing, fading, or lifting at the edges.
This guide covers the full process:
-
How to clean a carbon fiber hood without causing micro-scratches
-
Which UV protection method holds up long-term
-
How to build a maintenance routine that keeps the finish sharp for years — not just the first few months after install
What Makes Carbon Fiber Hoods Different — And Why Standard Car Care Fails Them

Steel and aluminum forgive mistakes. Carbon fiber doesn’t.
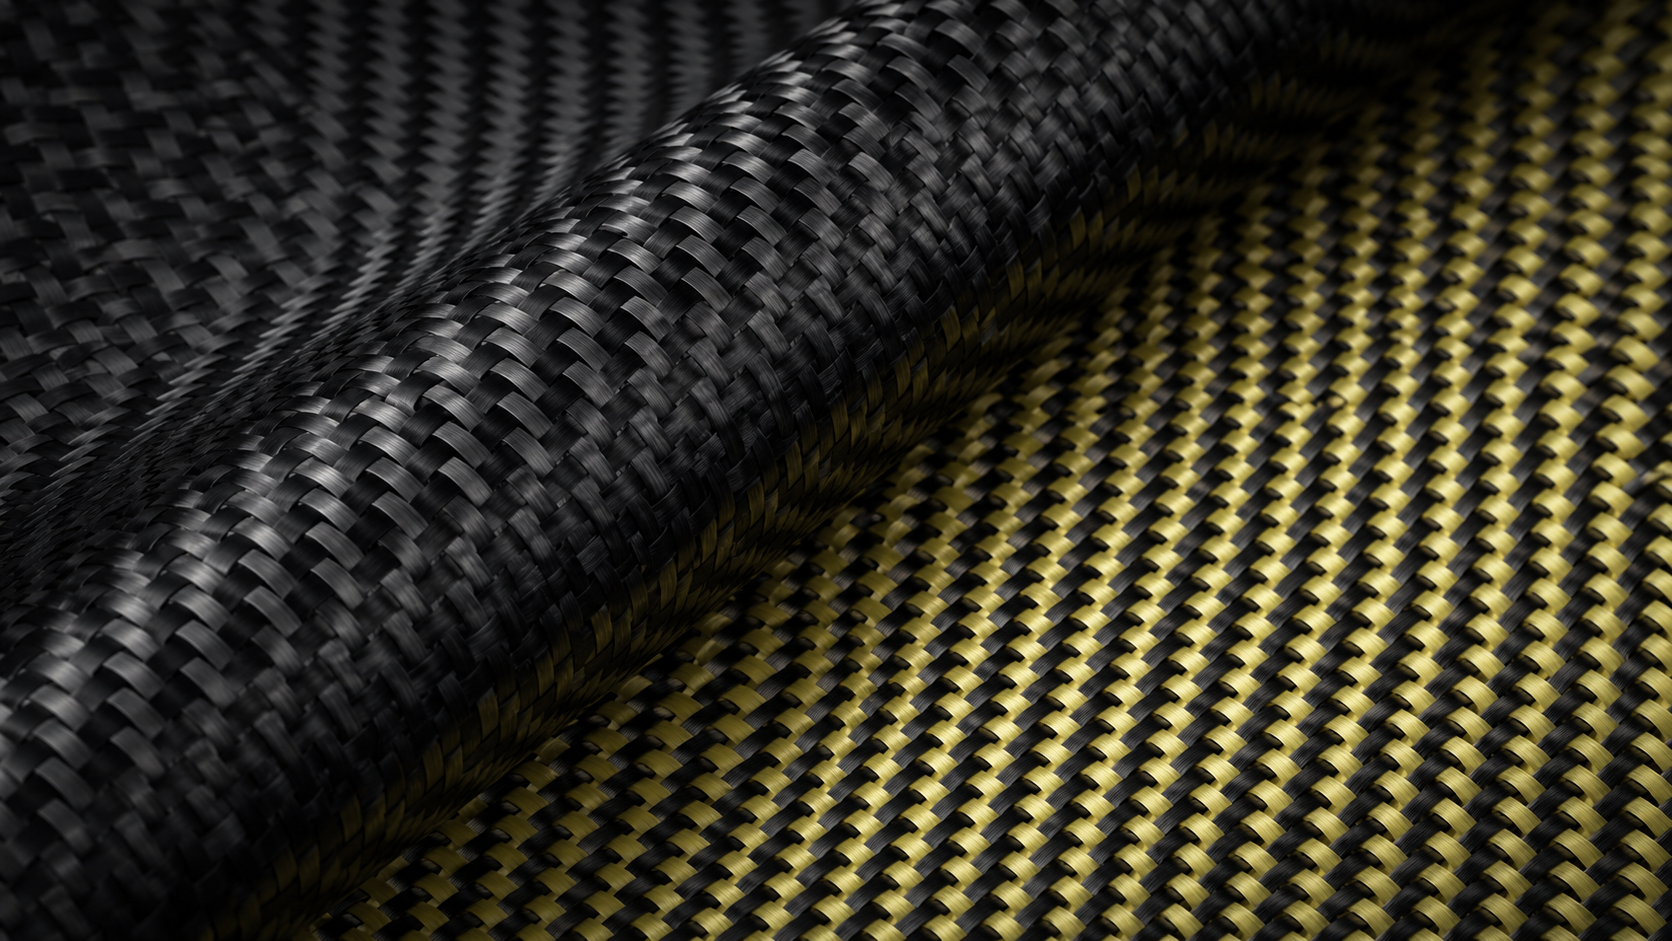
That glossy weave hides a precise structure — epoxy resin bonded to carbon fibers, sealed behind a thin clear coat. That clear coat carries all the weight. It’s the one barrier between your finish and UV damage, moisture, and road chemicals. Scratch or weaken it, and the resin underneath sits exposed.
This is where standard car care breaks down:
-
Ammonia-based cleaners and alcohol sprays don’t just strip wax — they eat into the epoxy resin matrix
-
Automatic car washes drag rotating brushes across a surface that scratches far more readily than paint
-
Non-pH-neutral soaps wear down the clear coat a little more with every single wash
Then UV light finishes the job. Sun exposure triggers photo-oxidation — UV rays slowly weaken the resin, leading to yellowing, clouding, and in bad cases, delamination.
The worst part? The damage builds quietly. By the time you spot a dull finish or lifting edges, the clear coat has been breaking down for months.
Step 1 — Pre-Wash Prep: How to Rinse a Carbon Fiber Hood Without Scratching the Clear Coat

Most scratches on a carbon fiber hood happen before the soap ever touches it.
Dry grit sits on the surface. The moment you reach for a wash mitt or spray bottle, that grit drags across the clear coat. Pre-wash prep stops that from happening — and it’s not hard to do right.
Pressure Settings Matter More Than You Think
Keep your pressure washer between 1,200–1,500 PSI. Stay at least 12–18 inches from the surface. Go above 2,000 PSI and contaminants get pushed into the clear coat instead of lifted off. That raises swirl risk by up to 20–30%.
Before you spray a single drop of soap:
-
Clear loose debris first — use compressed air or a soft detailing brush to lift dust, bird droppings, and grit. No contact with the surface at this stage.
-
Pre-wet the entire hood at low pressure. Hold the nozzle 18 inches back. Let the water sit for 45 seconds. This loosens 70–80% of surface particles before any wiping starts.
-
Rinse in straight, overlapping lines — follow the carbon weave direction, top-to-bottom or front-to-back. Random spraying traps particles across the weave and causes micro-scratches.
-
Use lukewarm water (60–70°F) where you can. It softens bonded contaminants 15–20% faster than cold water. Plus, it won’t cause thermal stress on the surface.
Here’s a timing detail most people skip: a hood sitting in direct sun above 90°F needs to cool down first. Wait 30–60 minutes before rinsing. A cold rinse on a hot surface causes rapid thermal expansion. Above 120°F surface temperature, clear coat crack risk doubles.
This pre-wet sequence cuts dry-particle drag scratches by 90%. Two minutes here eliminates most swirl marks before the wash even starts.
Step 2 — Hand Washing Carbon Fiber: The Right Soap, Mitt, and Technique

The two-bucket method isn’t optional. It’s the difference between a finish that holds for years and one that fades under a layer of swirl marks.
Here’s the setup: three buckets total. Two for the body, one for wheels. Keep them straight in your head — soap bucket, rinse bucket, done.
The Soap Ratio
Use a pH-neutral car wash soap and measure it. For something like Blacklight-formula soap, that’s 1–2 oz per bucket. Add it after the water, not before — let the stream build the suds. Too much soap won’t clean better. It just leaves residue that settles deep into the weave.
Mitt Selection and Grip
For carbon fiber, a dual-sided super-plush microfiber wash mitt is the only option. The Stranger Helpful Handy Mitt — five-fingered, glove-fit design — is worth the extra cost. It wraps around edges, pillars, and tight spots under the hood. You don’t have to force pressure into the surface. The fit does the work.
Keep one mitt for the body. One separate mitt for wheels. Never mix them.
The Motion That Matters
Straight lines only. Top to bottom, left to right. No circles, no back-and-forth scrubbing. Circular motion cuts swirl patterns straight into the clear coat.
Work one panel at a time:
-
Dunk the mitt in the soap bucket until you have thick suds
-
Wash the panel in straight, overlapping strokes
-
Rinse the mitt in the rinse bucket — agitate it to shake debris loose
-
Re-soap, move to the next panel
That rinse-and-agitate step between panels is what keeps the wash safe. Skip it, and you grind grit back into the clear coat on every single pass.
Step 3 — Drying Without Swirl Marks: Microfiber vs Chamois vs Squeegee on Carbon Fiber

Drying is where careful wash jobs get undone.
The surface is clean. The grit is gone. Then someone grabs the wrong towel, drags it across the weave, and ruins every careful step before it.
Here’s the short version of the tool debate:
-
Microfiber drying towel (400GSM or higher): The one safe drag-dry option. The deep pile lifts water off the surface instead of pushing it. Use a light, straight-line blotting motion — not a sweep.
-
Chamois: Looks soft, acts abrasive. Natural chamois is the worst offender. The texture grabs the clear coat on a micro level. Skip it on carbon fiber — full stop.
-
Squeegee: Fine for glass. Not for clear coat. The hard edge puts concentrated drag pressure straight across the weave. That’s a problem.
The safest method: start with a forced-air blower. Then do a single-pass microfiber blot on any remaining pooled water. No dragging. No pressure. Just contact and lift.
Work panel by panel. Go the same direction as the wash — top to bottom, straight lines. Don’t let standing water sit. It spots. Water spots on a carbon fiber clear coat etch faster than on standard paint. So move quickly and keep things dry.
Step 4 — Degreasing Before Protection: Why IPA Is the Critical Bridge Step

Surface prep is the step most people skip — and it’s the exact reason their ceramic coating or wax fails within months.
Between washing and protection, there’s a window. Invisible residue — oils from handling, soap film, water minerals — sits on the clear coat. Any protection layer applied over that contamination bonds weak, cures patchy, and starts peeling too soon. IPA closes that window.
Use 70% IPA. Not 99%.
The chemistry matters here. 70% IPA takes 30–60 seconds to evaporate. That dwell time gives it full contact to break down both oil-based and water-based residue. 99% IPA flashes off in 5–15 seconds. That’s too fast to clean the surface. So the stronger formula actually does a worse job here — the opposite of what you’d expect.
The correct application sequence:
-
Apply 70% IPA panel by panel using a clean microfiber
-
Let it sit for 30 seconds minimum — don’t wipe right away
-
Remove with a fresh microfiber in straight lines
-
Wait for complete evaporation before applying any wax, sealant, or ceramic coating
Don’t rush that last step. Any moisture left under a ceramic coating will break down adhesion from the very first cure cycle. Let it fully dry — then protect.
UV Protection for Carbon Fiber Hoods: Wax vs Ceramic Coating vs PPF — Which One Works?

The data is blunt. An unprotected carbon fiber hood yellows and oxidizes within two years. In high-UV states like Arizona or Florida, epoxy resin starts failing in 18 months without a coating. That’s not a worst-case scenario — that’s the baseline for a $1,000–$3,000 hood left bare.
You have three protection options. They are not equal.
Wax: The Short Game
Wax puts a physical barrier on your hood. It’s built to be temporary — heat, rain, and road wash break it down in three to six months. Once it’s gone, the clear coat has no protection. UV gets through with no resistance. For an expensive carbon fiber hood, the numbers don’t add up: low upfront cost, high repeat cost, poor long-term ROI. Use it as a stopgap only.
Ceramic Coating: The Smart Middle Ground
A SiO₂ ceramic coating bonds directly to the clear coat. It forms a hard layer that cuts UV penetration at the surface level. Professional application holds up to five years. Cost runs $200–$800 upfront — break that down and you’re paying $100–$200 per year. That’s a fair number on a part worth several thousand dollars.
Application conditions matter:
– Temperature: 50–80°F
– Humidity: below 60%
– Environment: dust-free, no direct sun
Apply two thin coats. Level each with microfiber. Let it cure 24–48 hours, then keep it away from exposure for a full seven days.
DIY cuts cost by about 50% and works well for experienced detailers. For full hoods, though, professional application gives more consistent coverage. You also get a 2–5 year warranty versus 1–2 years on a DIY job.
PPF: The Long Game
Paint Protection Film stops 99% of UV. It self-heals light surface scratches. Lifespan runs 5–10 years with zero reapplication needed. At $1,000–$2,000 upfront, the per-year cost lands around $100–$400. Stretch that across a decade and it’s competitive with ceramic.
For a sun-exposed hood, PPF is the top-tier choice. Ceramic is the solid, practical option below it.
The Passive Wins
Two simple habits make any coating last longer.
Shaded parking cuts UV exposure by 70–90%. It also prevents 80% of resin breakdown over 12 months. A breathable microfiber car cover blocks 95–99% of UV and cuts fading risk by 85% over two years. Neither habit costs much. Both add real life to your hood and protect your investment over time.
How to Prevent Scratches on a Carbon Fiber Hood: Daily Habits That Make a Real Difference

Small habits add up. Most carbon fiber finish damage doesn’t come from one bad wash. It builds from a dozen small, thoughtless decisions over time.
The biggest offenders aren’t what most people expect:
-
Jewelry, watches, and jacket zippers dragging across the hood during routine checks
-
Grocery store parking spots where cart returns sit three spaces away
-
Grabbing whatever towel is nearby instead of a dedicated microfiber
Use separate microfiber cloths for carbon fiber only. Never rotate them to wheels or door jambs. Shared cloths pick up grit from other surfaces. That grit goes straight back onto your clear coat.
Two habits worth building:
-
Inspect every 1–2 weeks. Run a quick visual check for chips or micro-scratches. Catch damage early and it stays minor. Leave it alone and it spreads.
-
Park with purpose. Put distance between your car and high-traffic zones. That alone cuts out door dings and cart strikes before they reach your hood. No coating stops those — position does.
One more thing: fix any existing swirls or hazing before applying ceramic coating. Whatever sits under that layer gets locked in — sometimes for years.
Maintenance Schedule: How Often Should You Treat a Carbon Fiber Hood?

Short sessions done on a set schedule beat one big correction job every few months. A five-minute routine each week protects your carbon fiber hood far better than an aggressive polish session twice a year.
Here’s the schedule that works:
-
Every 1–2 weeks: Wash with pH-neutral soap, two-bucket method, full dry
-
Every 4 weeks: Put on UV-protective wax, sealant, or ceramic booster spray
-
Every 6–10 weeks: Full protection reapplication — a fresh wax or sealant layer, not just a top-up
-
Every 6 months: Check the clear coat for haze, oxidation, or signs of delamination starting. Polish before resealing if needed.
Climate changes the math. High-UV regions — Arizona, Florida, coastal Australia — need UV protection every 3–4 weeks. The sun doesn’t slow down, so your schedule shouldn’t either.
Skip that routine and you’re not just putting off maintenance. You’re setting up a full restoration job down the road.
How to Fix Common Carbon Fiber Hood Problems: Yellowing, Scratches & Edge Lifting

Three problems show up on carbon fiber hoods more than anything else: yellowing, surface scratches, and lifting edges. Each has a fix — but you need to match the repair to the actual severity level.
Yellowing: Surface Haze vs. Deep Resin Damage
Not all yellowing is the same problem.
Mild yellowing — a surface haze — responds well to ceramic coating. No abrasion needed. The coating blocks 99% of UV and restores optical clarity.
Moderate yellowing from sustained UV exposure or oxidation needs wet polishing at 2000–3000 grit. Follow that with a fresh UV sealant layer.
Severe yellowing — where the discoloration has soaked into the resin itself — won’t polish out. Sand down to the resin, then respray with a tinted clear coat to cancel the yellow. The color correction happens at the surface level, not beneath it.
One more thing worth knowing: engine bay components yellow 20–30% faster than exterior panels. Heat speeds up oxidation in those areas. Check those spots first when diagnosing a problem hood.
Scratches: The Wet Sanding Sequence
Dry sanding generates heat. Heat cracks carbon fiber. Use wet sanding — no exceptions.
Work through grits in order: 400 → 800 → 1500 → 3000. Use 50% overlapping passes with constant water flow. Each grit removes 0.02–0.05mm of scratch depth. After 3000 grit, apply a coarse compound, then finish with fine polish.
To seal the surface, apply 2–3 wet coats of UV-resistant clear coat. Leave 20–30 minutes of flash time between each coat. Cure at 60°C for 24–48 hours. Also, mask your edges before you start — it saves cleanup time later.
Edge Lifting: Heat, Seal, or Re-wrap
For PPF or wrap lifting under 2mm, an edge sealer at a 0.5–1mm bead gives you an 80% success rate. Heat the edge to 70°C first. Clean with IPA, then resqueegee from center outward before sealing.
Lift exceeds 3mm? Bubbles larger than 5mm in diameter? Detachment covering more than 10% of the edge? Stop there. That’s a professional re-wrap job — DIY fixes won’t hold at that stage.
Best Products for Carbon Fiber Hood Care in 2026: What to Buy and What to Avoid
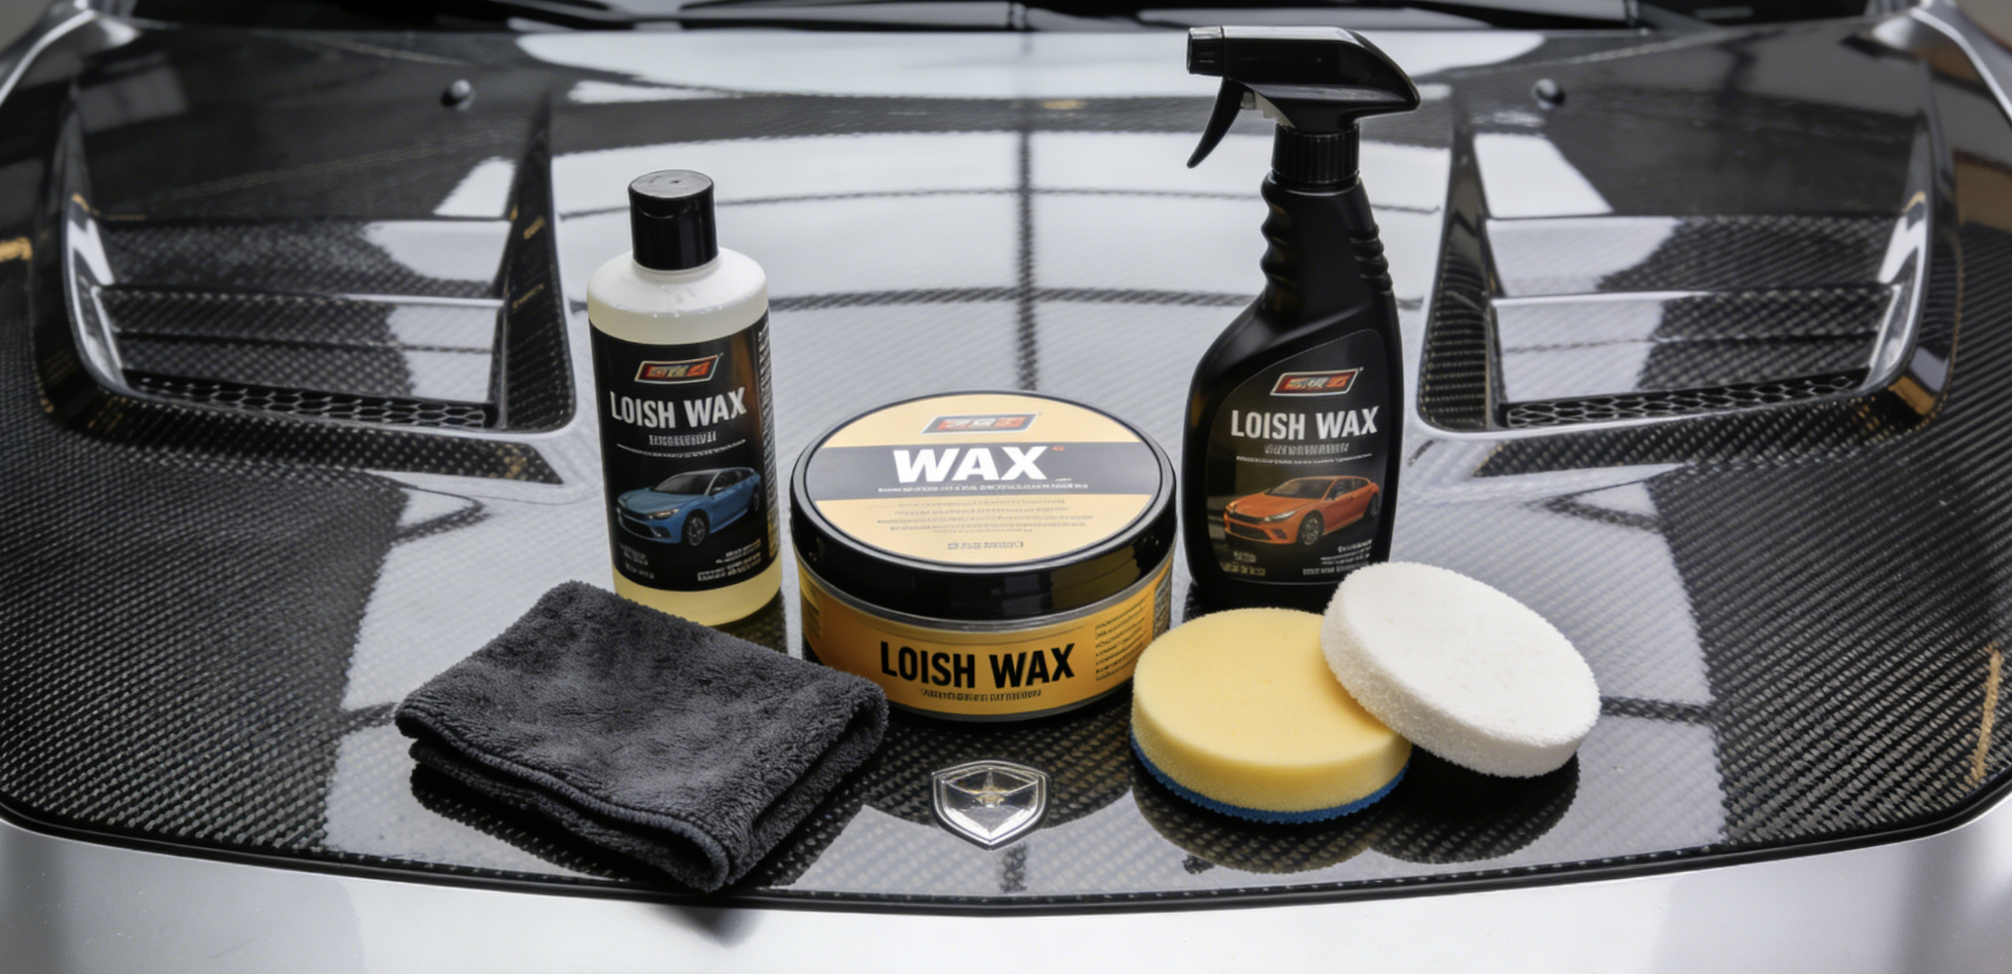
Walk into any auto parts store and you’ll find hundreds of products claiming to work on “all surfaces.” Maybe three of them are safe on carbon fiber clear coat.
Here’s what makes the cut — and what silently destroys the finish you’re trying to protect.
Cleaners That Work
Optimum No Rinse (ONR) is the standard for a reason. Diluted at 1:256, it’s pH-neutral and non-abrasive. It pulls off 95% of surface contaminants without putting a single scratch on your clear coat. That’s the baseline — no pH-neutral formula means it doesn’t belong on carbon fiber. Full stop.
For light scratches or surface oxidation, RW Polishing Compound does the job well. Apply it in shade. Let it dwell 10–15 minutes until it goes flaky. Then wipe with a clean microfiber. Use it before wax — not after.
The Degreaser Step Most People Skip
Meguiar’s M34 Final Inspection does one thing: it strips residue left after polishing. Your sealant or ceramic coating then bonds to a clean, bare surface. No rinse needed. Wipe down, let it flash, then move straight to protection. Skip this step and your coating starts with weak adhesion from the moment it cures.
Protection: Rated by Durability
|
Product |
Type |
Cure Time |
Best For |
|---|---|---|---|
|
Chemical Guys Carbon Force |
Ceramic coating |
24 hrs |
Maximum layer thickness, superior hydrophobics |
|
Adam’s Graphene Ceramic Advanced |
Ceramic coating |
24 hrs |
Dense, grippy cure — less thick than Carbon Force |
|
Blackfire Wet Diamond |
Sealant |
Standard |
Post-polish gloss depth |
|
RW Deluxe Carbon Wax |
Wax |
10–15 min dwell |
Every 2–3 week protection cycle |
|
RW Premium Spray Wax |
Spray wax |
Minutes |
Weekly UV top-up between full applications |
|
Cerakote (spray) |
Ceramic spray |
1 min / 24 hr cure |
Fast application, subtle finish |
Chemical Guys Carbon Force builds the thickest cure layer in this category. It goes on with a gel-like consistency, stays tacky post-cure, and delivers much better water-beading than comparable sprays. Adam’s Graphene is a touch less dense but still a serious coating. It’s not a spray-and-forget product — treat it like the real coating it is.
For upkeep between full applications, RW Premium Spray Wax is the practical pick. Spray on, wipe off, done in two minutes.
What to Avoid — Full Stop
Some products aren’t just weak choices. They break down the clear coat that shields your carbon fiber resin.
-
Ammonia-based cleaners — pH above 11 eats into the epoxy resin matrix. Anything labeled “glass cleaner” or listing ammonia as an ingredient stays away from your hood.
-
Coarse abrasive compounds — Fine-grade polish is corrective. Products labeled for “cutting swirls” or heavy defect removal are too harsh for carbon fiber clear coat. Check the label before you open it.
-
High-solvent degreasers — Products with more than 20% acetone or toluene dissolve clear coat fast. “Industrial strength” and “paint prep” labels are the red flags. Safe range is pH 6–8.
The HyperXCarbon.com Carbon Fiber Care Kit cuts out the guesswork. It pairs RW-formulated compound and wax in a sequence built for carbon fiber clear coats. Rated 5/5 across 141 reviews. The workflow targets 95% defect reduction. Running a hood like the Ventus Veloce and want to skip trial-and-error with random product combos? This is the shortcut.
Conclusion
Your carbon fiber hood isn’t just a performance part. It’s an investment — and it needs better care than a quick sponge-down with dish soap.
Three habits keep it in top shape:
-
Clean with care
-
Apply protection before damage shows up
-
Always run an IPA wipe-down before laying any coating
Lock those in, and UV yellowing, swirl marks, and early clear coat failure stop being your problem.
What separates a hood that still looks sharp at year five from one that’s chalky and scratched? Consistency. Not pricey products. Not monthly detailing bills.
Ready to build a routine that holds? Browse HyperX Carbon’s detailing collection. Everything from this guide — in one place.
Start with the wash. Nail the protection layer. Repeat every 90 days.
That’s the whole game.
Contact HyperX Carbon – Your Trusted Chinese Carbon Fiber Partner
Ready to source high-performance carbon fiber materials or custom forged carbon fiber parts from China?
HyperX Carbon is a leading manufacturer with 20+ years of expertise, specializing in aerospace-grade forged carbon fiber, prepreg, carbon fiber tube, carbon fiber sheet, and lightweight carbon fiber automotive parts/carbon fiber drone components/carbon fiber medical components. We offer:
-
Stable supply chain with premium raw materials (Toray, Mitsubishi, Hengshen)
-
AS9100D certified production for aerospace & UAV applications
-
Rapid prototyping (5-8 weeks) and monthly capacity exceeding 180,000 parts
-
Competitive pricing with 15-18% cost savings on forged carbon solutions
-
Full customization: from T700/T1100G to ultra-high modulus grades
Whether you’re an eVTOL developer, automotive OEM, drone manufacturer, or medical device engineer, HyperX delivers consistent quality, batch-to-batch reliability, and reliable delivery.
Get in touch today for a free consultation, custom quote, or material sample.
📧 Email: [email protected]
🌐 Website: https://www.hyperxcarbon.com/
📞 Phone/WhatsApp: +86 15623270276 (English support available)
Let’s build your next lightweight innovation together – contact HyperX Carbon now and stay ahead in the low-altitude and advanced composites market.